
Reno Recap: The Kitchen - Backsplash and After Pics!
When we left off in my last post, we had just gotten countertops installed and I cried tears of joy. We had family arriving in a few days for Thanksgiving, so we quickly moved everything back in and cleaned up from renovation so that we could enjoy our time together. Even though we were far from finished, it was done enough to use!

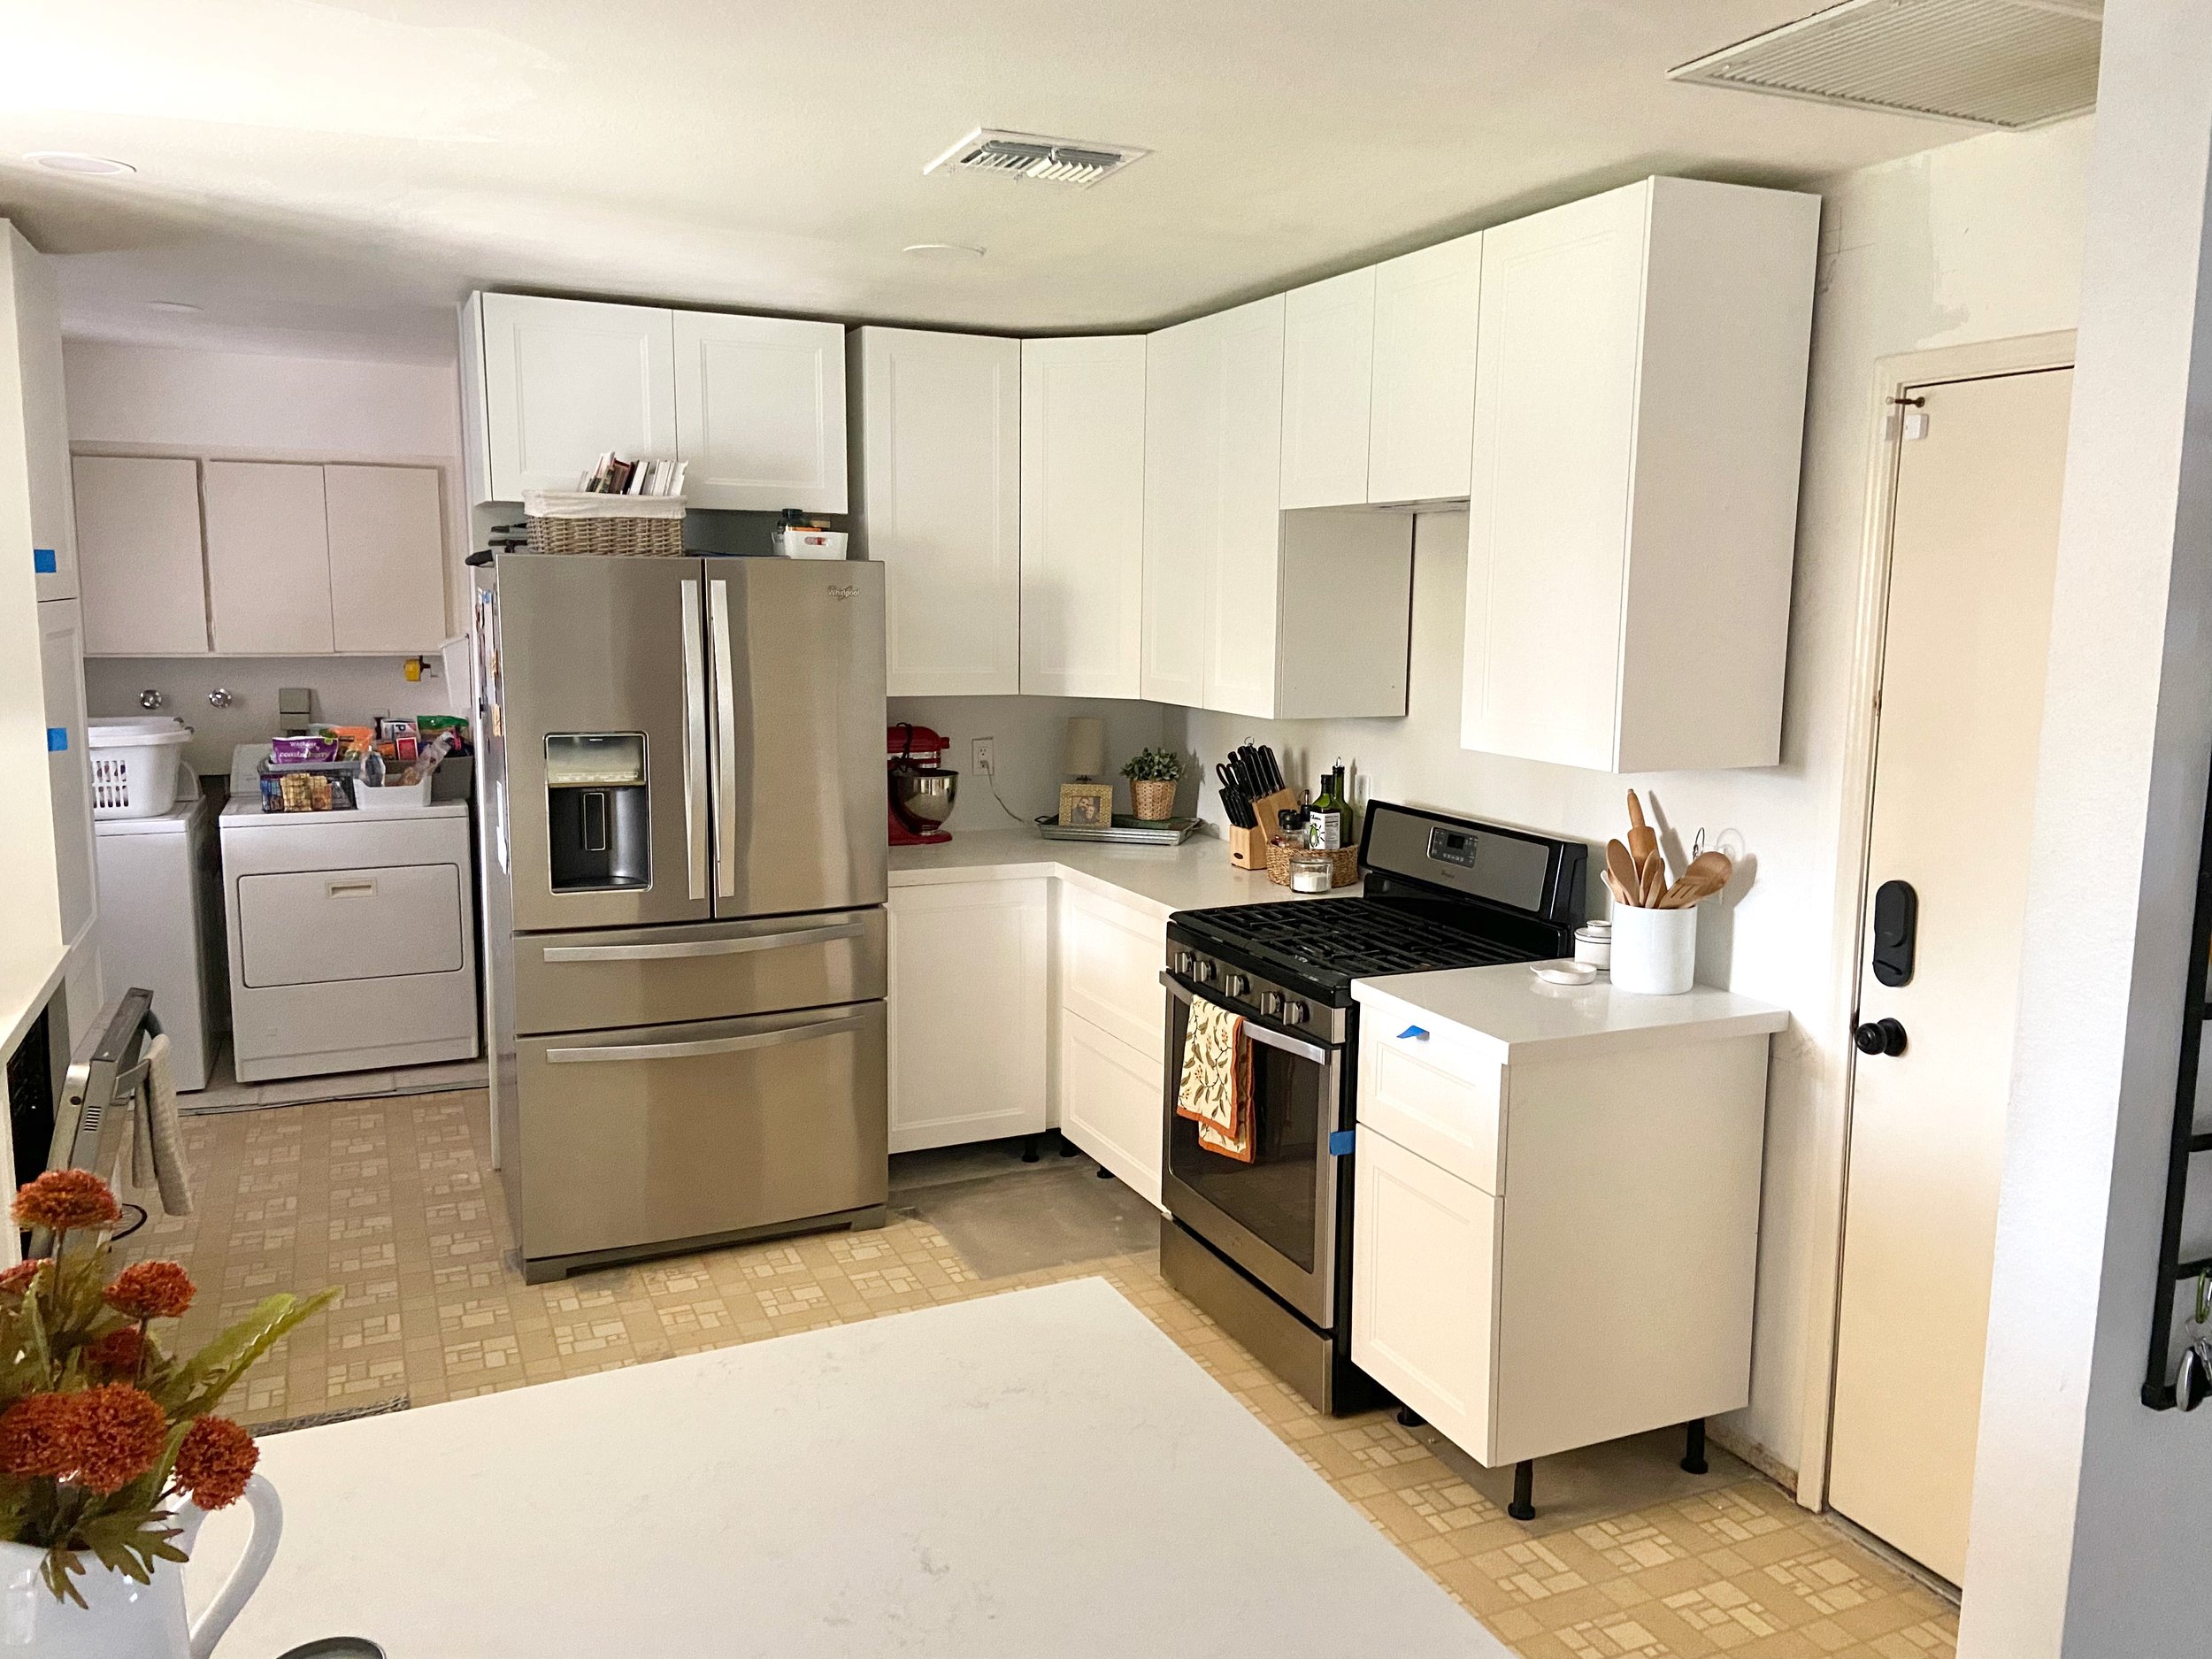
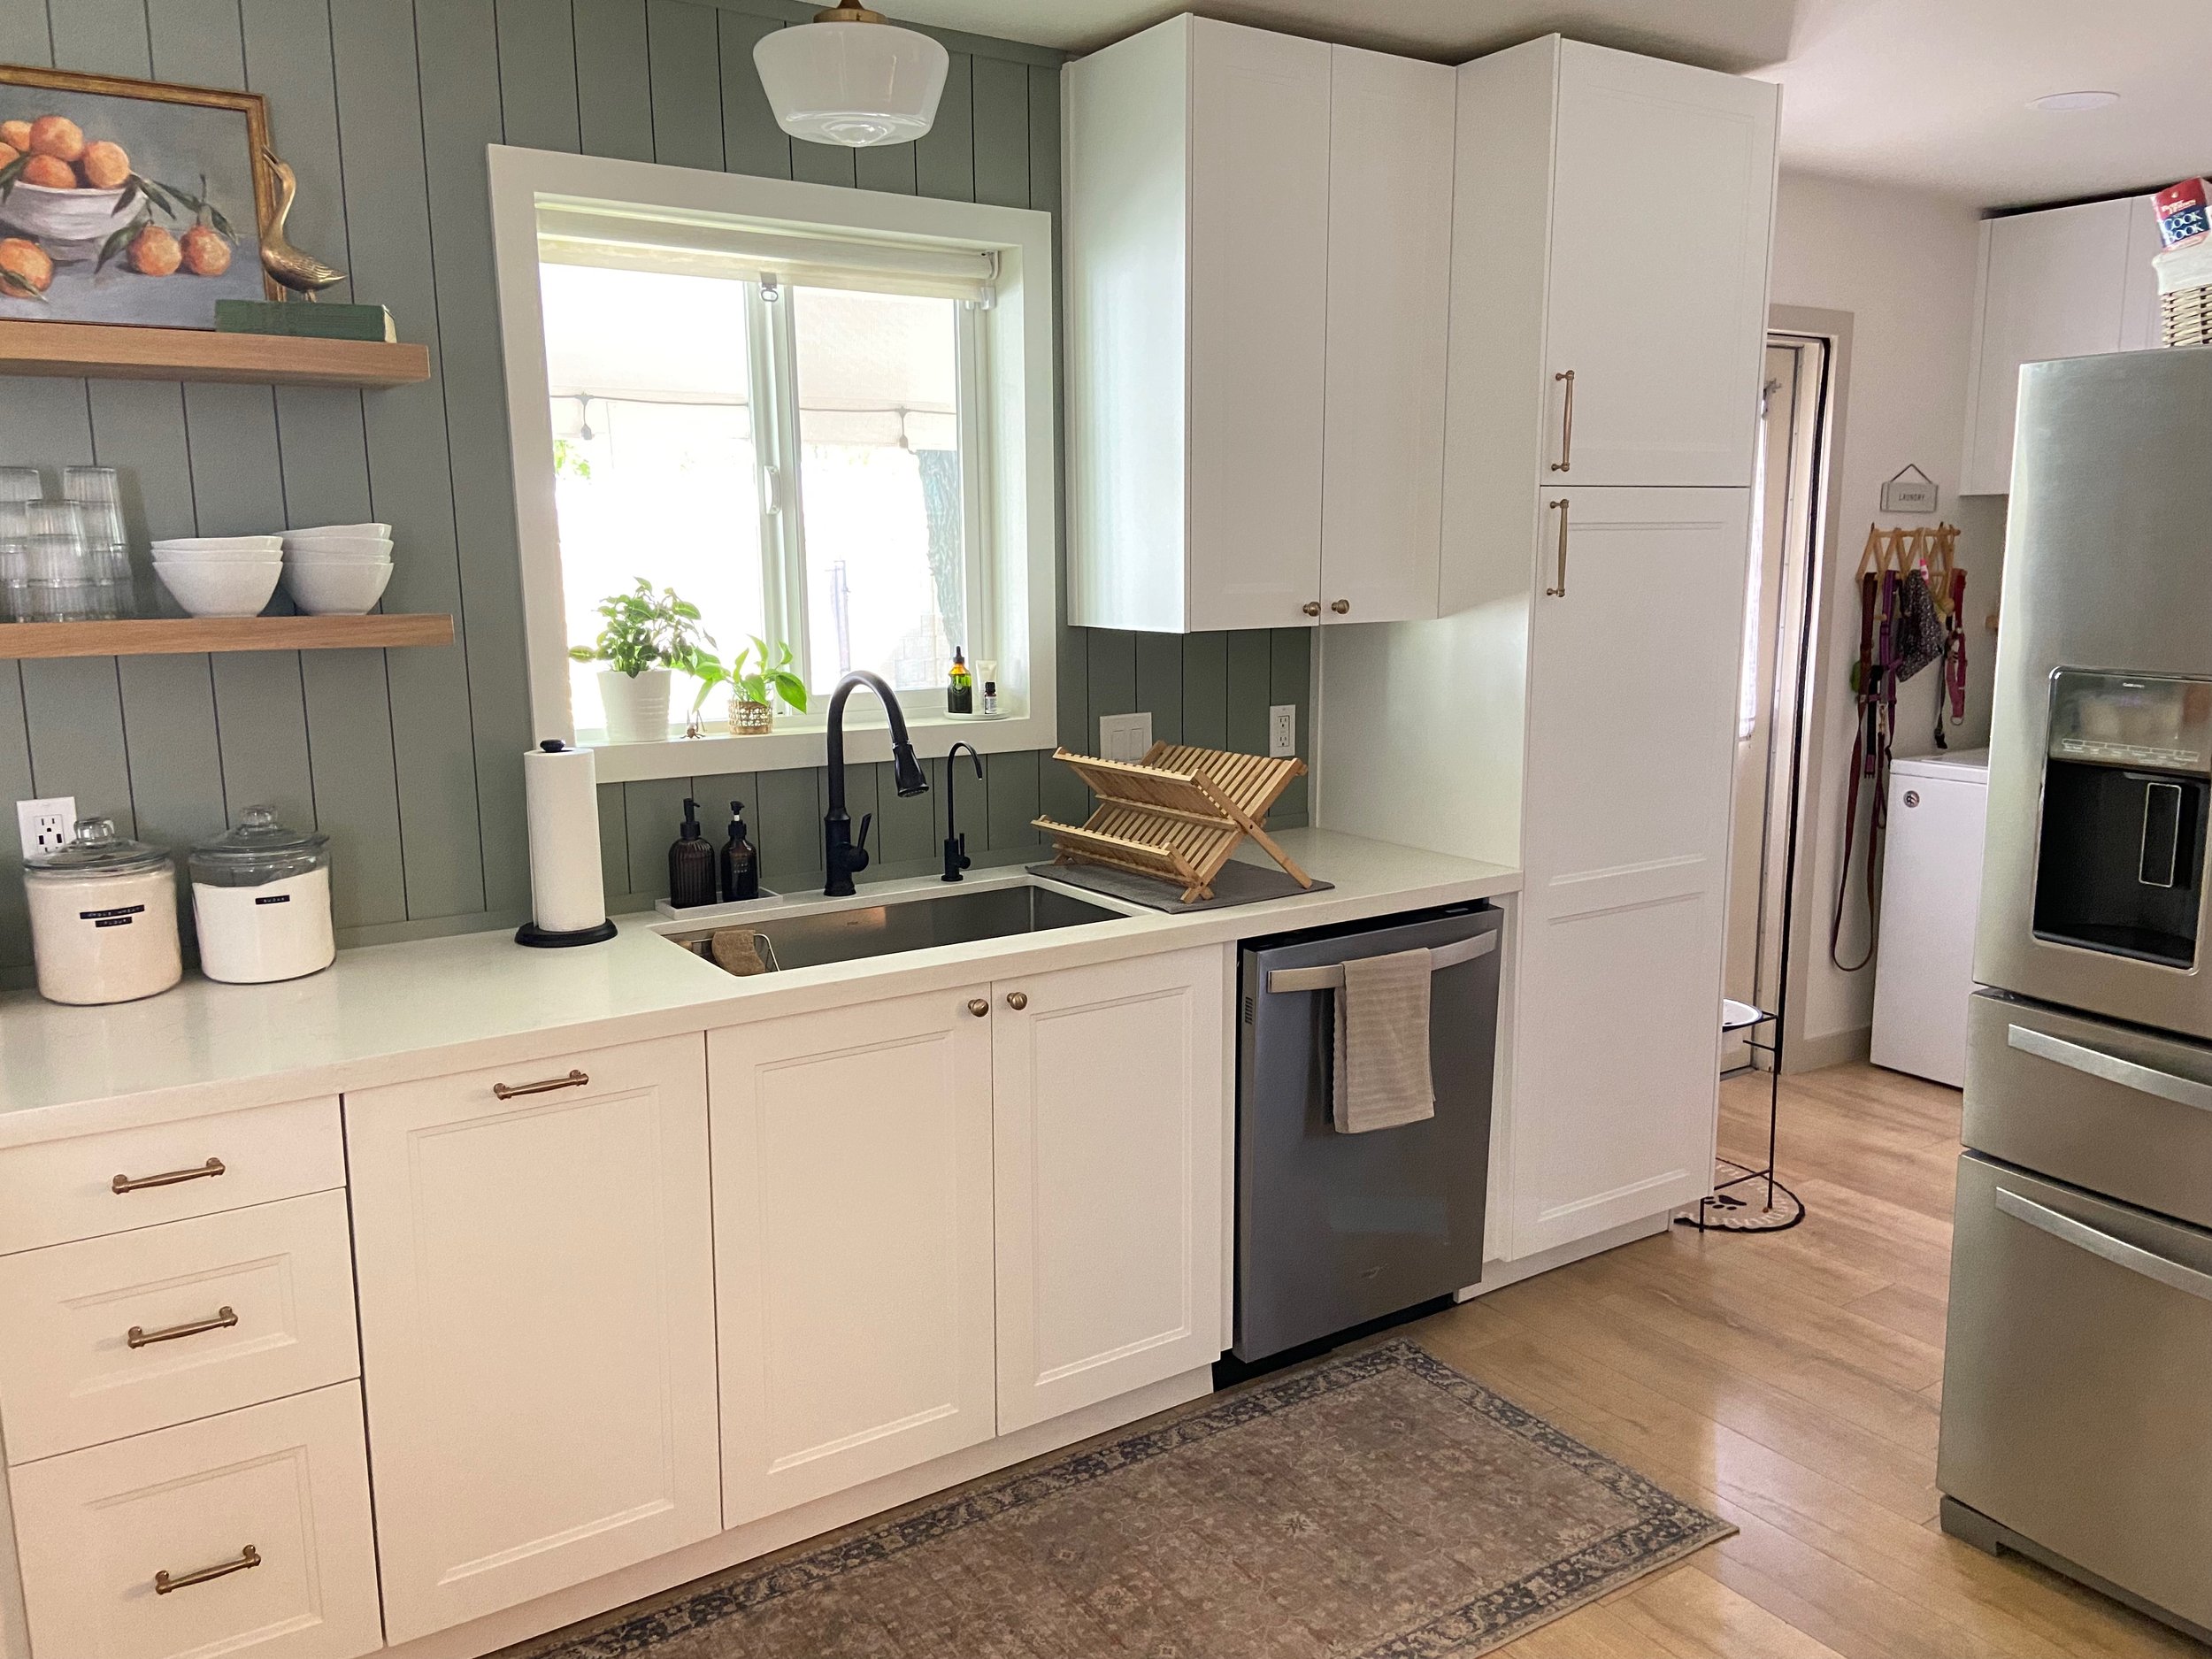
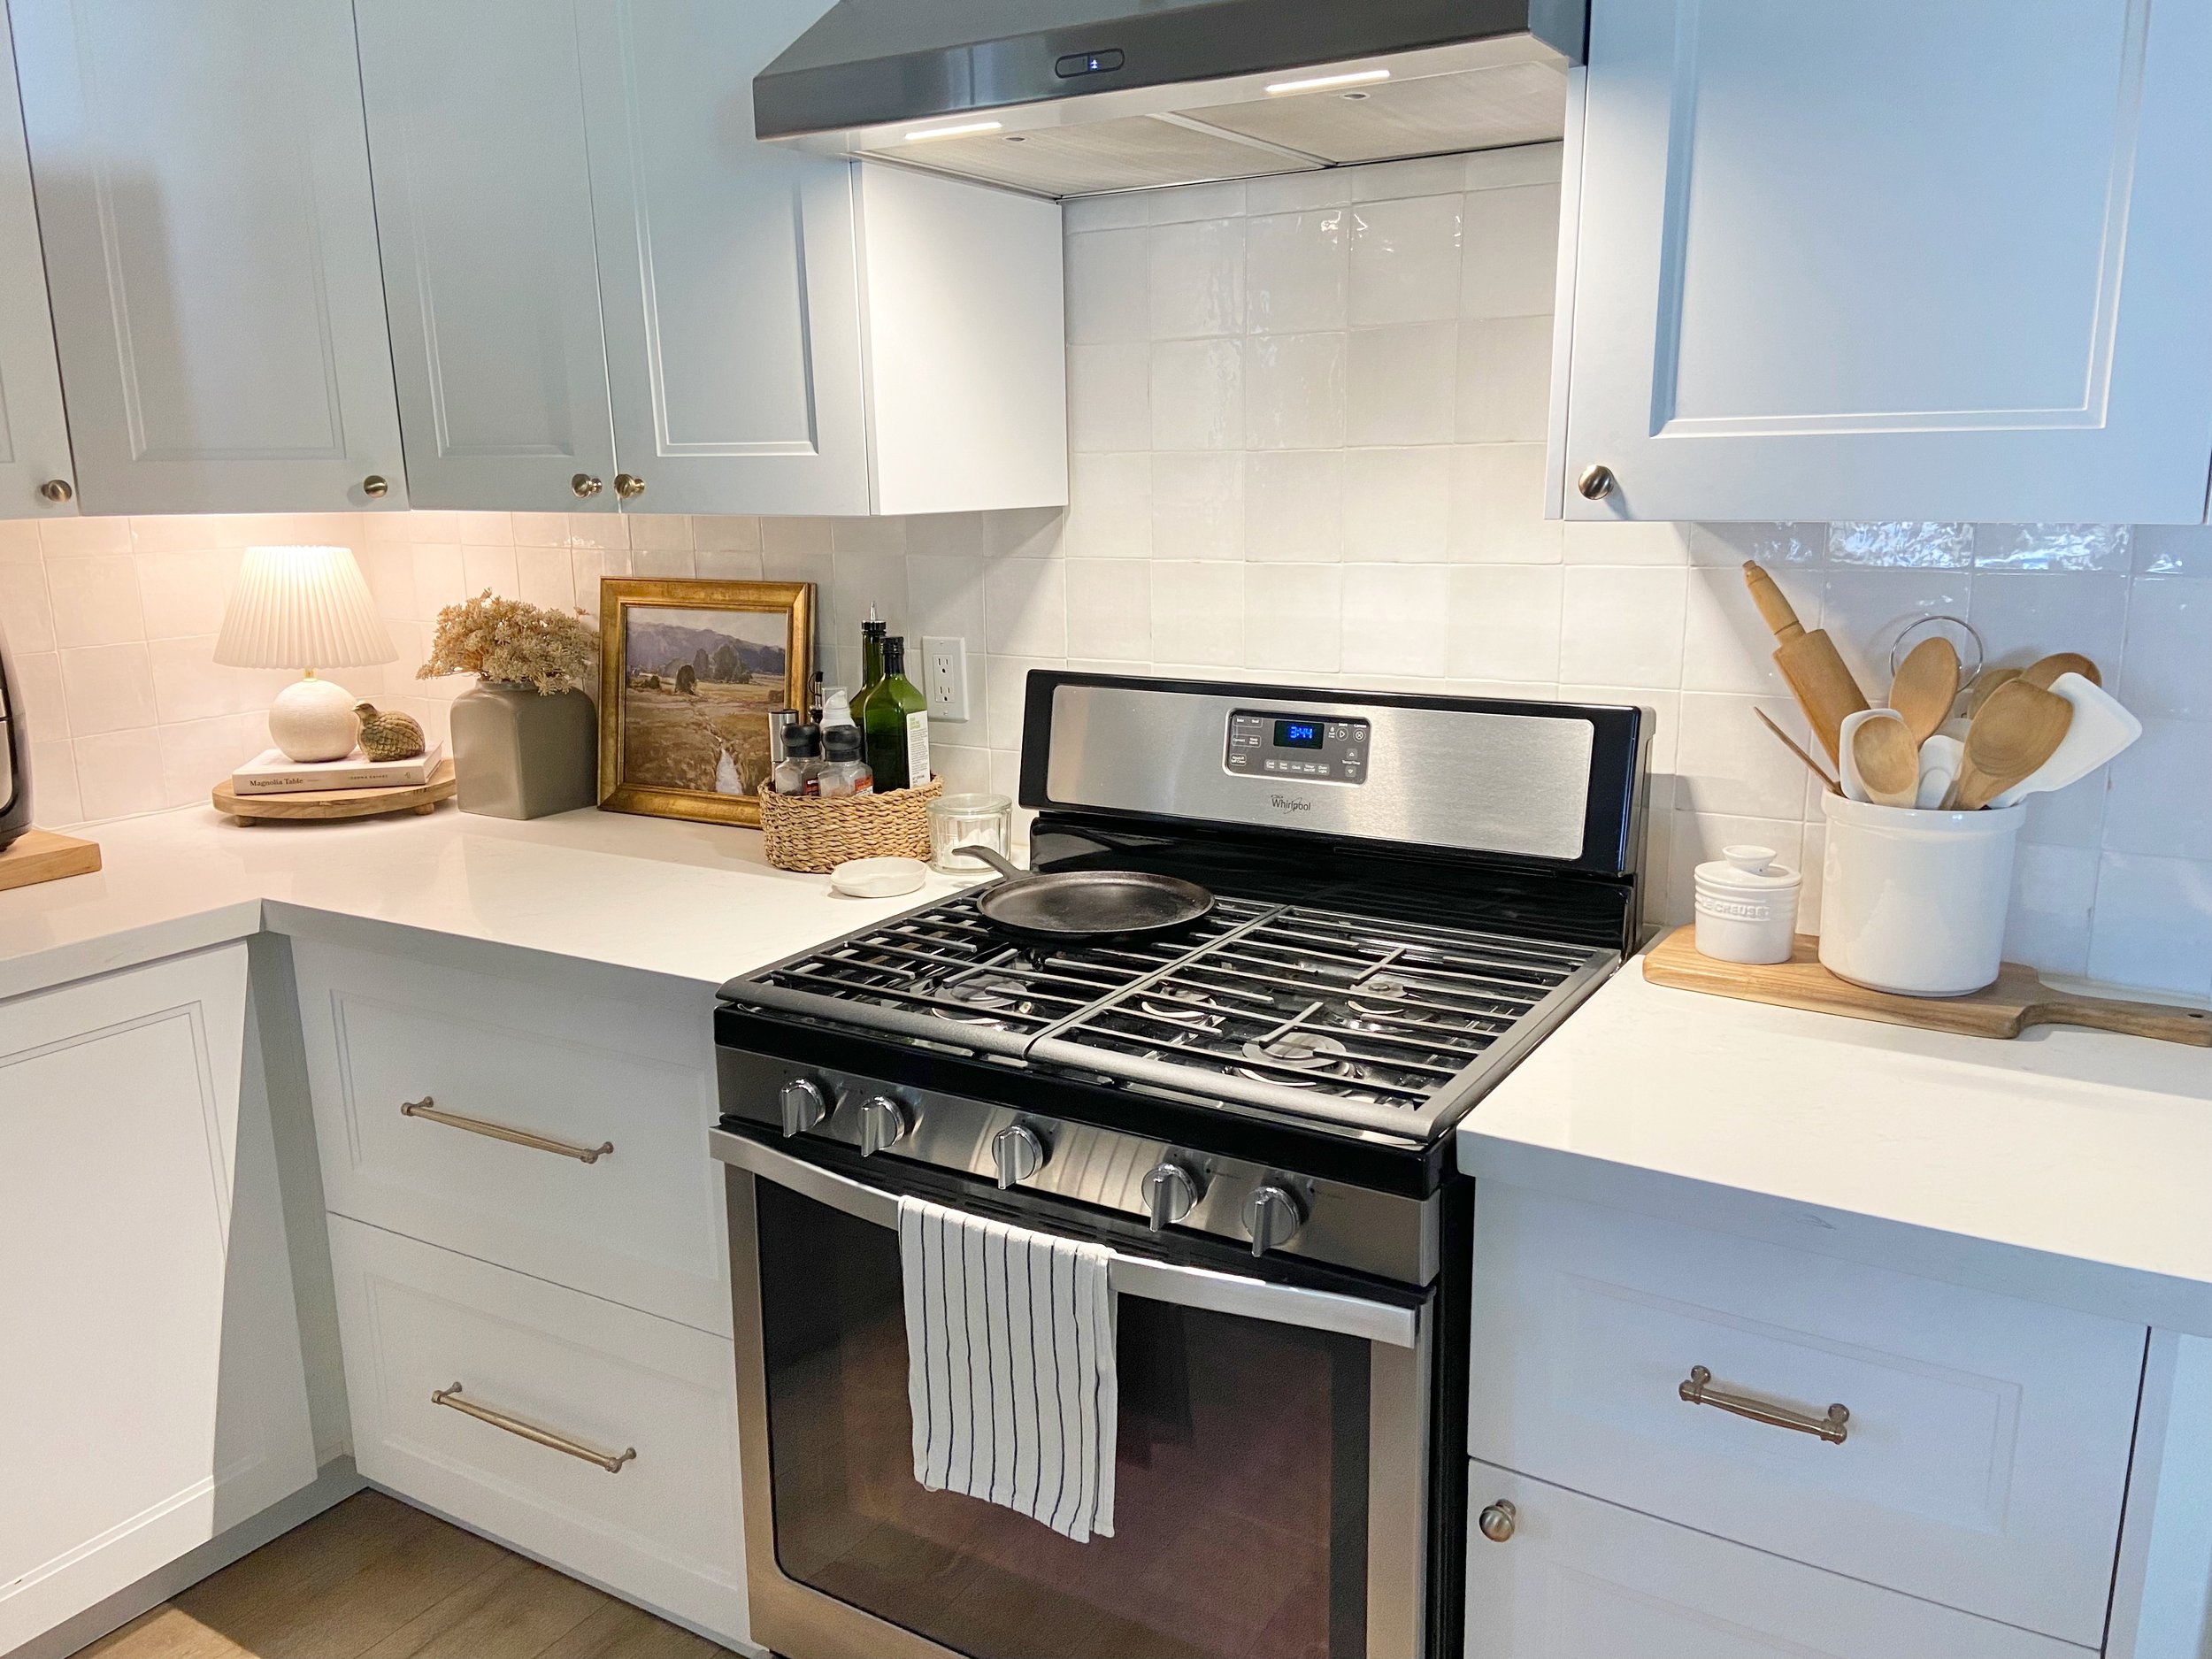
For appliances, we priced out new ones and it was going to be $4,000+ for a fridge, gas range, and dishwasher in the styles that we wanted 😳 Instead, we turned to Facebook Marketplace to see if we could find some gently used options for a bit less. We were able to find someone selling the same (almost new) Whirlpool fridge we were looking at for $1,500. And I found someone else, a contractor who was hired to renovate a kitchen in a newer rental house, selling the matching range, dishwasher, and over-the-range microwave for $800. Since we weren’t going to use the microwave, we were able to turn around and resell that for $120, making our total appliance cost $2,180, almost half of what new ones would cost!
Another way we saved some money on this project was searching for things on a local auction site (Nellis Auction for anyone in the Phoenix area). We scored this Broan range hood for $13 (!) and our stainless steel single bowl kitchen sink for $140. The savings on those two things alone adds up to over $400!
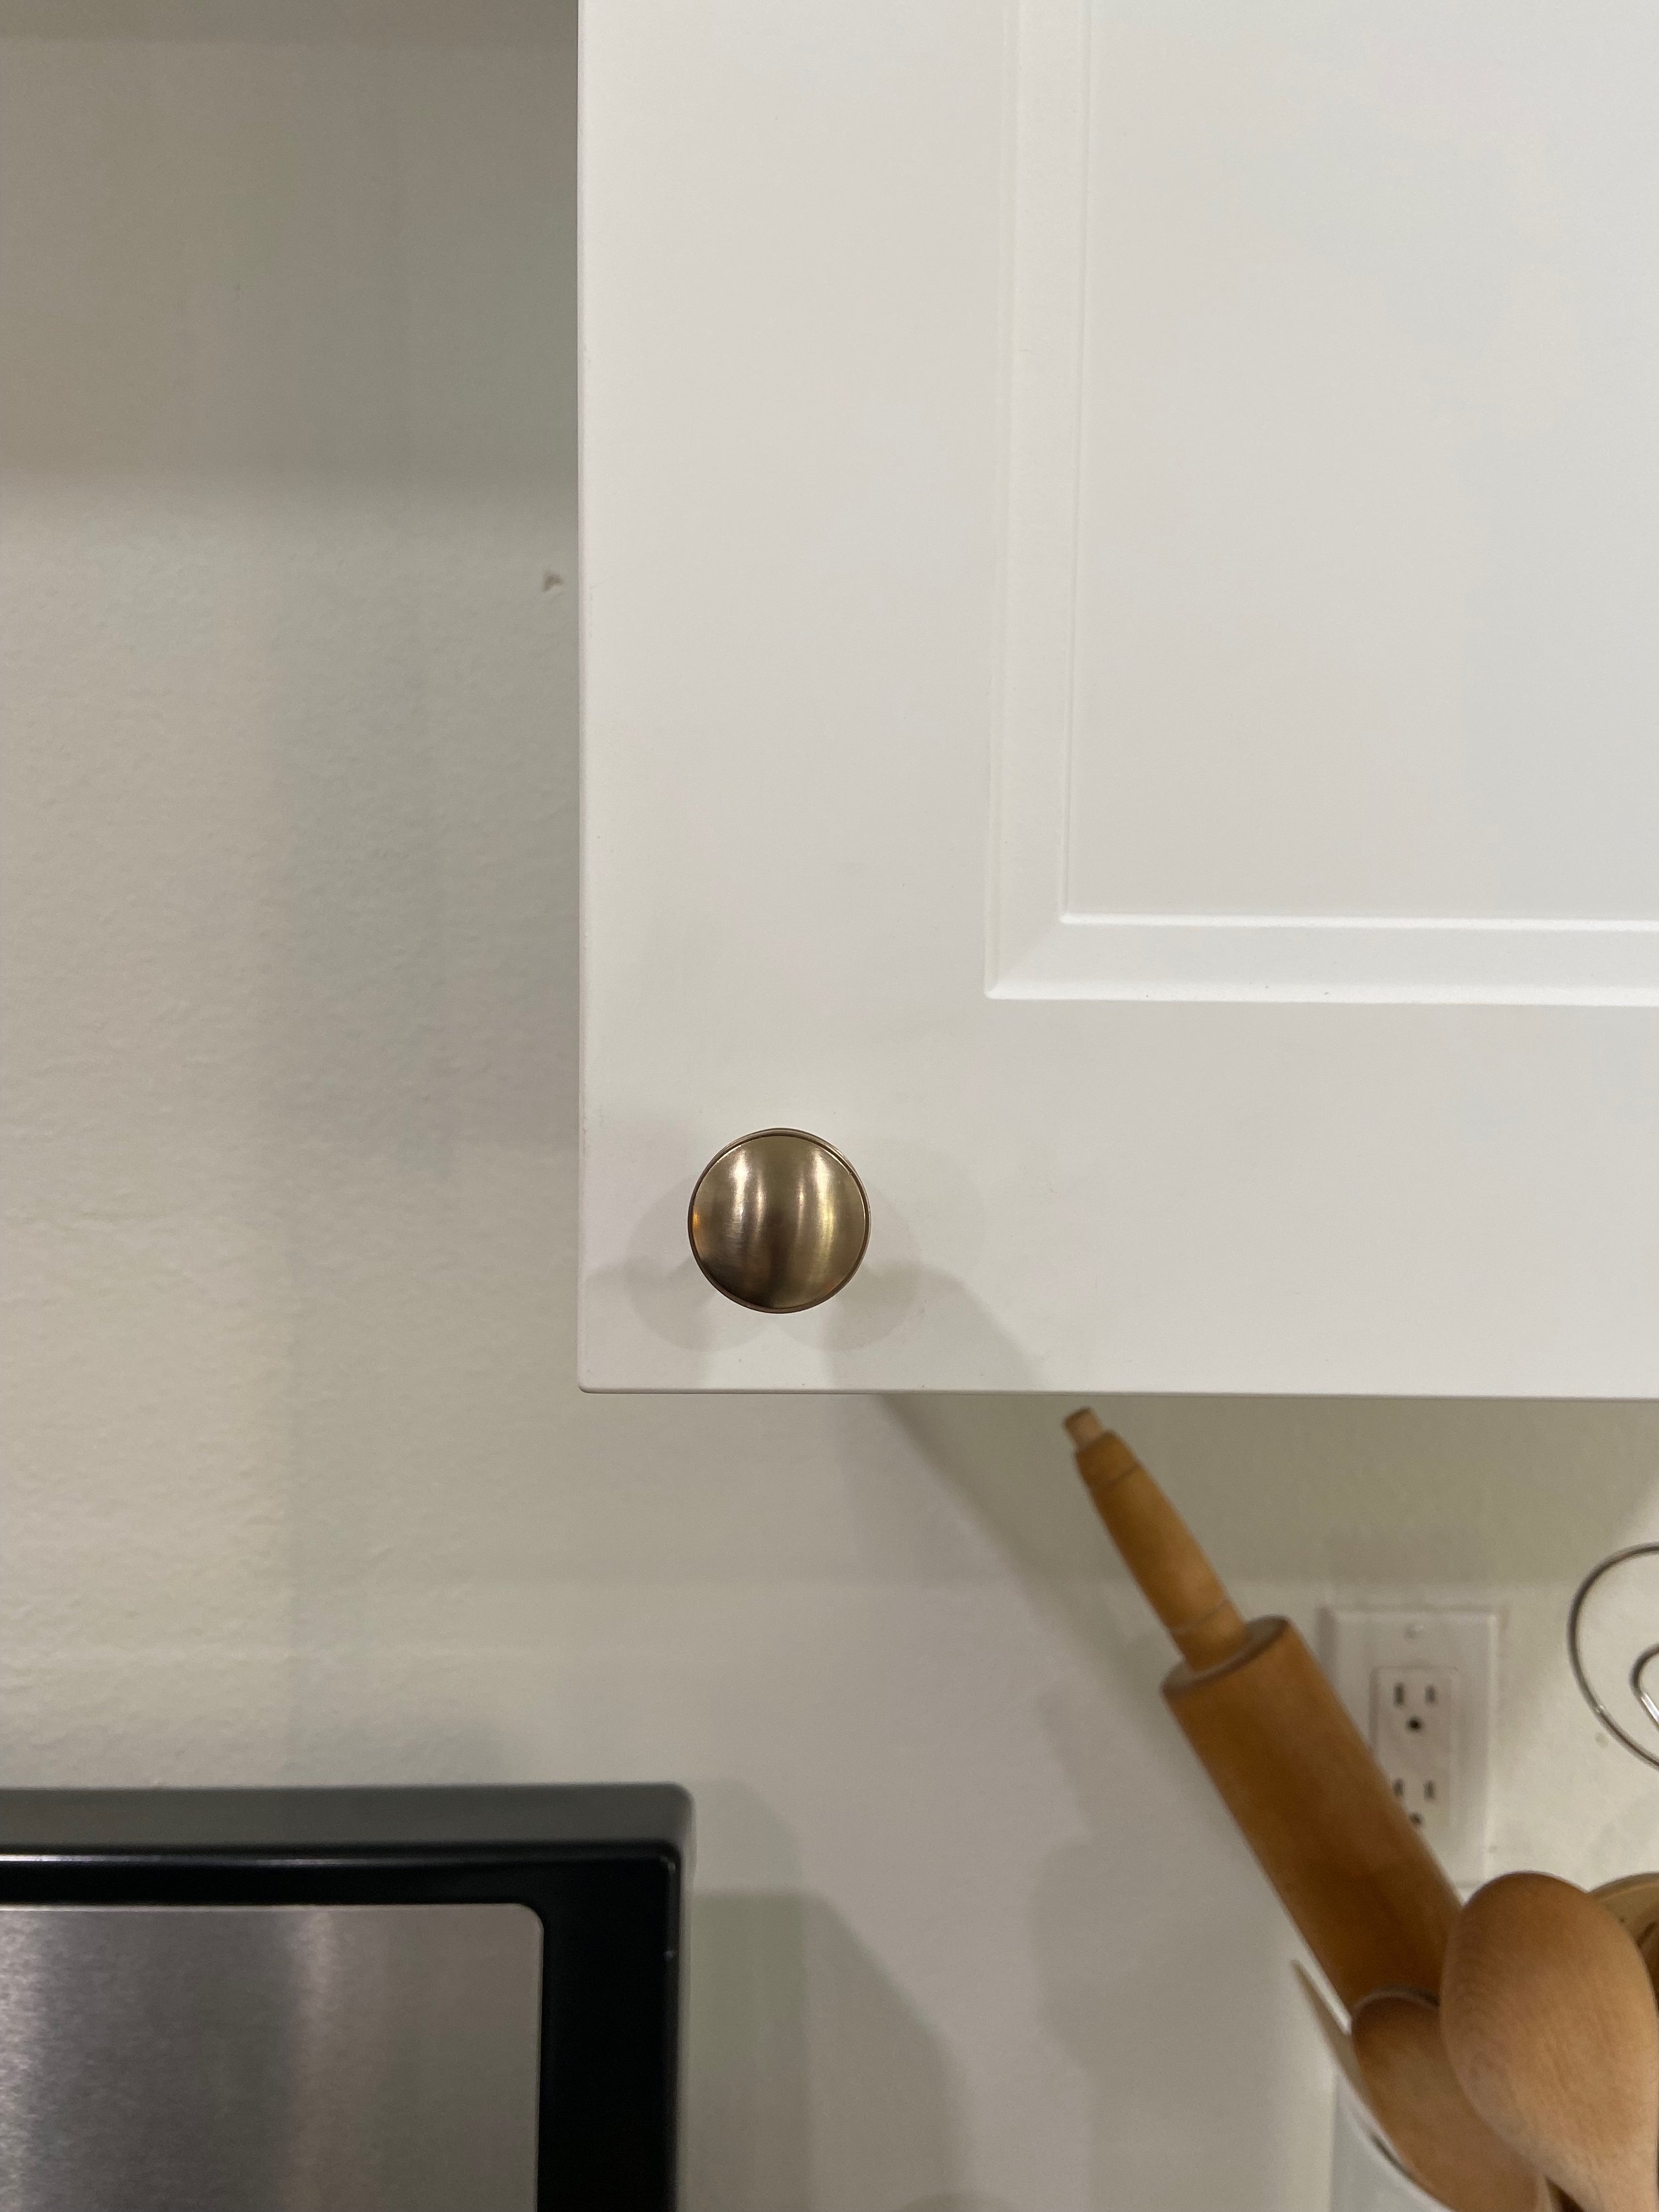
For hardware, we chose these knobs and these bar pulls (in various sizes) in the Champagne Bronze finish from Wayfair. They add the perfect touch of warmth to the cabinets and have held up exceptionally well!
Once we got hardware installed, we took a break from renovations through the holidays. We’ll skip forward a few months to February 2022, when we decided to tackle the backsplash!
The original plan was to tile the entire wall, countertop to ceiling, on the sink side of the kitchen (where we’d also add floating shelves). We’d also tile the other side, between the countertop and upper cabinets by the stove as well. Initially, we planned on using a large format textured tile for both areas (you can see it in this Instagram post). We actually purchased the tile, but after much thought, I realized I wanted something a bit less busy pattern wise. We switched gears, returned that tile, and decided to install shiplap on the sink side and this gorgeous zellige style ceramic tile in a stacked pattern on the stove side.

For this project, we used MusselBound Adhesive Tile Mat instead of traditional mortar. It was incredibly easy to install—you just place one side of the sticky mat to your prepped walls, apply your tile (making sure it’s 100% dry from any cuts), and grout within 24 hours. We would use this again in a heartbeat (and we did—on the coffee bar! Post coming soon 😉)


Because this tile has irregular edges, it is sort of self-spacing so we didn’t use any additional spacers. It was such an easy installation process that we were able to get it all up in one day.


We grouted with pre-mixed Mapei Flexcolor CQ in white. Although a non pre-mixed grout would have been cheaper, the ease in which this applies was well worth it for us! And one tub was more than enough for this project + the coffee bar when we got to that.

Here’s a sneak-peak of what it looked like once we got it completed! 😍

Next up, came the shiplap on the sink side of the room! Although shiplap can lean more rustic or farmhouse-y, I think if applied in the right context it can be a timeless element. We opted for an MDF version and installed it vertically. Not only is this version very affordable, it’s also pre-primed. To ensure that there wouldn’t be any water damage from splashes by the sink, we primed everything in that area with an oil based primer to seal it (we like the Kilz brand). To attach it to the wall, we used construction adhesive + 1.5” nails


Choosing a color was harder for me than I thought it would be! So far, my choices had been pretty neutral (read: shades of white lol). I thought this may be a good time to go with something different and choose a bolder color option (for me)…

I ultimately settled on Meadow Sage by Sherwin Williams. It sort of set the tone (pun intended) for the rest of my color choices throughout the house and I could not be happier with it!

Once we finished painting and trimming out the shiplap, it was time for the very last (and most anticipated thing): to install our floating shelves. We bought some rough cut white oak from a local mill that Josh finished himself and we attached them with this floating shelf hardware from Etsy.
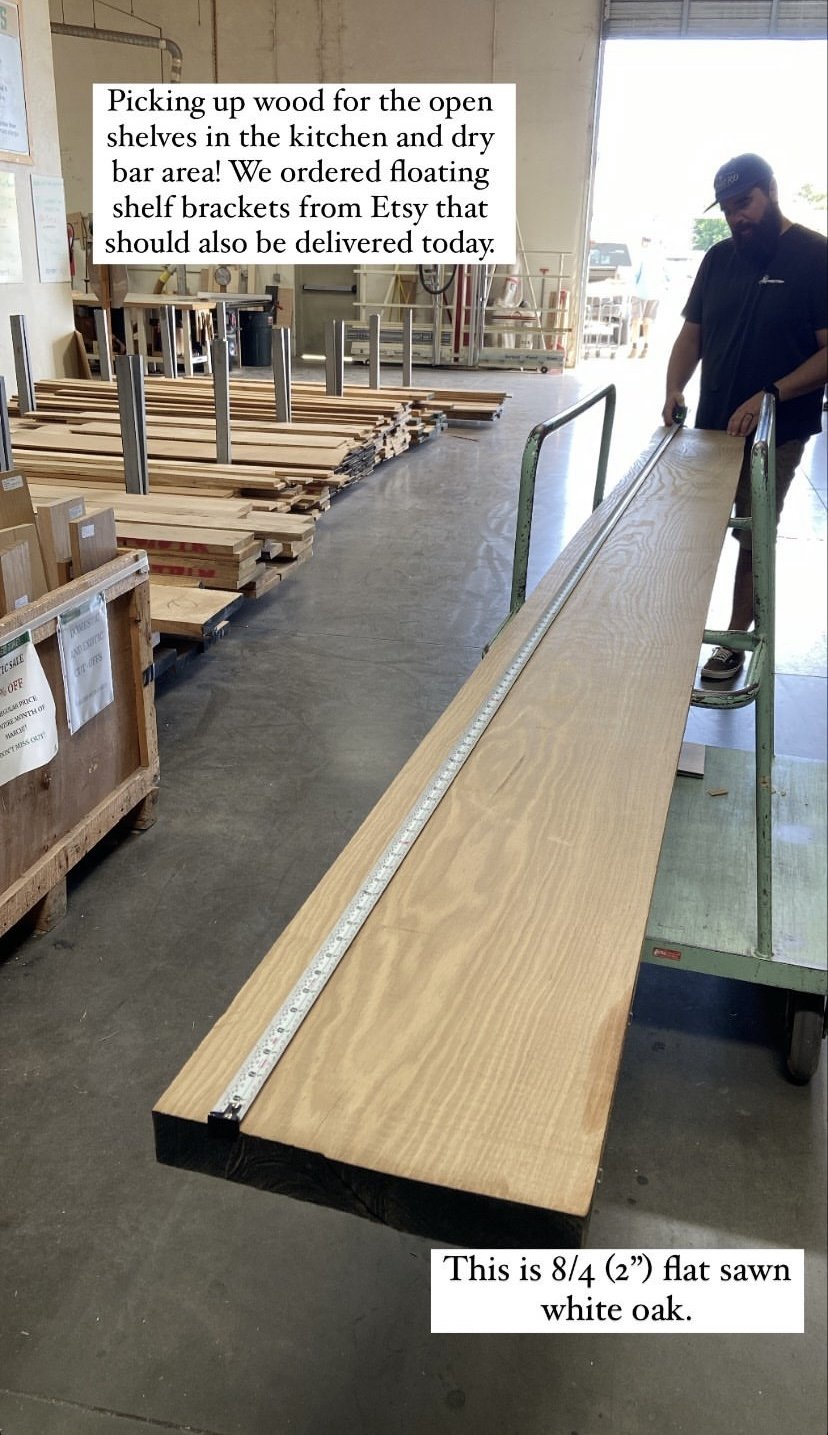

Because we were drilling through shiplap and sheetrock into a block wall the installation was a bit tricky, but Josh knocked it out of the park with these 😍

So, that brings us up to speed to today! I’m sure you’re thinking - give us the final reveal, lady! 😉 Without further ado, here’s what our kitchen looks like now. We’ve come a long way, baby (you can check out the before pictures here)!

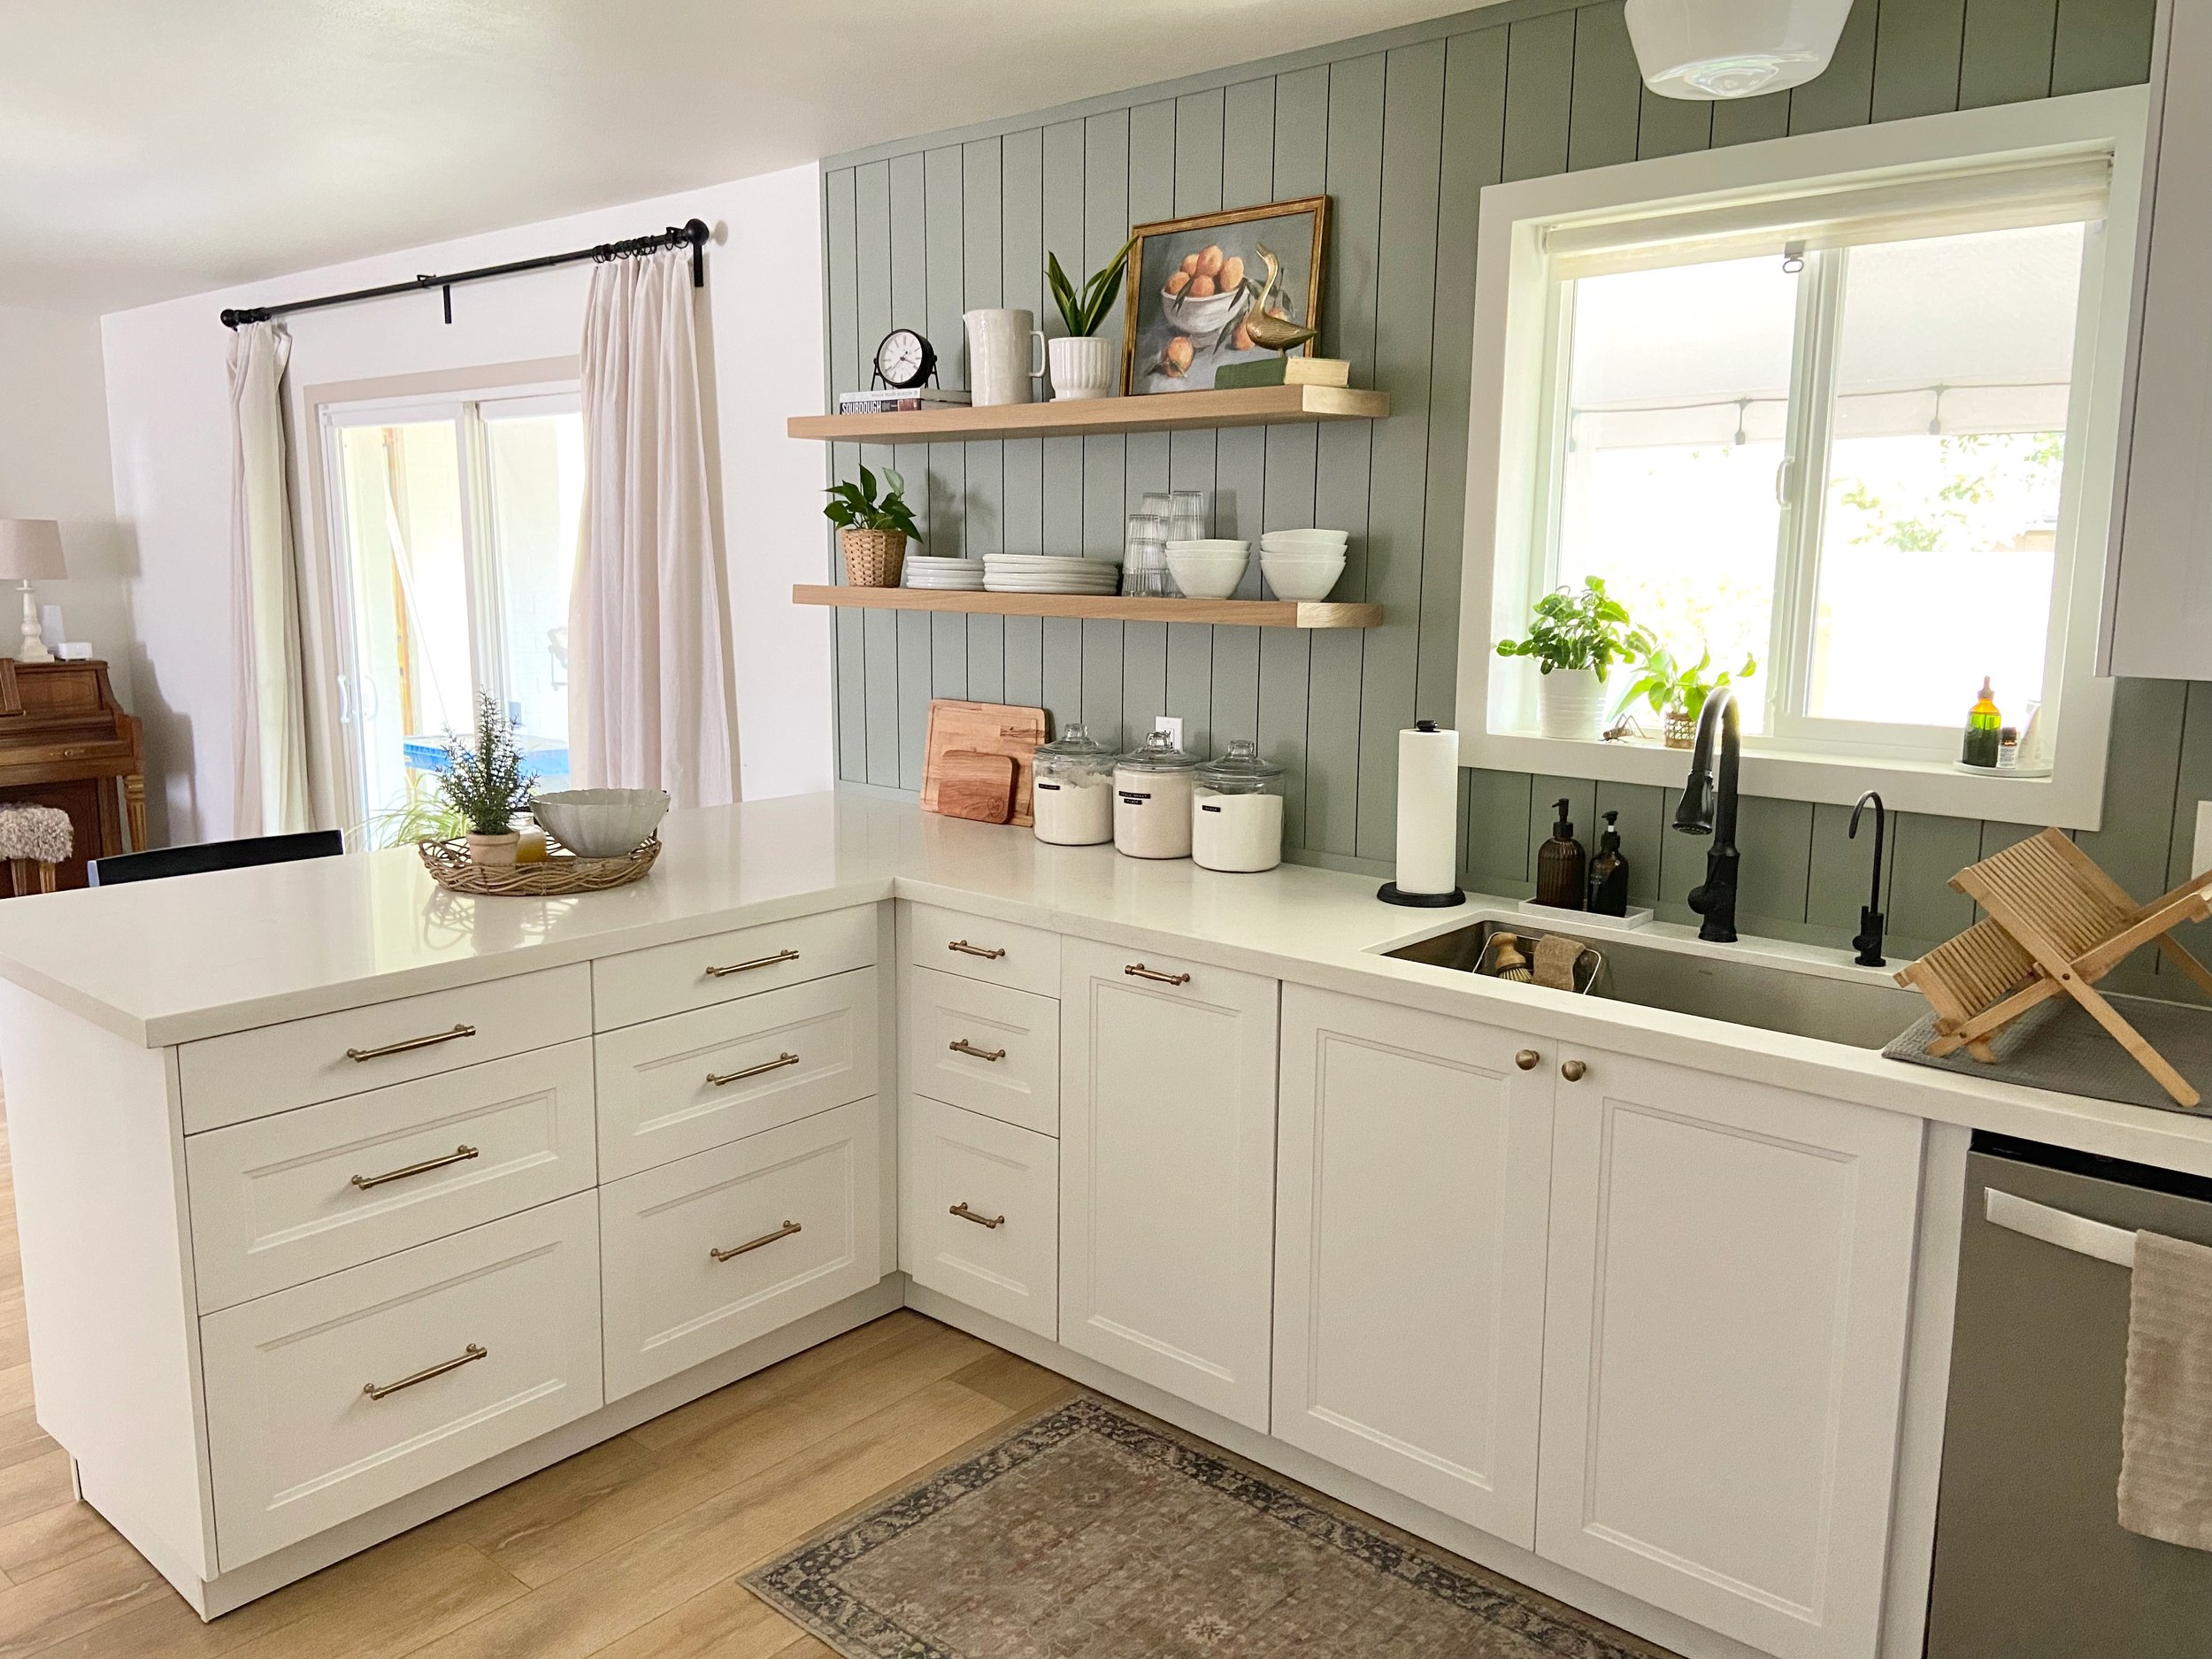


We’ve been incredibly happy with all of our choices from cabinets, to tile, to second-hand appliances. This kitchen is an absolute dream come true 3 years in the making and I feel so privileged to be able to use it every day.
Thanks for hanging with me while I walked through each step of this process! If you have any questions about anything I didn’t cover, please comment below 😊
Next up, in the Reno Recap series, we’ll cover our flooring!
P.S. if you’re looking for sources of anything we used in the kitchen, see below!

Kitchen Sources:
IKEA Cabinets: Sektion frames / Axstad doors
Countertops: Carrara Marmi Quartz in 2mm
Paint color: Meadow Sage by Sherwin Williams
Ceiling light fixture (above sink)
Barstools (similar)
Framed art - Citrus Harvest Print / Summer Pasture Print
All other decor is either thrifted or old 😊
Missed previous posts in the Reno Recap series? Check them all out here!