
Reno Recap: Exterior Updates
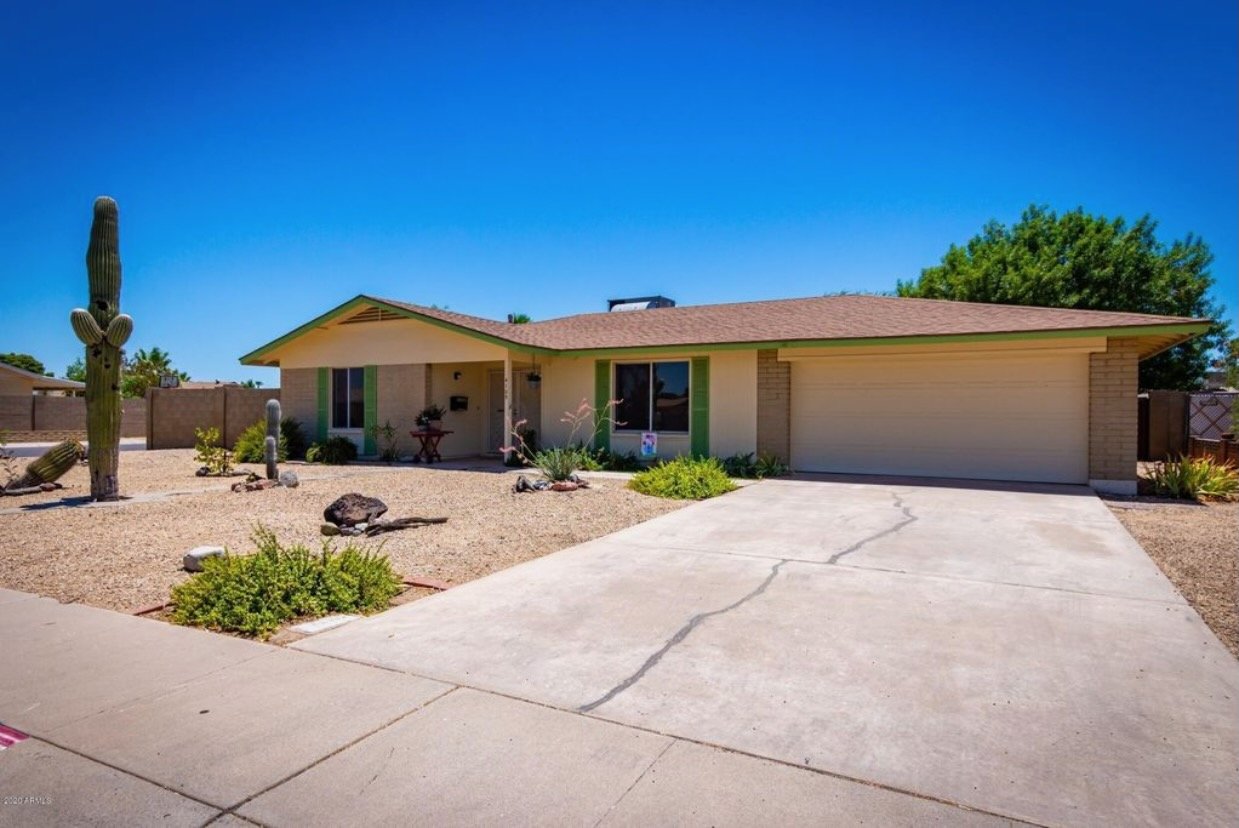
When we bought this house there were a handful of really (and I mean really) ugly houses on our block—think bad paint color combos, overgrown yards, cars parked in yards, etc. Sadly, our house fell into that category (minus the car in the yard). However, we weren’t quite ready to make exterior updates while we were putting our energy—and money—into the inside. Over the years, each of the other ugly houses got some sort of facelift while ours stayed ugly. By the summer of 2022 our house was officially the ugliest on the block with a buttery yellow body color, lime green trim and shutters, old windows, and overgrown landscaping.
Once the weather cooled down last fall, we were finally (finally!) ready to tackle the massive project of updating this ugly place. Looking back, we wish we would have done this project towards the beginning of our whole-home renovation, simply to give ourselves—and our neighbors—something nice to look at while we finished up our other interior projects. That’s just another lesson learned in this whole home reno!
We would begin by giving the entire exterior a new coat of paint, then we’d replace all of the windows with new double-pane vinyl ones, and lastly we’d update the landscaping in the front.
My goal for the color choice was to brighten and modernize the exterior while trying to avoid looking too out of place or too modern in our older neighborhood. We ultimately chose Shoji White for the body, Accessible Beige for the trim, and Urbane Bronze as the door color (all Sherwin Williams colors).

Just a few days after we wrapped up our guest bathroom, we kicked off this project. My parents came out from California to stay with us over Thanksgiving week and they’re always happy to jump into whatever we’re working on (bless them)! Was it a bold assumption that we could paint a 1760 sq. ft. house + a detached two car garage on our own within a few days? Yep. Did we let that stop us? No way!
With any project, prep always takes twice as long as you think it will. We first needed to pressure wash the entire exterior to clean off years of dust and gunk. There were also tons of random nails, hooks, and screws all over that needed to be removed. After everything was cleaned up, we had to cover windows, concrete walkways, and the patio that we didn’t want to get paint on. Prep alone took almost two full days.

When Josh took off the green shutters from the two windows in the front of the house, I’m pretty sure I cried tears of joy. Seeing these for two and a half years was more than enough for me.

After two days of prep, we were finally ready to begin painting! For this project (and future painting projects) we invested in a Graco Magnum Project Painter Plus paint sprayer. We also already owned the Graco TrueCoat 360 handheld sprayer which came in super handy for spraying the trim, the slump block accents on the front, as well as the garage door.
My dad and Josh rigged up a makeshift shield made of a piece of cardboard and a painting stick to use while spraying the trim and it worked surprisingly well!

Even with just the trim painted, the place was looking a million times better.


Next up it was time to tackle the body of the house. This was quite the undertaking, but was so, so rewarding to see that buttery yellow fade into a perfect white.

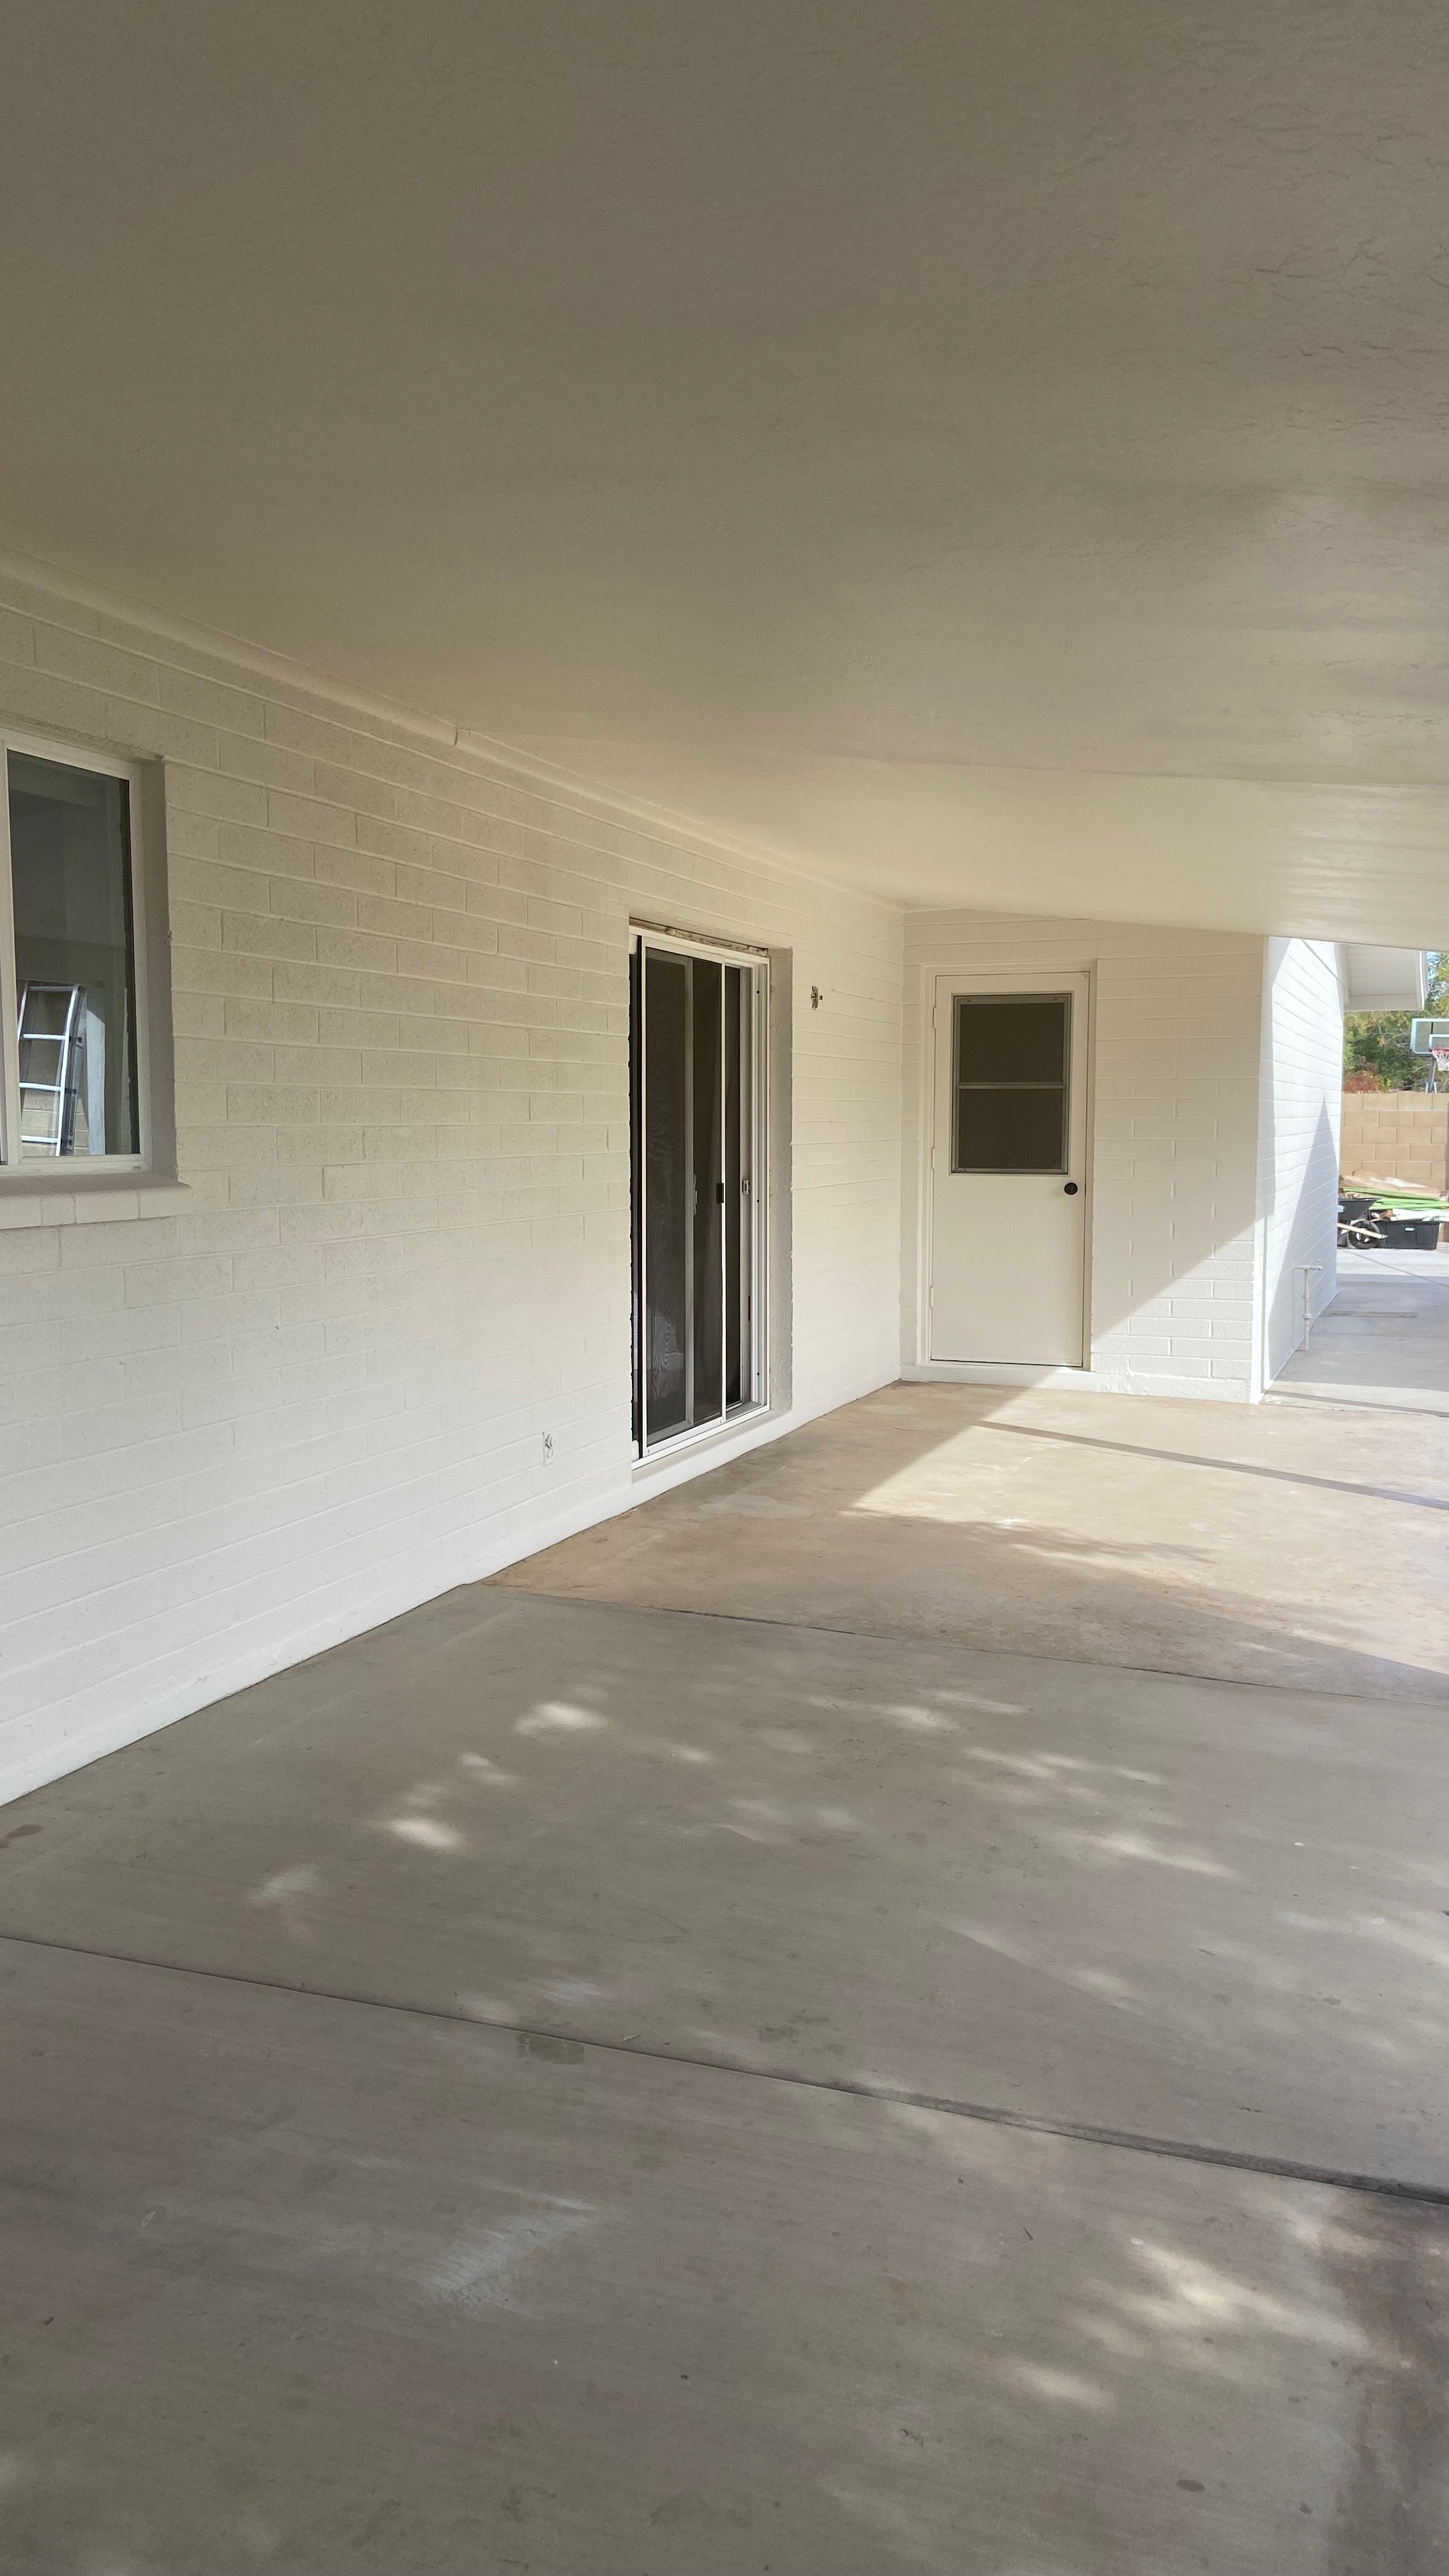
With the original paint color, the covered patio (just off of the dining room and kitchen) cast an overly warm yellow color into the house. I absolutely hated it and painting it has made SUCH a noticeable difference in the tone of light that is reflected into the house! Here you can really see the yellow tone it cast…

And here’s the after of that patio space! It’s a shocking difference and I’m thankful for the change every day!
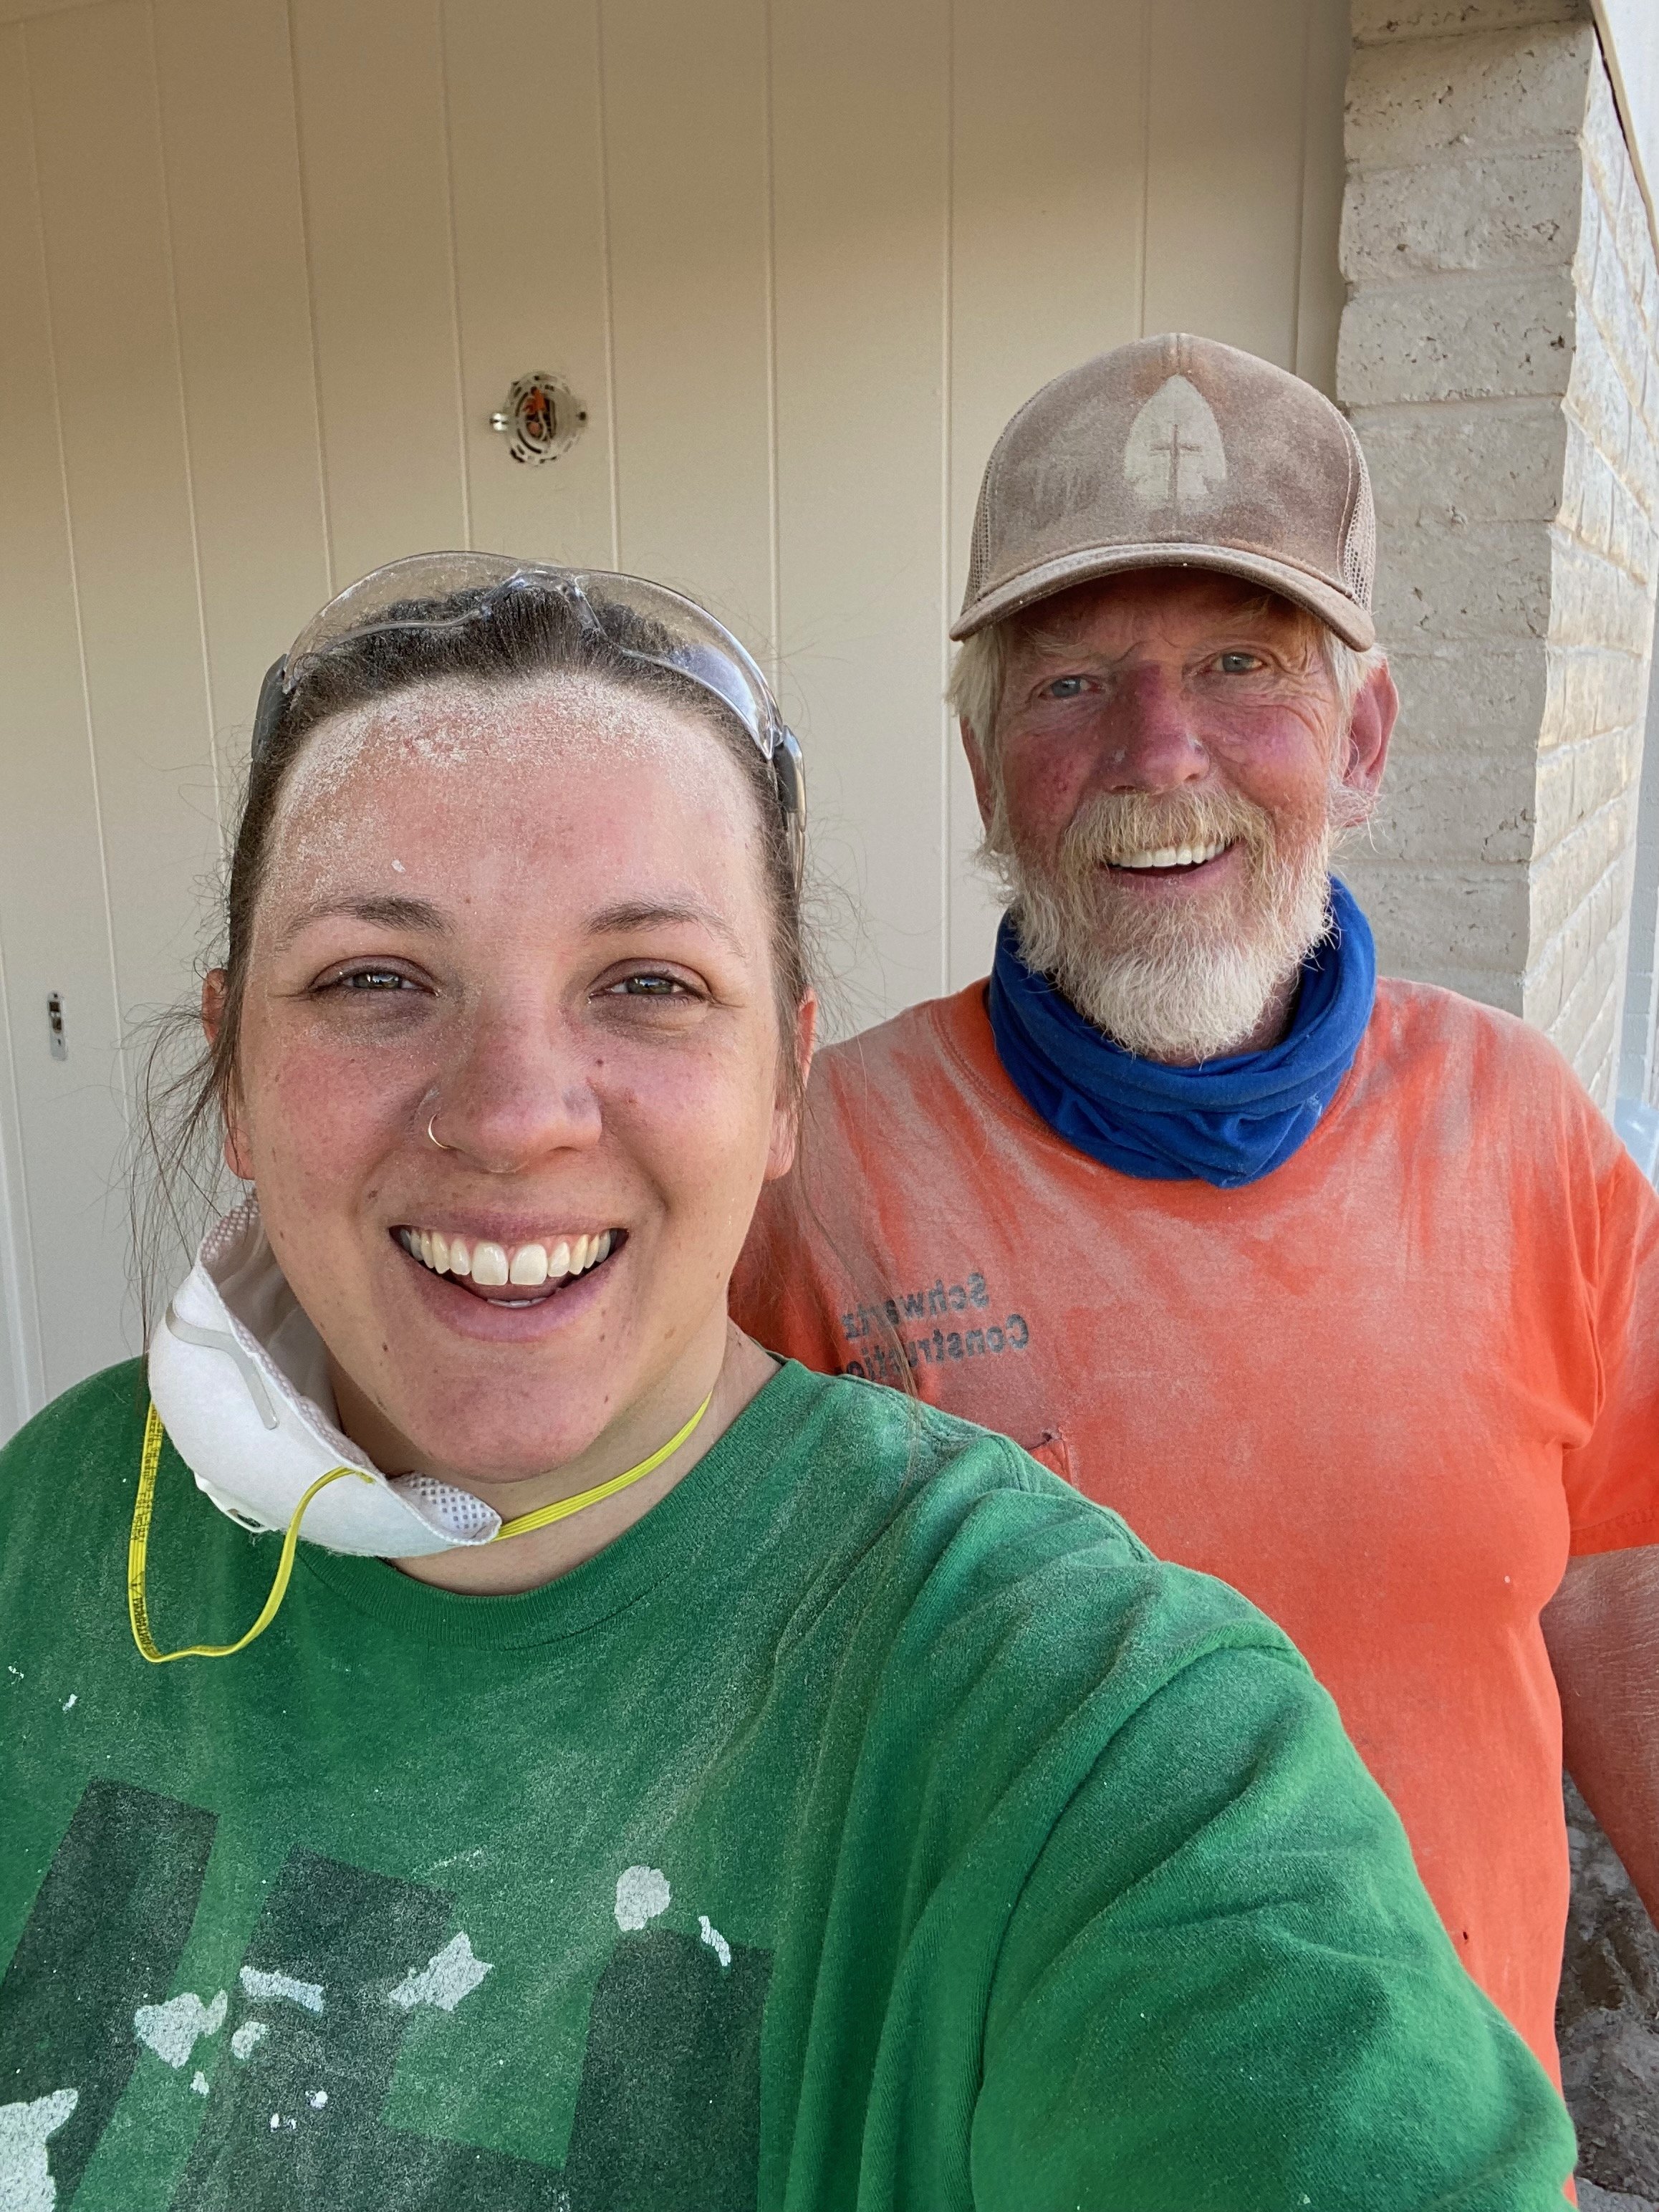
We slowly made our way around the house, covering every square inch with fresh paint. By this time, Josh had to go back to work so my dad and I finished the last half of the house on our own.
I’ll treasure this picture of me and my dad forever. He’s the hardest worker I know and always willing to jump in to help. I learn so much from him every time we do a project together ❤️
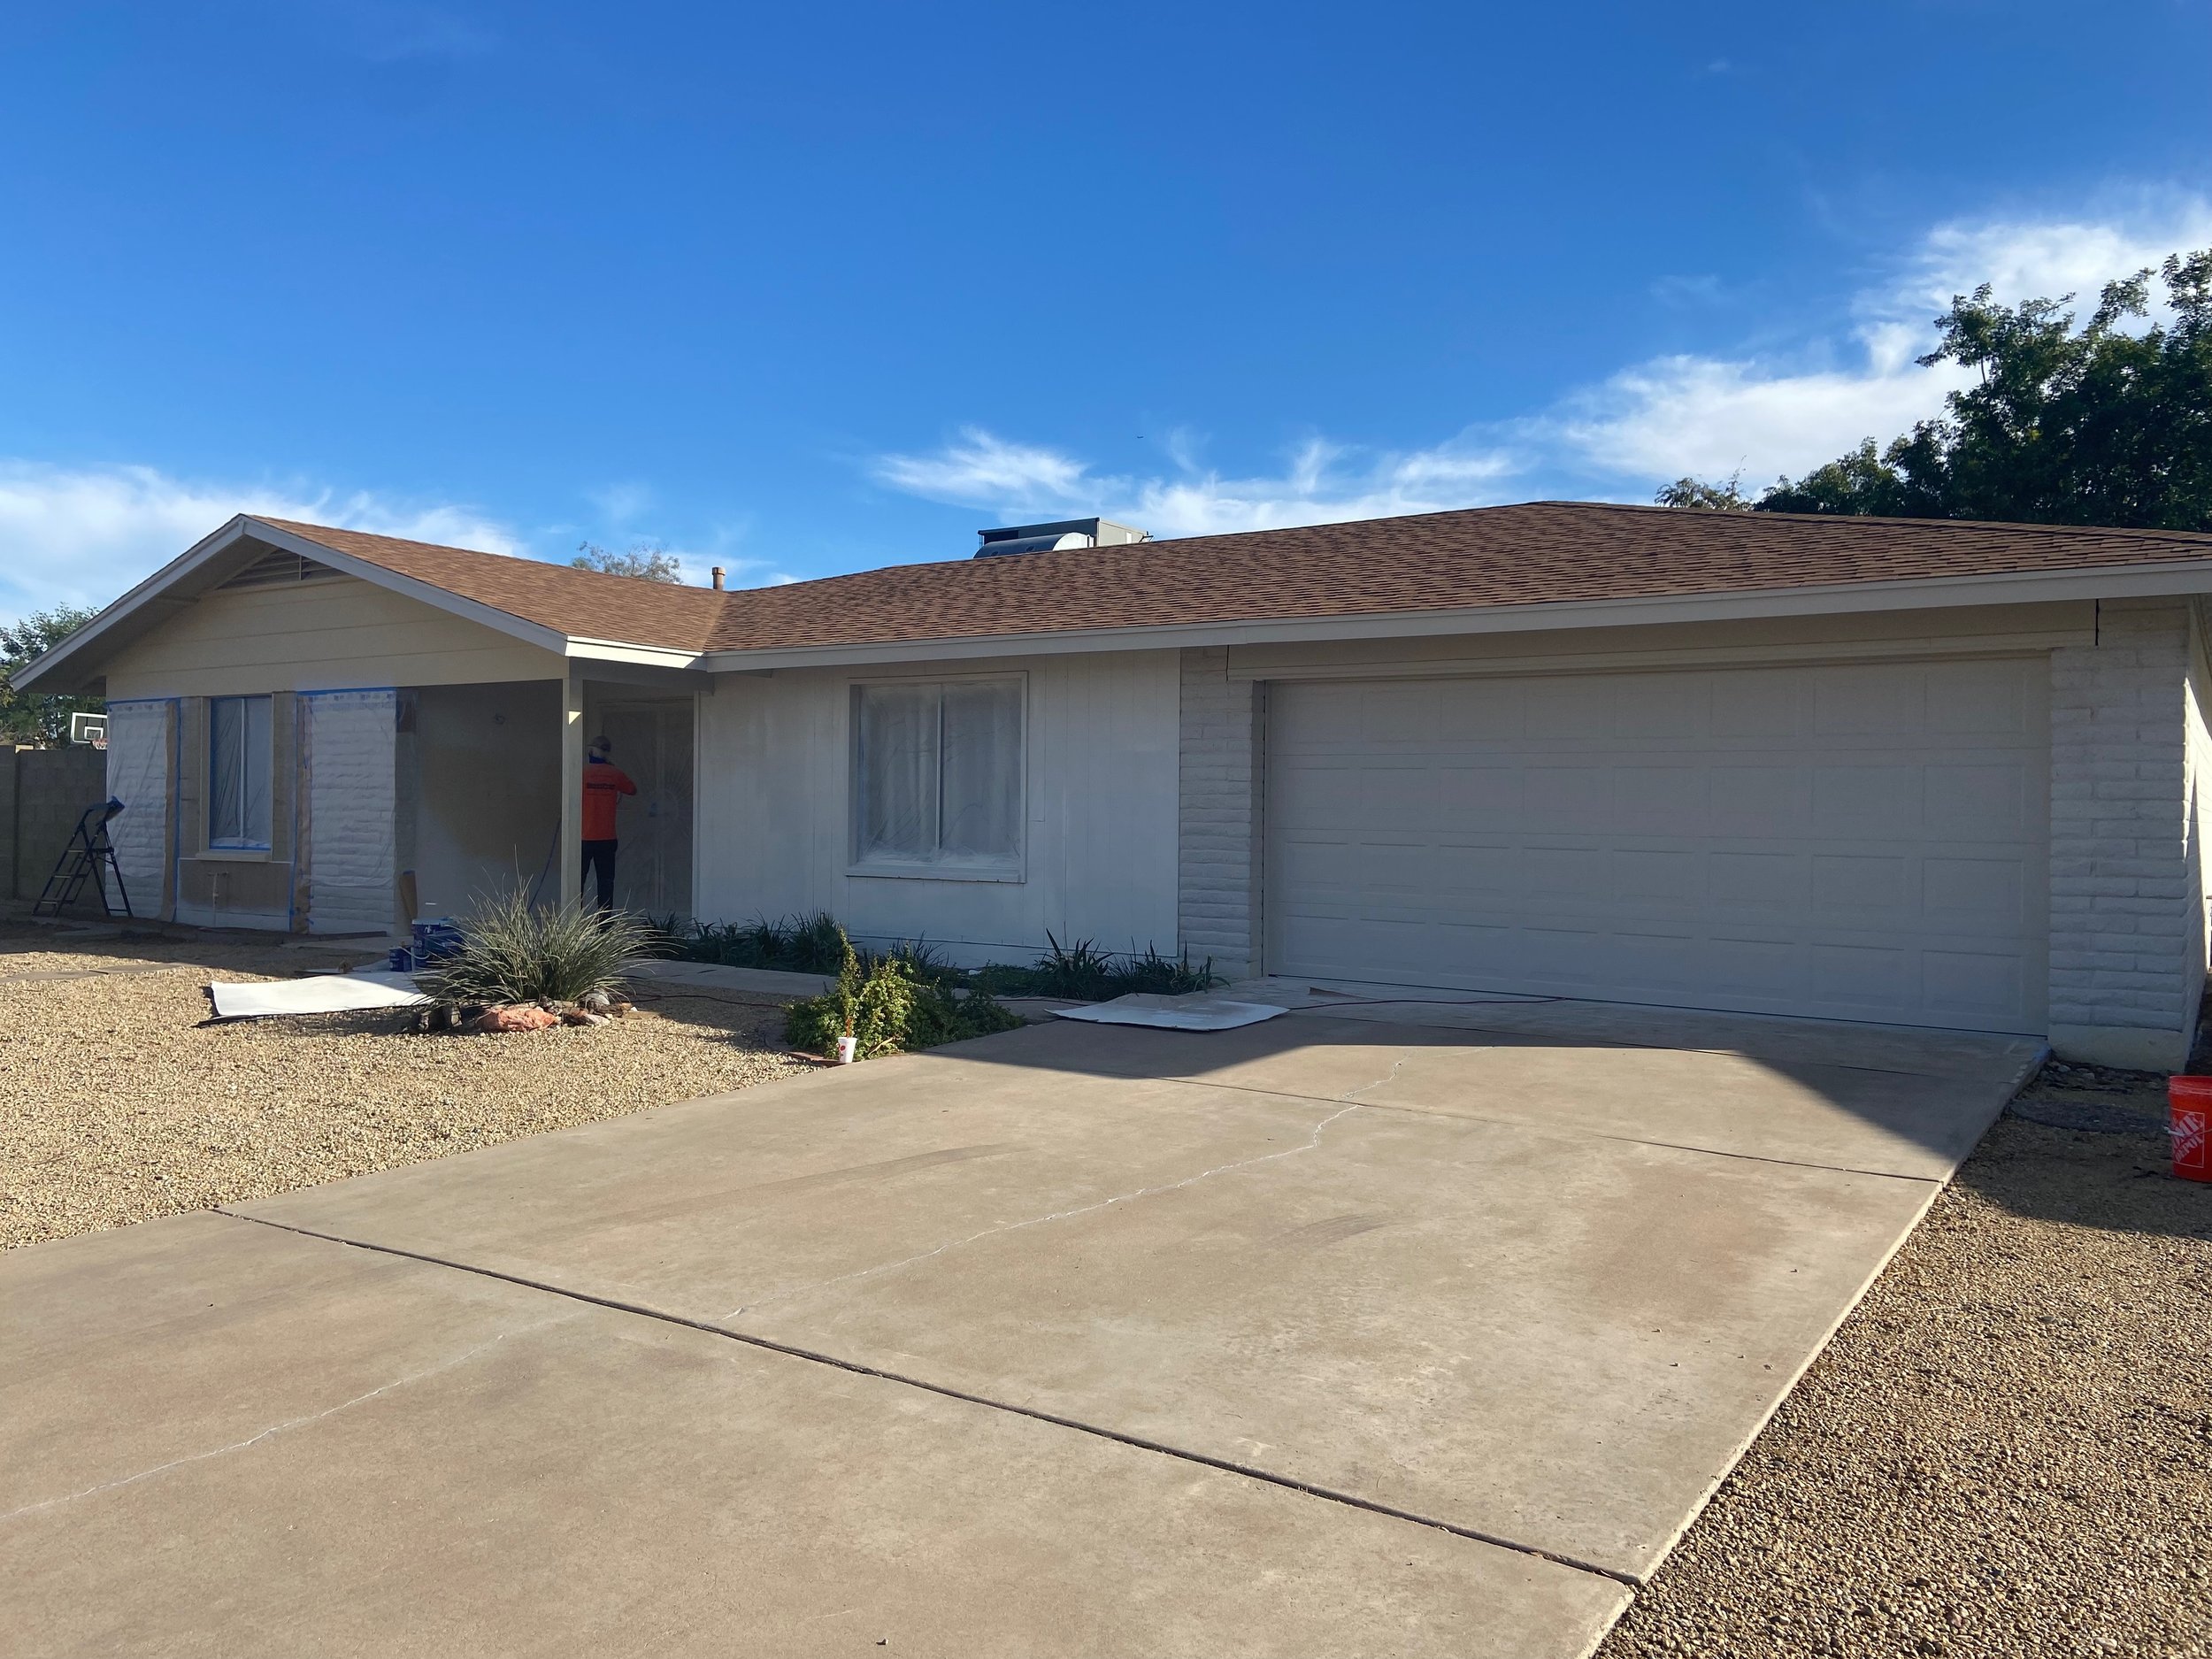
In the end, we spent two days prepping and two days painting. It was SO much work, but it was a fun learning experience and I’m so glad we had my dad’s help! The house looks like a completely different place and I still can’t believe we did it all on our own.
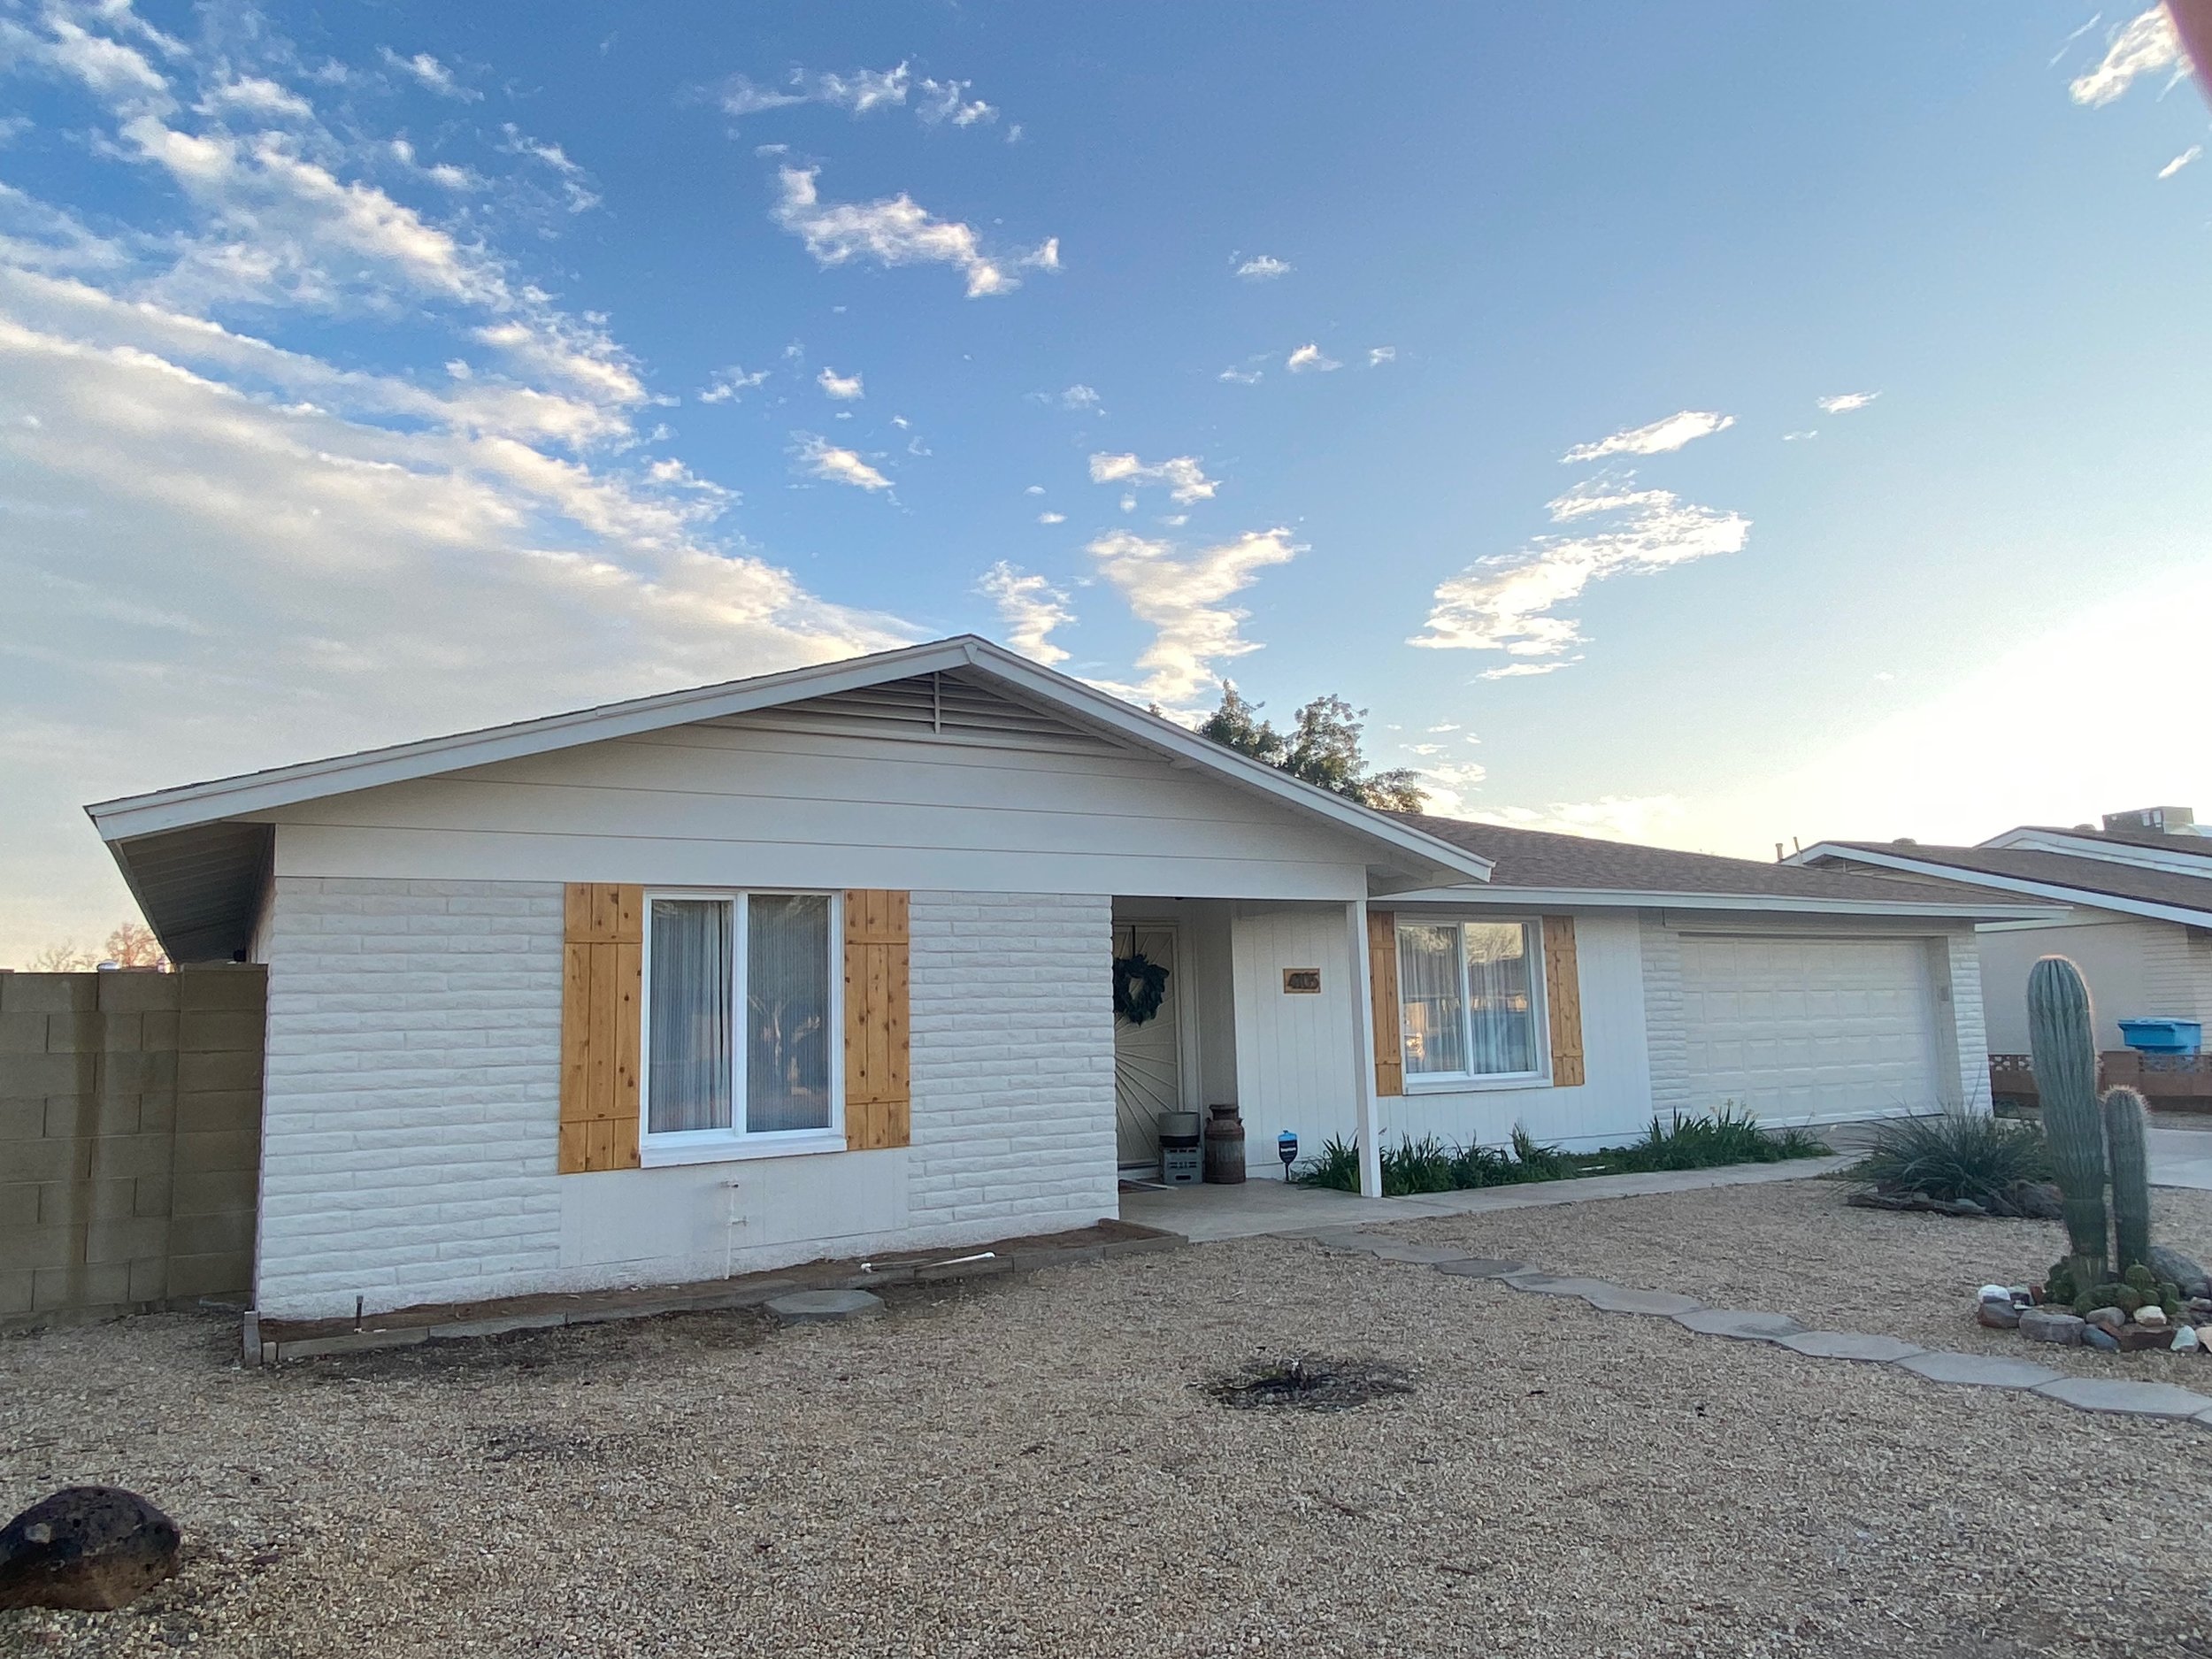
Here’s a picture from a couple of months later, after we added some new shutters. I’ll share that very easy (and affordable) project in a future post 😉

Can you believe this is the same place?!

You may also have noticed in the after picture above that the windows got replaced! The old windows were original to the home (from the 1960s). They were aluminum framed and single pane and if you’re wondering, they were absolutely not efficient in the AZ heat 🥵. They also did nothing to insulate against sound or wind (which we get a lot of during monsoon season).
Our plan was to replace them with new, energy efficient, dual pane vinyl windows. Not only would they help with keeping the house more comfortable, they’d also help dampen the sound from outside.
But…of course it couldn’t be straight forward. The windows weren’t standard sizes so we had to custom order new ones from Home Depot. Thankfully the process is fairly simple, but it took about eight weeks for them to arrive. The house has a grand total of six windows, and two of them had already been replaced (the kitchen and guest bath) so this meant that we only needed to install four new windows during this project (the one time I’m grateful for our house having a small number of windows hah). The ones that needed replacing were one in each of the three bedrooms and one in our living room.

My amazing dad offered to come out from California again to help Josh with this project and they were able to get all four done in one day! Because we have block wall construction (slump block), the demo was a bit messy and finicky. The old window frames were imbedded into the concrete so the guys had to pry them out and scrape the opening before installing the new windows. Thankfully, the install part was pretty straight forward as the new windows were a perfect custom fit! They set them in place using shims to get them level and square, and then attached them with concrete screws. Finally, they filled the gaps with caulking.


The new windows look SO MUCH BETTER and are incredibly efficient. They also do an excellent job of blocking sound from our neighborhood. Our house is a much more comfortable and peaceful place, thanks to these new windows!
After the windows, the next thing to tackle was the front doors. Did I forget to mention that they were BRIGHT YELLOW?! As in school bus yellow, not a cute yellow 😬 It was always fun to see people’s faces when we opened up the security doors and they caught a glimpse of the yellow for the first time 😅
We decided to paint the doors, and the security doors, Urbane Bronze by Sherwin Williams (which is the color swatch to the far left below). Honestly, any color would have been better than the yellow, but I especially loved the warm depth of Urbane Bronze.


After prepping the doors by wiping them down, filling holes, and sanding, I gave them two coats of Urbane Bronze and they immediately looked better.

We were able to remove the security doors and then used our Graco TrueCoat 360 handheld sprayer to give the them a fresh coat of paint too.
After a bit of zhuzhing and a few new potted plants, this entry way doesn’t look half bad!

Again, I wish we would have done these projects at the beginning of our renovation a year prior so that we could have been enjoying it all along. But I’m grateful to have a pretty exterior now!
Next up, I’ll tell you all about the landscape updates that really helped us graduate from being the ugliest house on the block 😉
Thanks for following along—see ya next time!

Exterior Sources:
Body color: Shoji White by Sherwin Williams
Trim color: Accessible Beige by Sherwin Williams
Door color: Urbane Bronze by Sherwin Williams
Windows: Ply Gem from Home Depot (custom sizes)
Paint sprayers: Graco Magnum Project Painter Plus / Graco TrueCoat 360
Plaid rug: Allen + Roth from Lowe’s
Plants + pots: Seasonal at Lowe’s
Wreath (similar)
Missed previous posts in the Reno Recap series? Check them all out here!