
Reno Recap: Opening up the Living Room
I’m a big fan of living in a space for a while to settle on your renovation plans before you jump into a big project. We like to spend time in the space to learn how we live in it and then we can formulate a plan (I learned this from following Young House Love’s projects throughout the years!) When we purchased this home we immediately thought that knocking down the wall that separated the living and dining room would serve us best, but we waited almost a year before we did anything. Even though we waited so long and ended up doing what we initially thought we’d do, I’m glad for it because it gave us time to plan and save and now I appreciate the finished product even more.
Our home faces north/south(ish), which is great for heat as sunlight doesn’t shine directly into the largest windows, but it also means that the house can be a bit dark during different parts of the day (and I’m a huge fan of natural light). With a big wall essentially running down the center of the house, the lack of light was really amplified, especially in our dining room.
The living room also had a step down, which is really common in 1960s homes in Phoenix, apparently. In order for our new flooring to be able to flow through the house seamlessly, we wanted to fill in the step down. We’re on a slab foundation, so in order to raise it up we needed to pour new concrete.
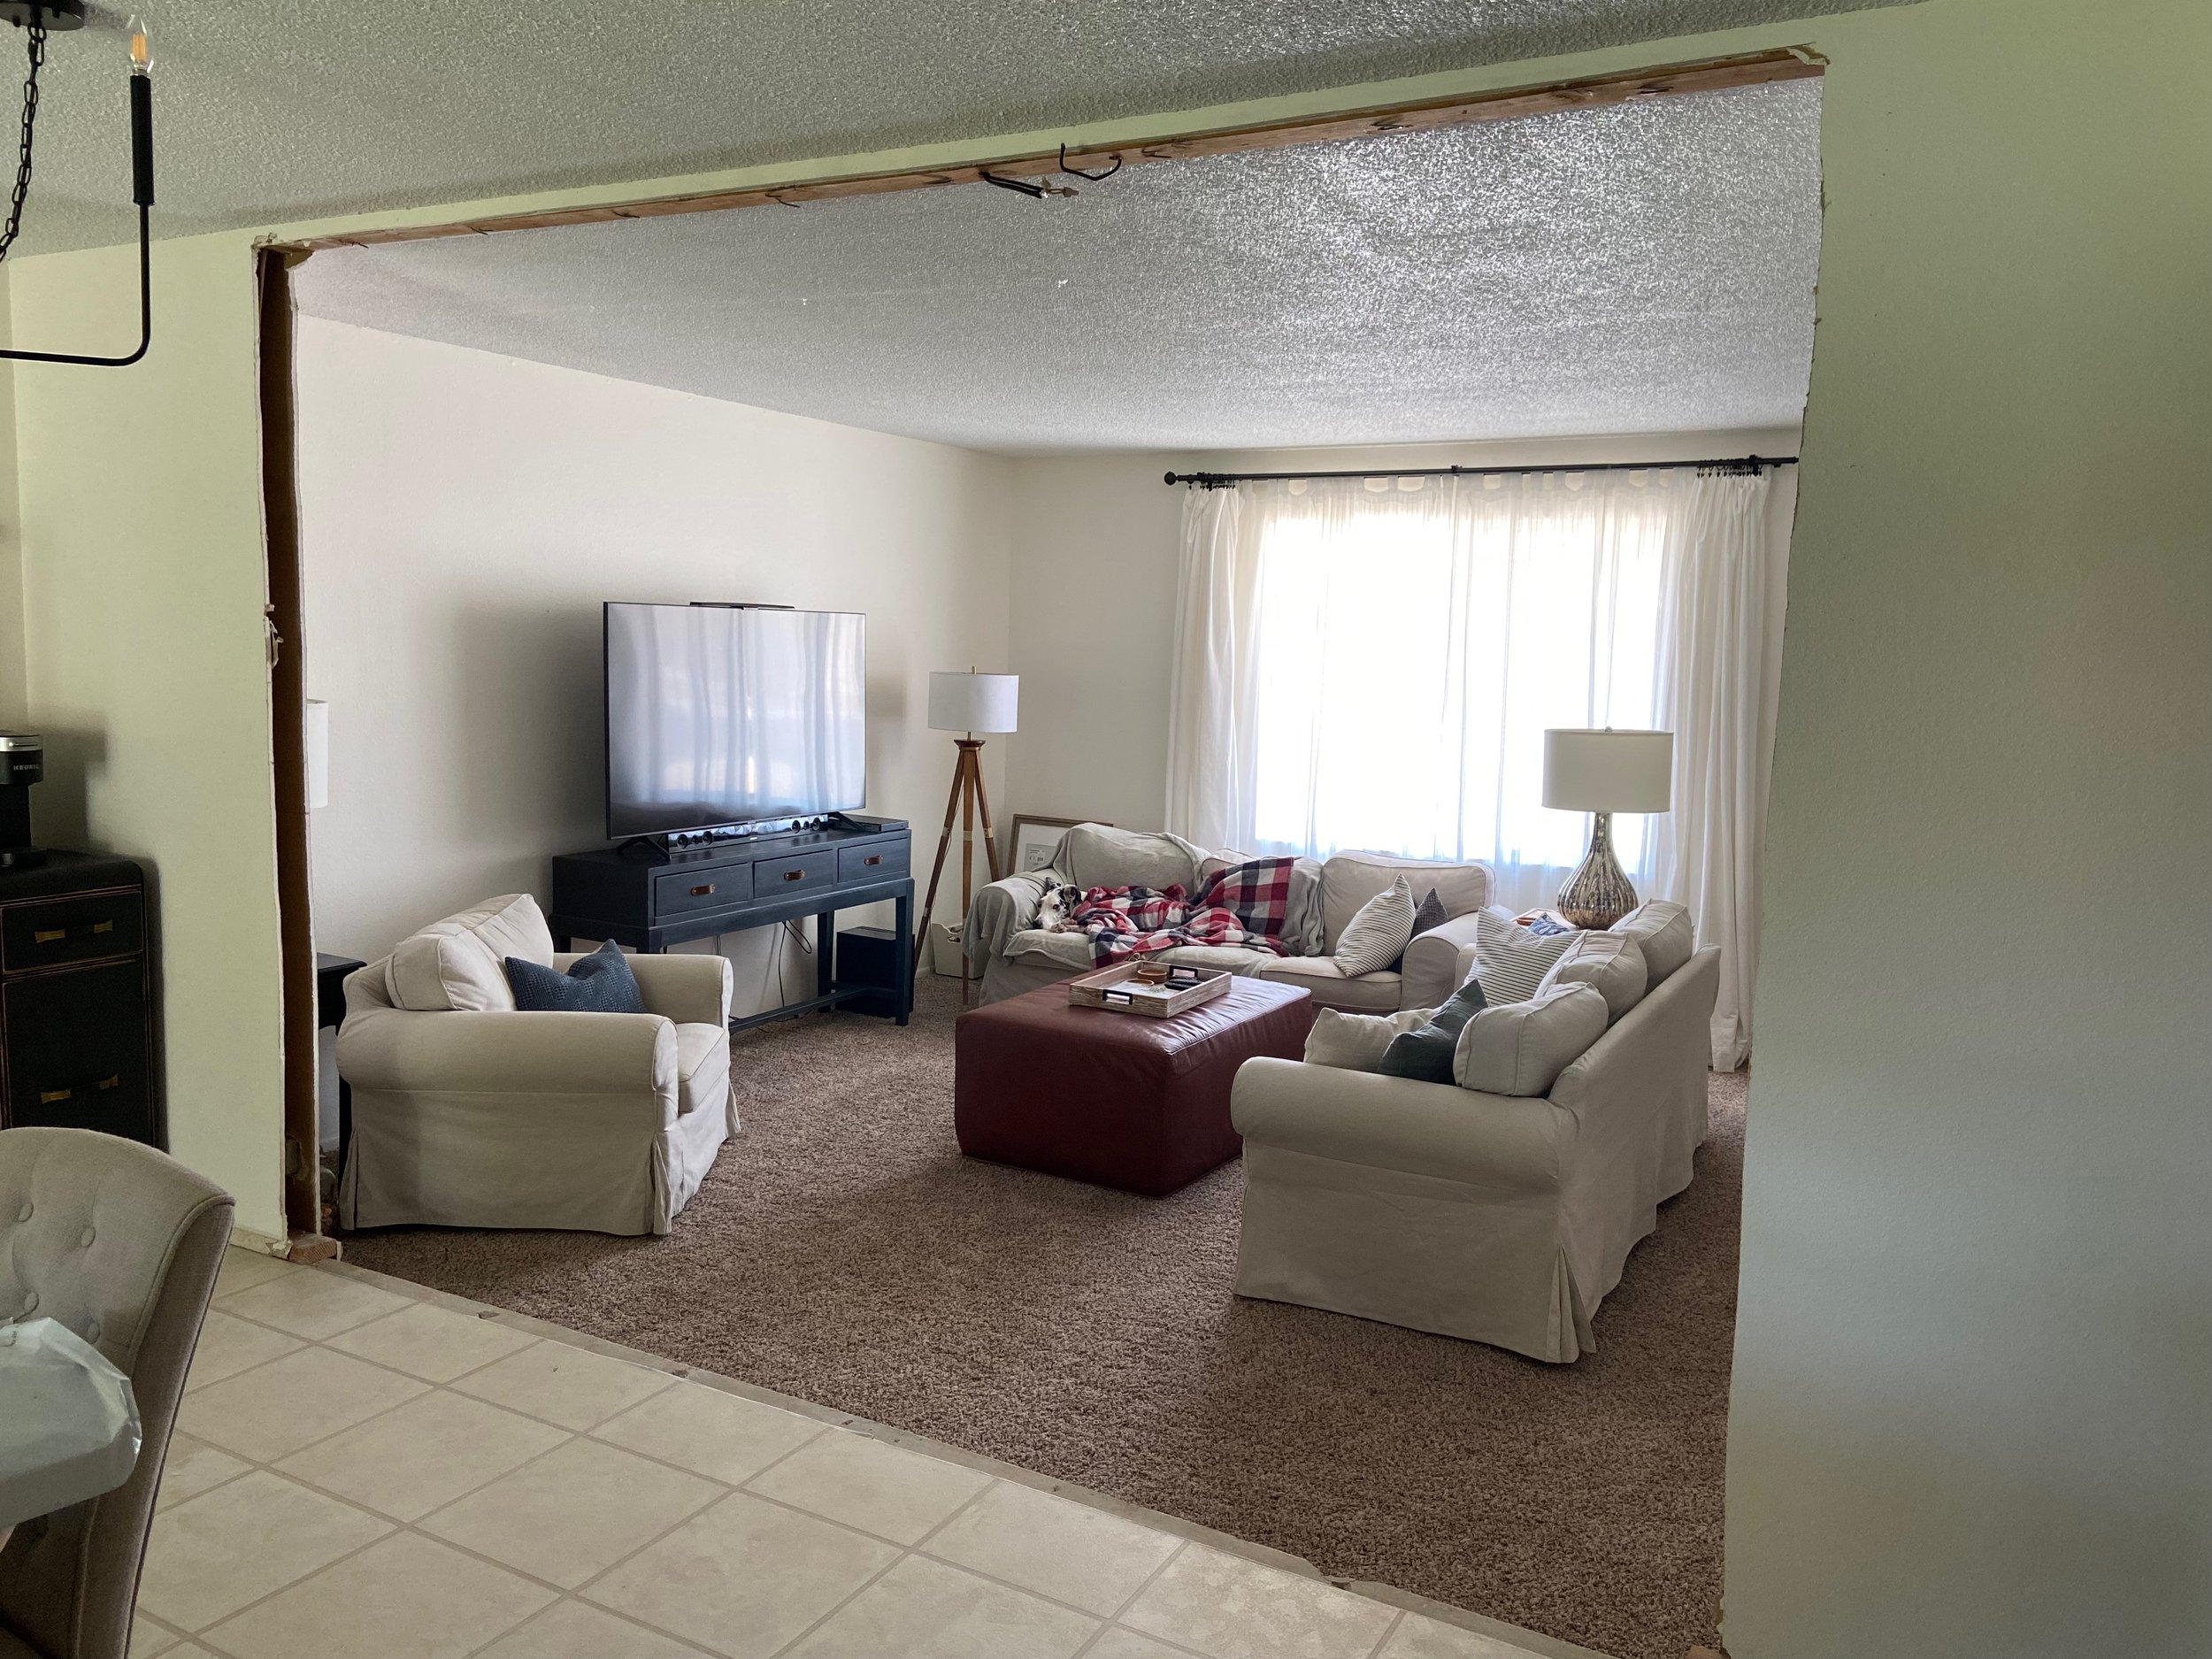
Here’s a quick recap of what the living room space looked like when we first bought the home:
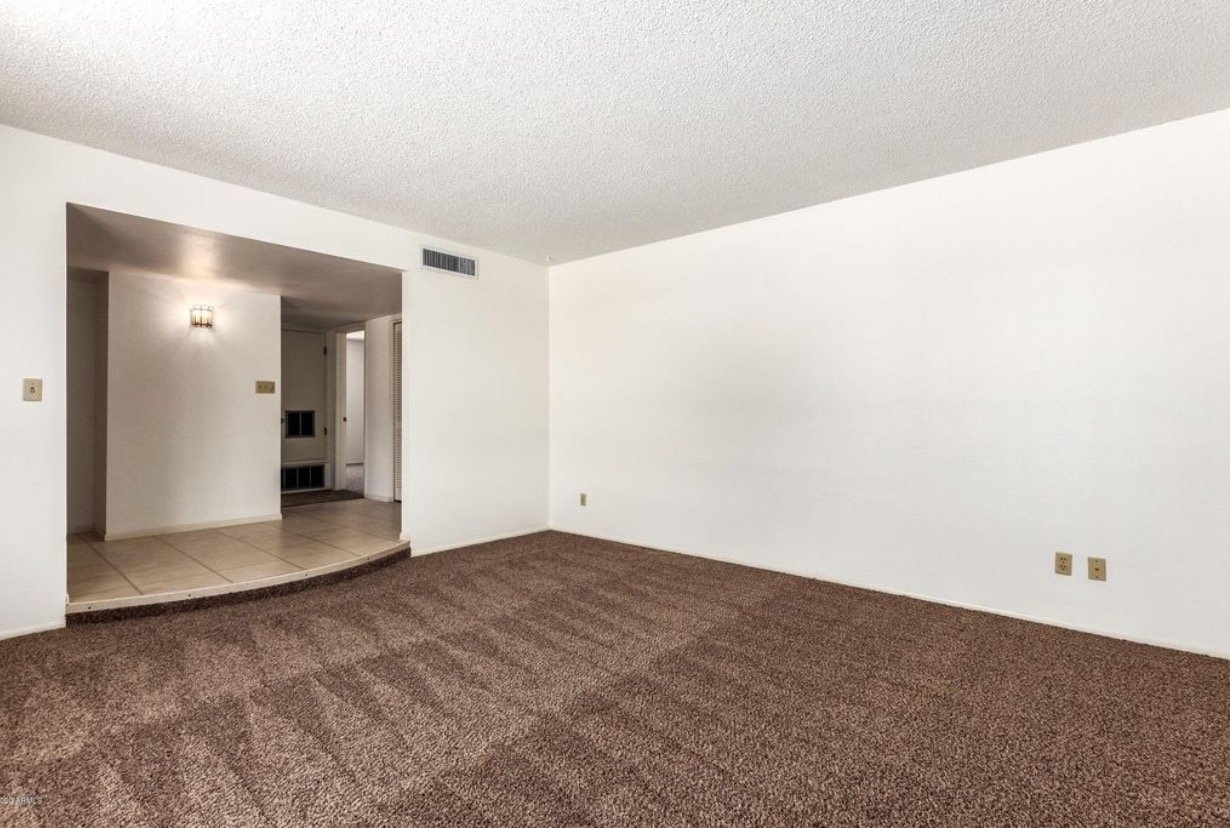


The living room is about 15ft wide x 16ft long so it’s definitely a decent amount of space! We also have a 6x5ft window that faces the street, which lets in a good amount of light throughout the day (but, as I mentioned above—since the front of our house faces north, there’s never any direct sunlight).
The dining room is almost the same exact size as the living room, with a large sliding glass door. We don’t get quite as much light through that though since our patio is covered.


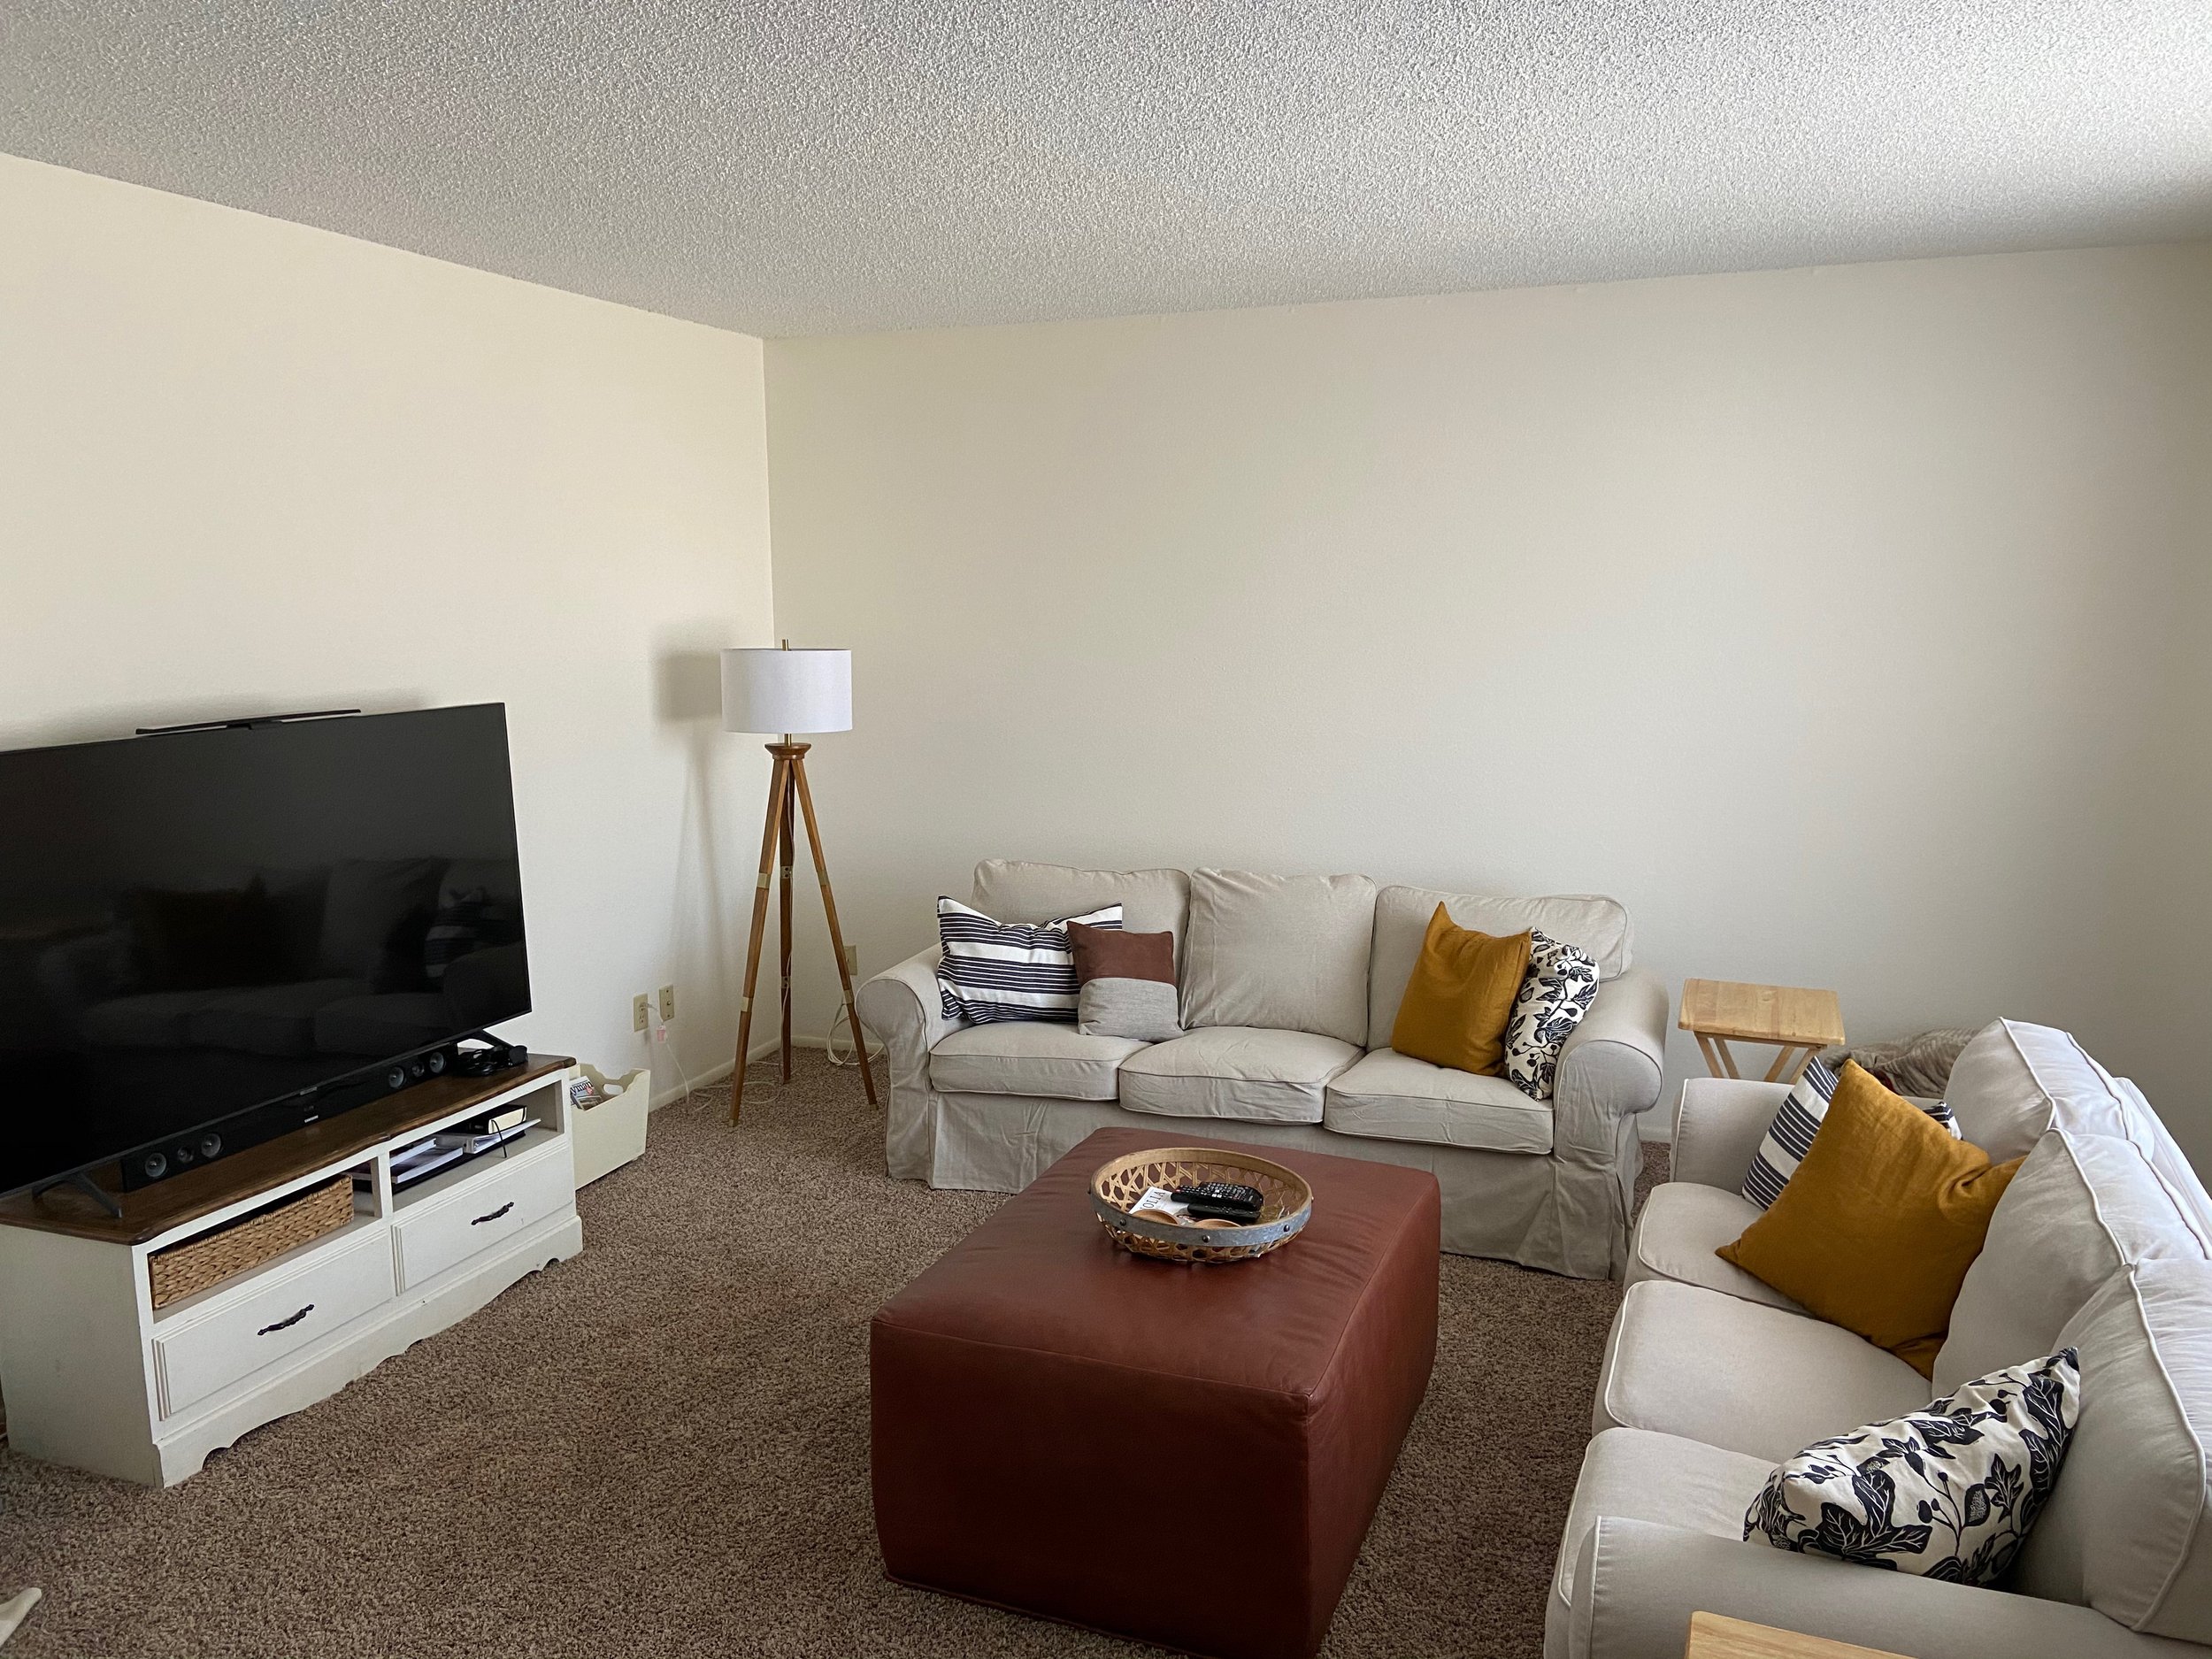
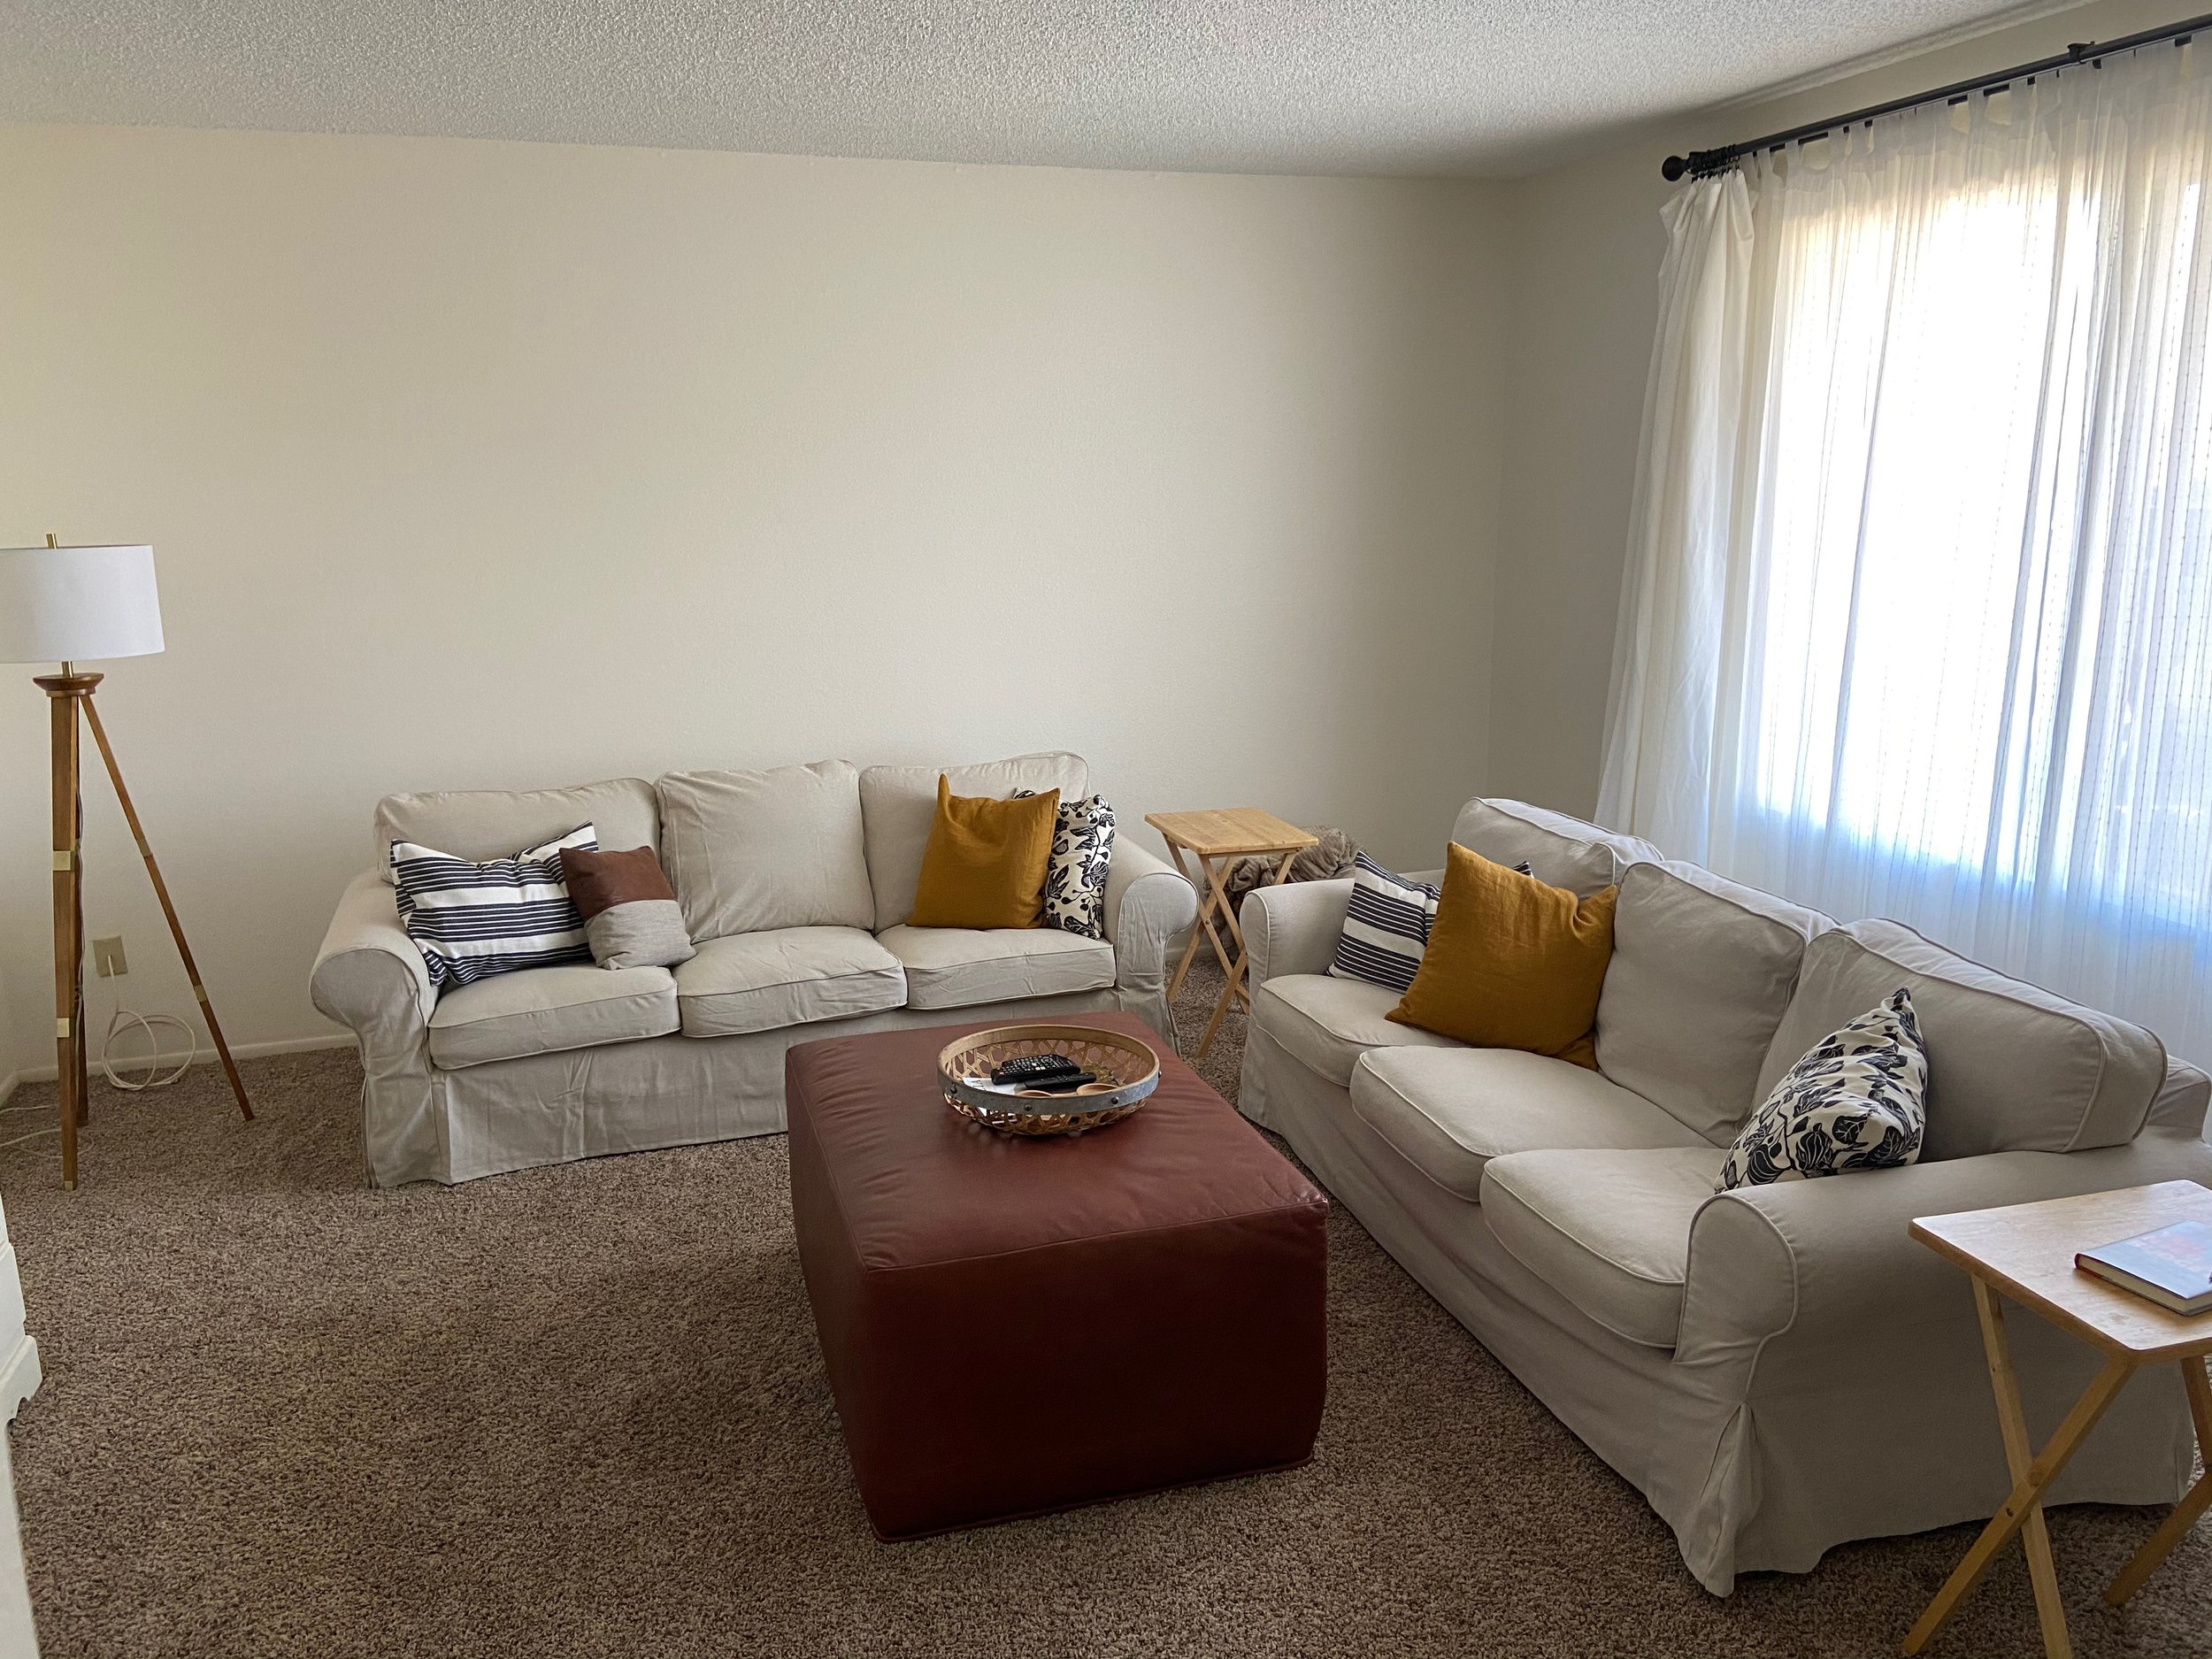
Here’s how our furniture landed when we moved in in August of 2020. There was space for 2 full size Ikea Ektorp couches to fit with plenty of room to spare.
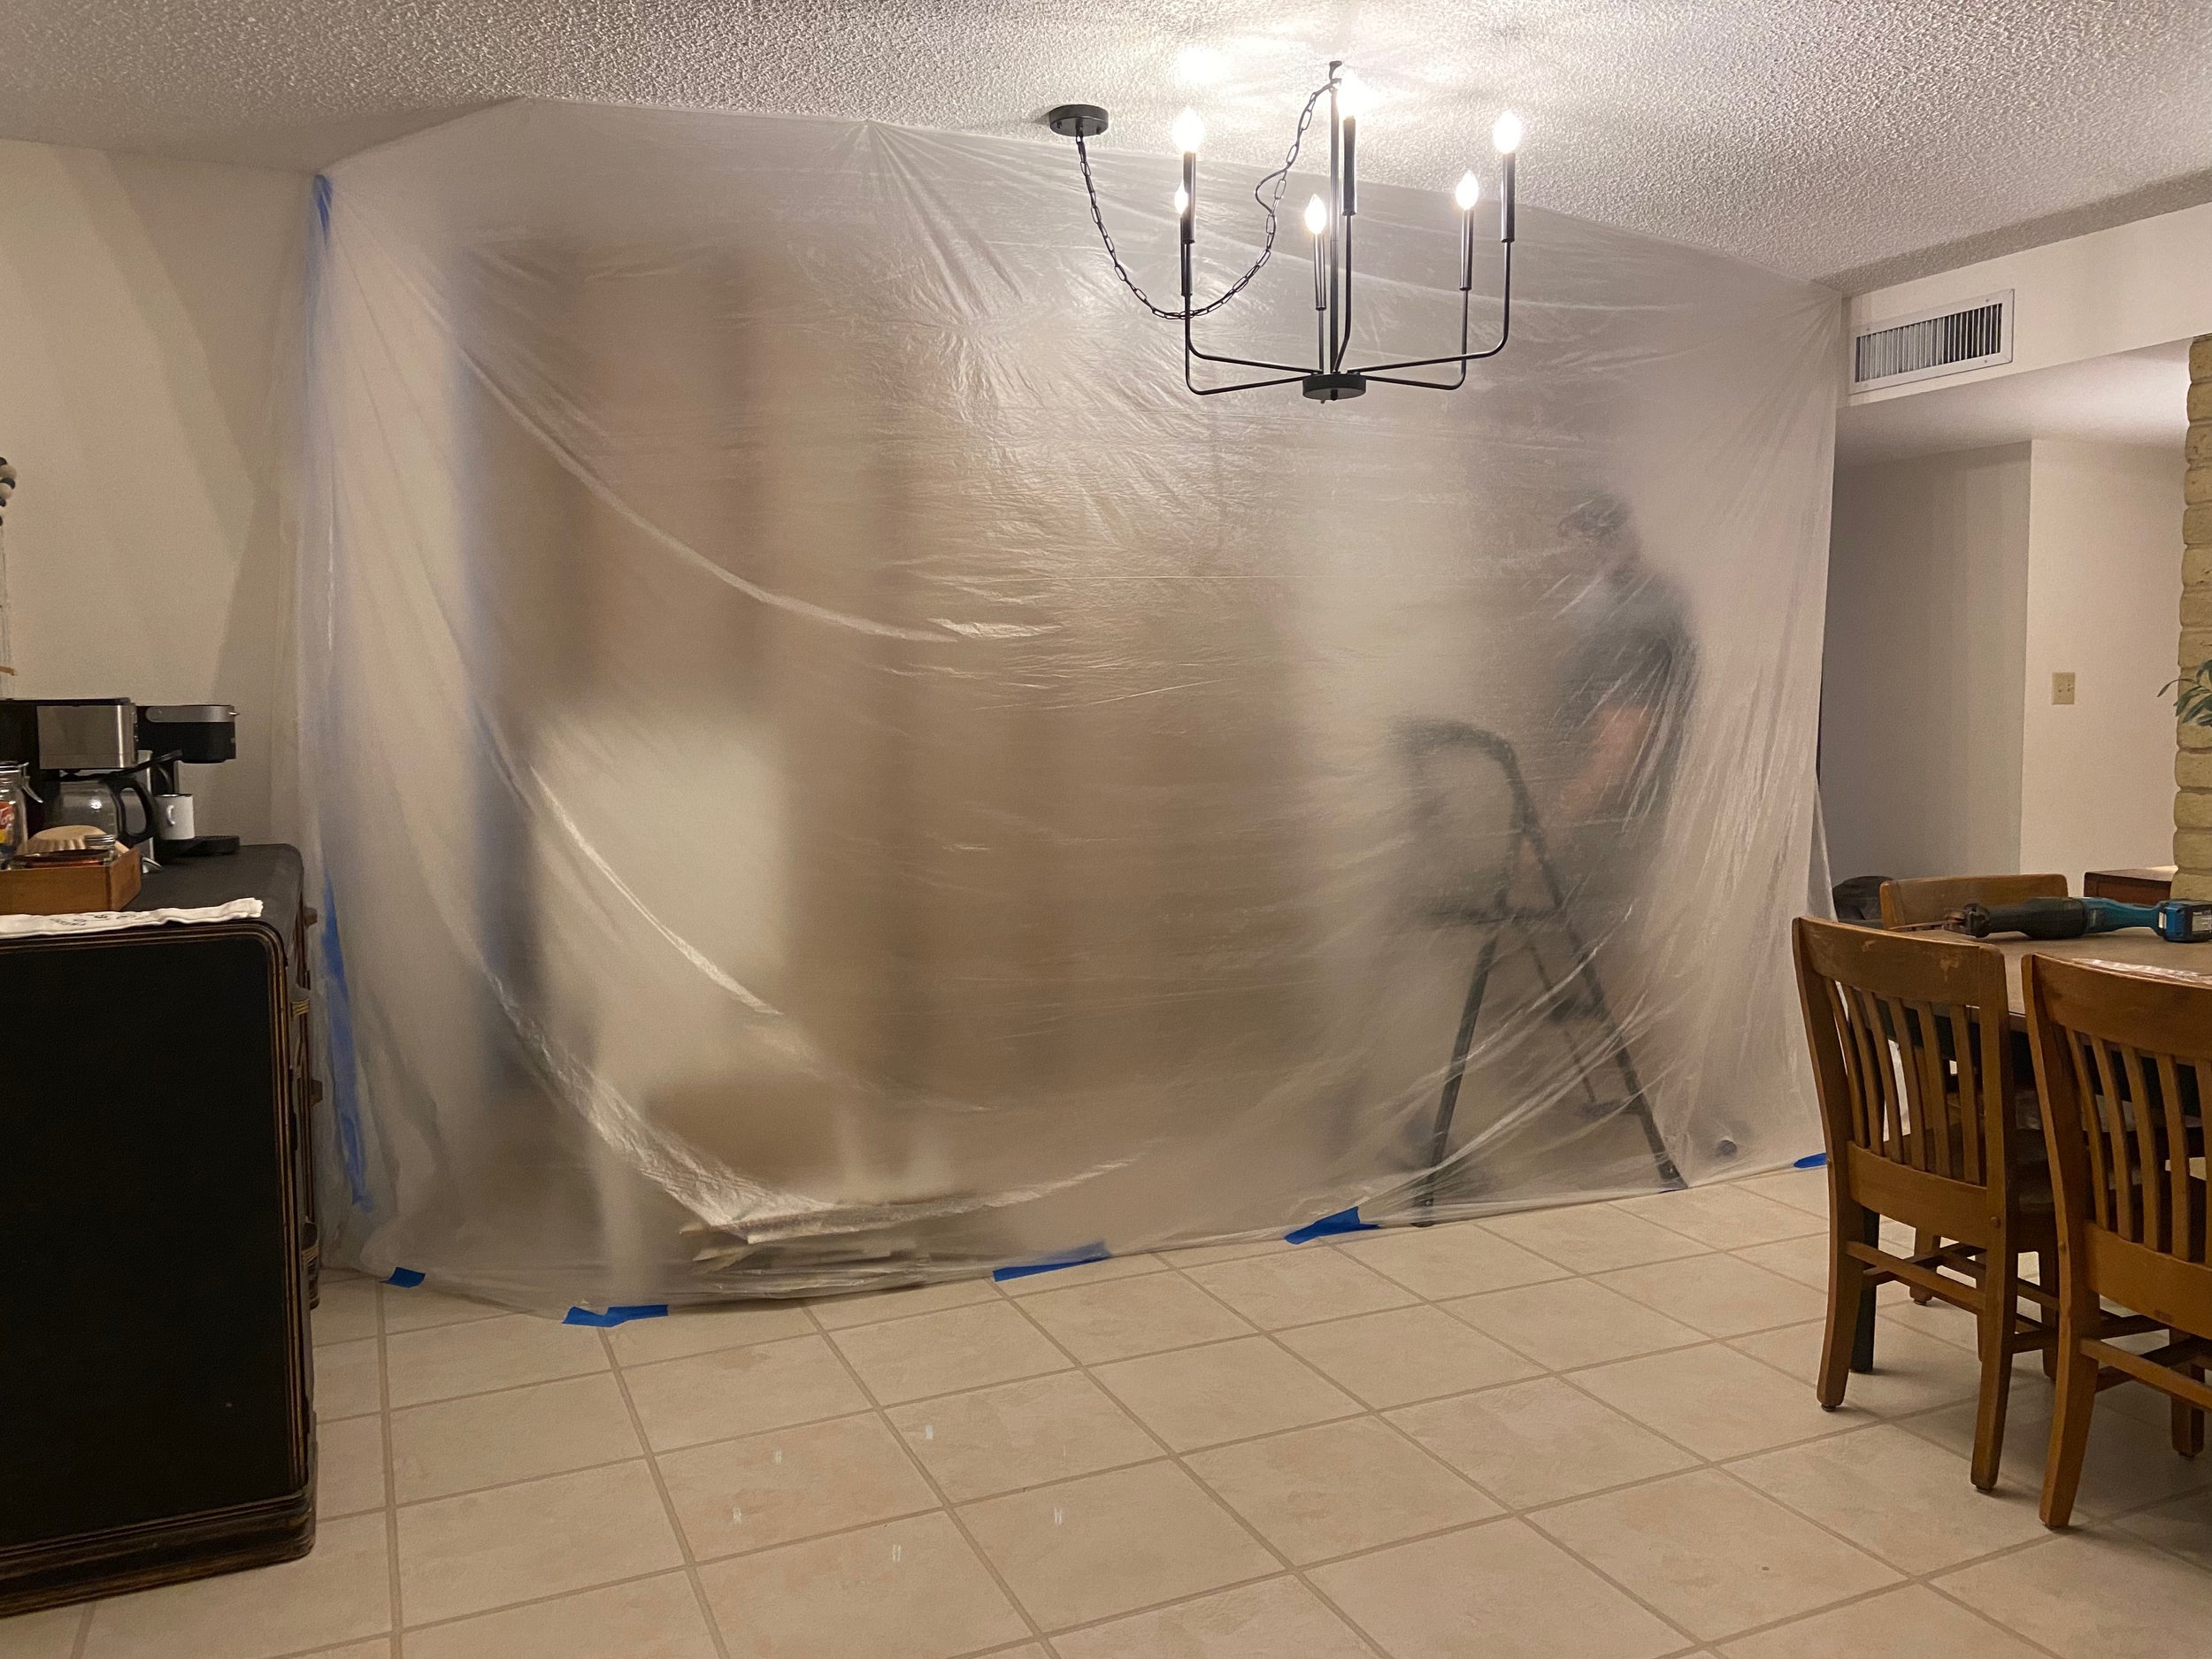
As I said before, it was almost a full year before we did anything to this house! After having a structural engineer come to check if the wall was load bearing (it wasn’t, thankfully!) in June of 2021 we decided it was time for Demo Day. We knew we wouldn’t be pouring concrete for a few more months, but I think we were both really ready to get the renovation going by that point 😉


We measured out the opening and Josh grabbed his Sawzall (please don’t pay any attention to his flip flops—at least he was wearing safety glasses and a respirator 😵💫)
Tons of dust and debris later we had this view! We talked about making it a cased opening, but because we only have 8ft ceilings, we decided to open it all the way up instead of having a transition between the spaces. The last bit you see there at the top was removed and made flush with the ceiling when we scraped the popcorn texture and refinished the ceilings a few months later. (See if you can spot a cozy Gladys in the photo below 😊)
Seeing the light flood in from both sides of the house made me so incredibly happy the first morning after we opened it up! Comparing the before and (in progress) afters is still so shocking:

(while we were demoing the big wall we also got an itch to open up the wall where the coffee bar would eventually go—I’ll share more about that later 😉)


Once the wall was taken care of, raising the living room floor was up next. A few months later in October of 2021, we began prepping for new concrete to be poured. Josh’s uncle gave us the recommendation of a great concrete guy he’s used for years and years. We’ve had great luck with friend/family referrals through this whole remodel and this was no exception! We’re really grateful for that since I know that’s not the case for many people doing home projects.
To prep, we tore up all the carpet and removed drywall a few inches up around the perimeter of the room (not pictured). Since we were pouring directly onto an existing slab no rebar or anything was needed.

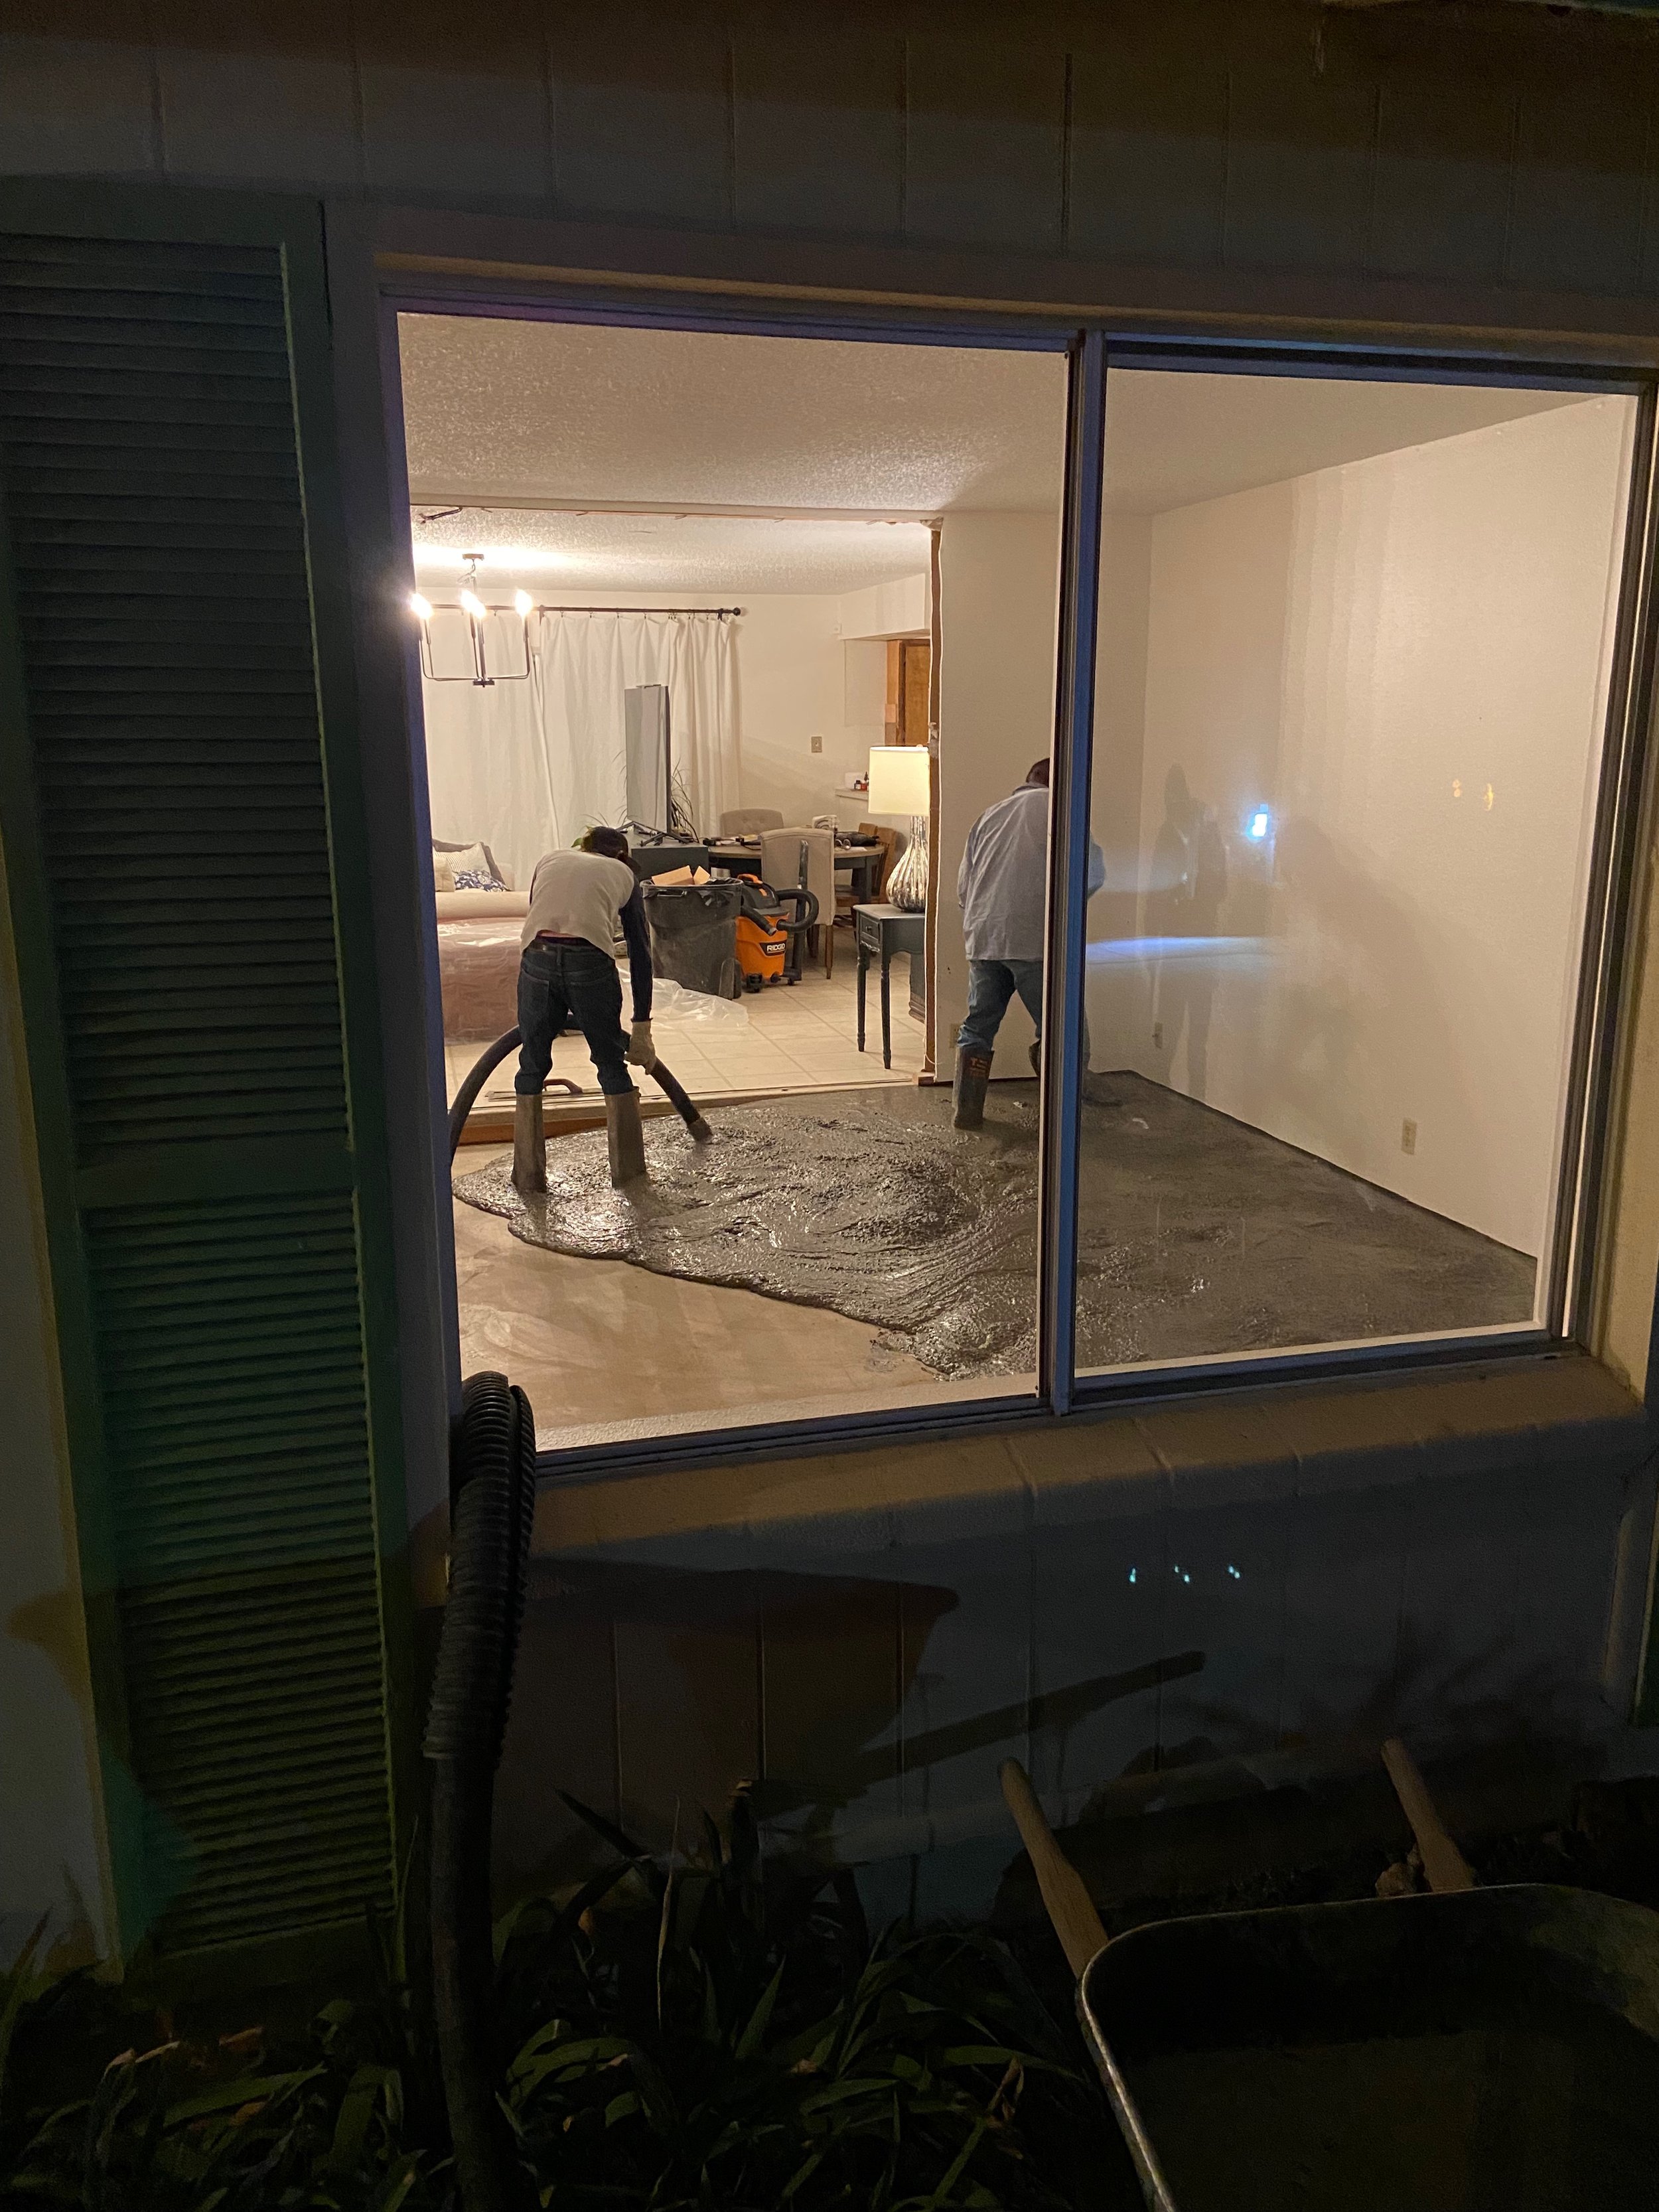
We were the crew’s first job of the day and they arrived to our house at 5:30 AM which meant it was still dark when they started working. They used a pump truck to move the concrete through a hose from the truck on the street through the front window (which makes me laugh, but it was the most direct way of getting it in!) I’m sure our neighbors were a bit confused at this sight.
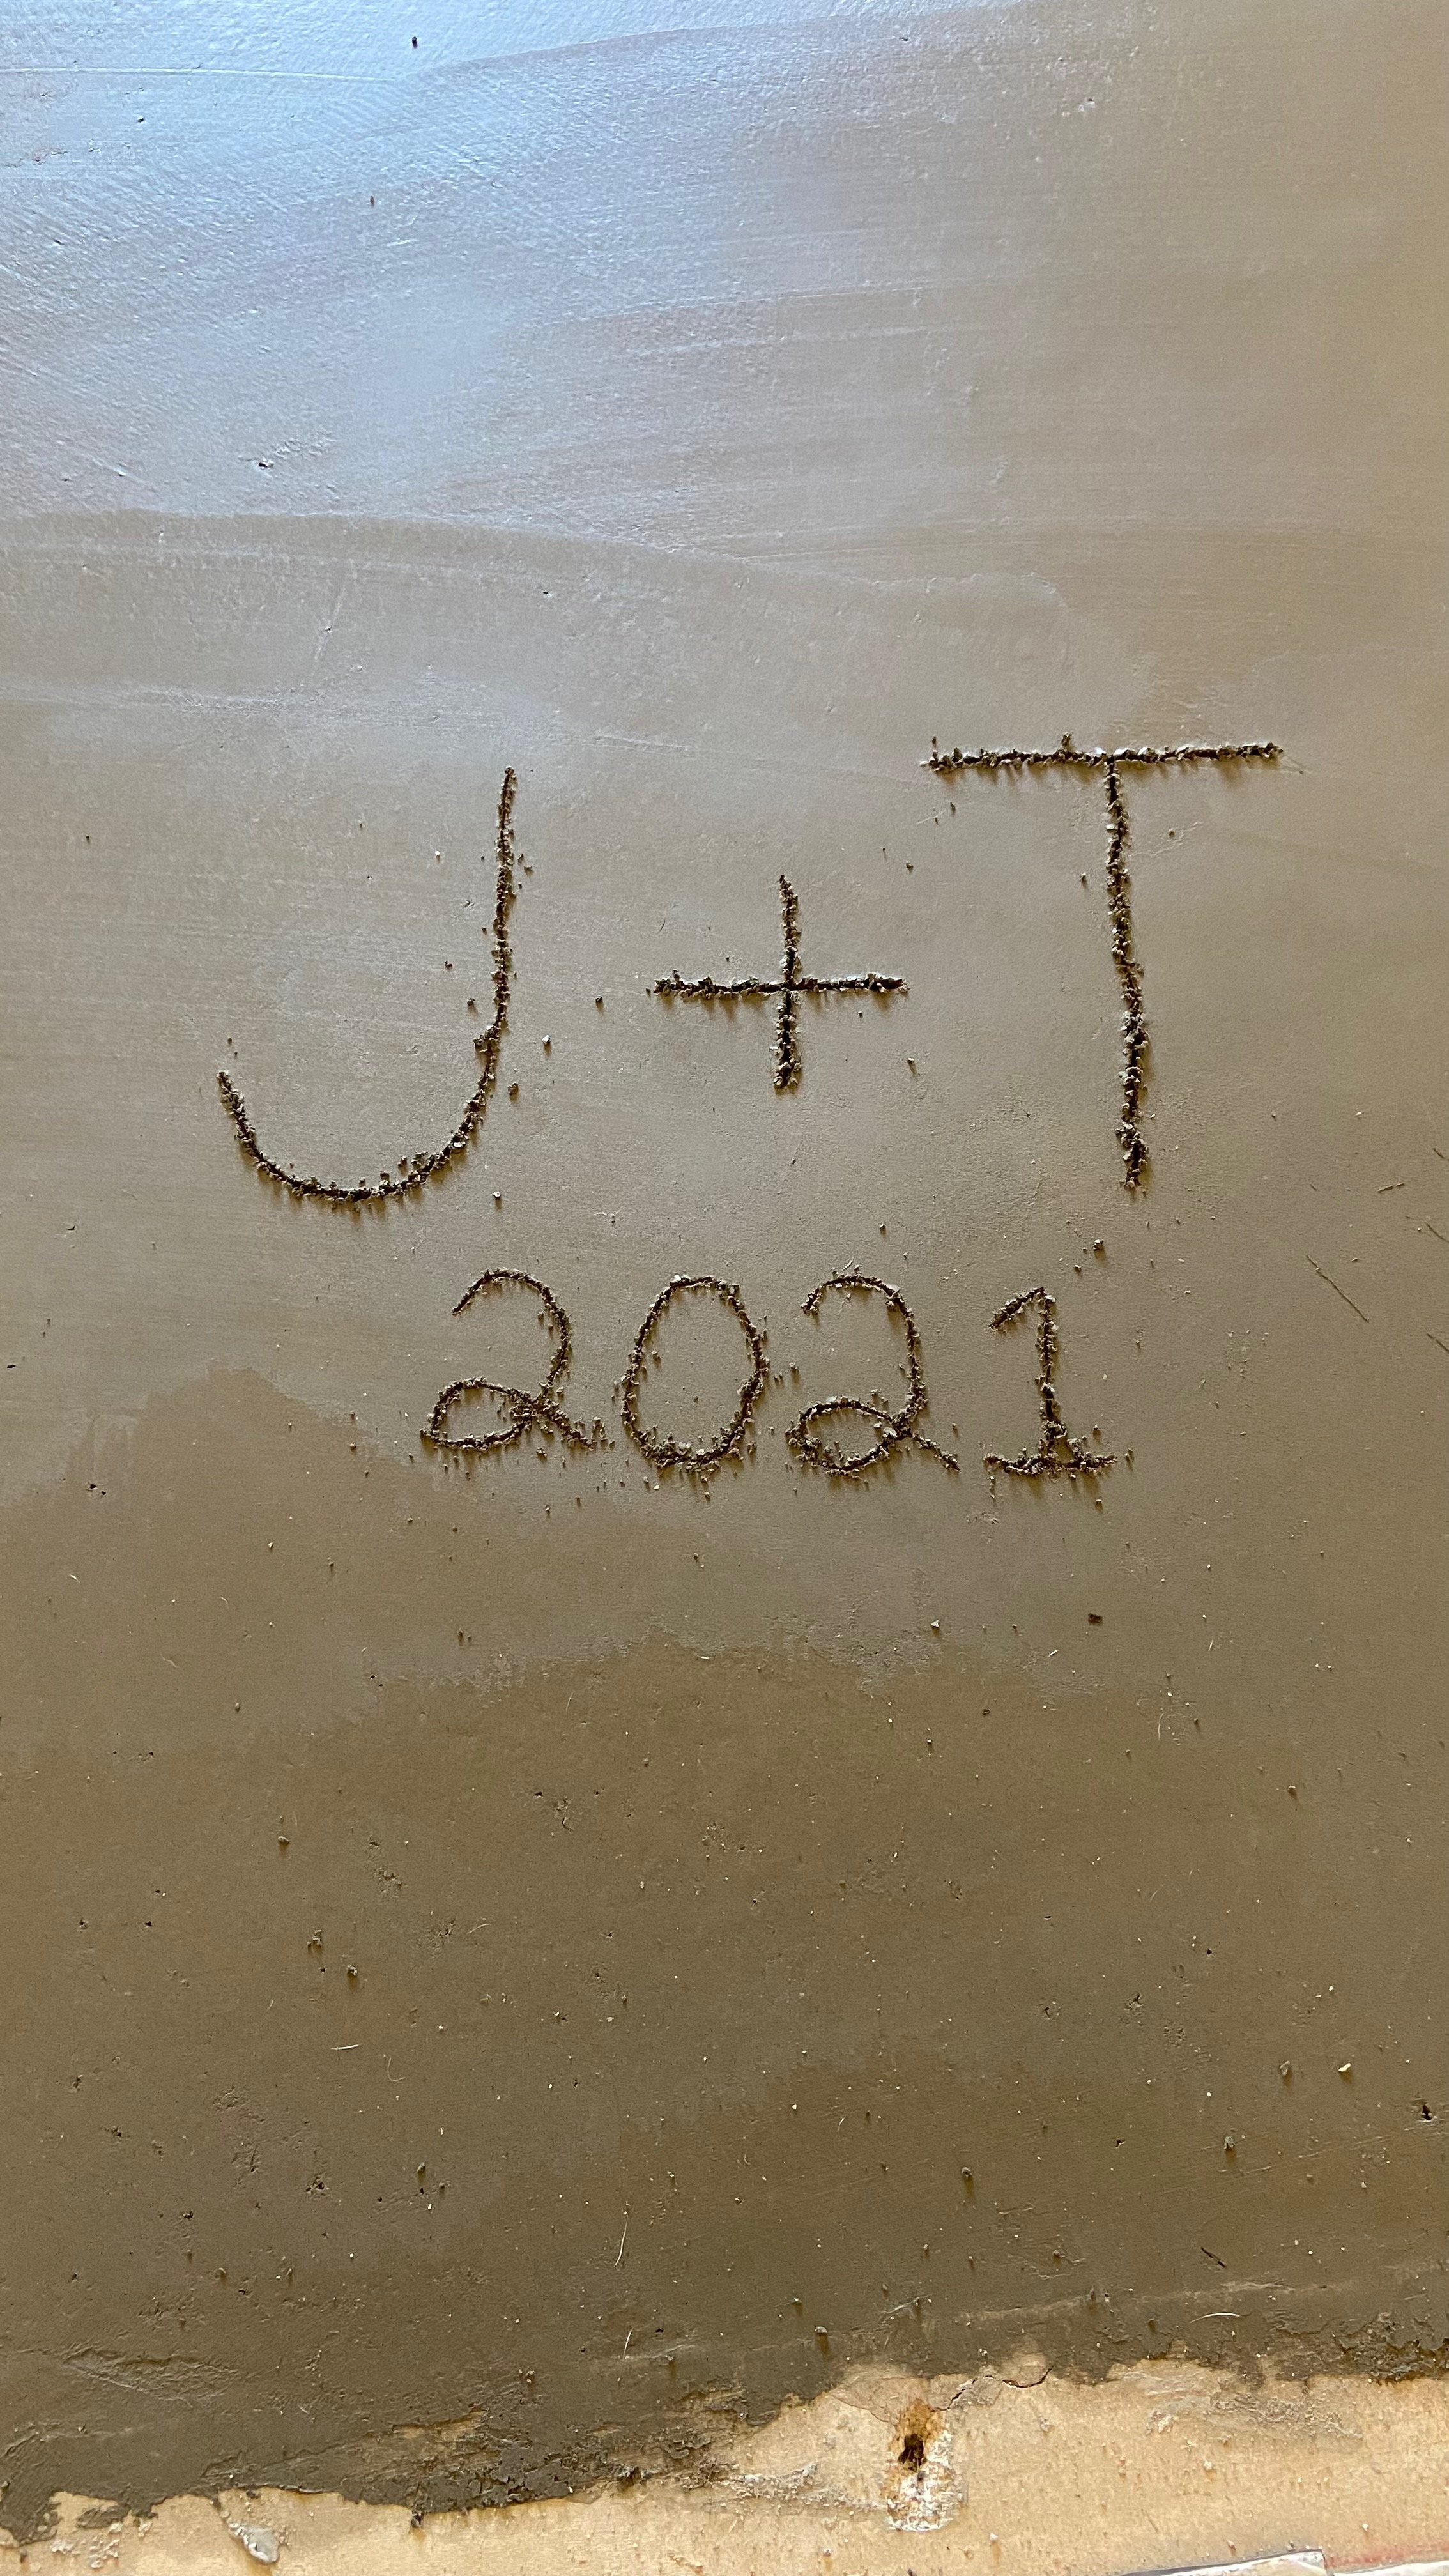
After a few hours of finish work, we were left with this:

We were able to place furniture back into the room after about 5 days of curing, but we needed to wait at least a month before we put any new flooring down (it actually ended up being more like 3 months before we got to that project anyway).
This was our first big project in this house and it kicked off the entire renovation. I’m SO glad we were able to open up these rooms as it makes such a huge difference in the way we use and enjoy the space!
Next up in the Reno Recap series we’ll dive into our kitchen remodel!

Missed previous posts in the Reno Recap series? Check them all out here!