
Reno Recap: The Kitchen - Planning & Demo
They say that the kitchen is the heart of the home and if that’s true, ours was suffering a major cardiac arrest. It was dark, dated, and not very efficient for us. The previous owners had replaced the appliances at some point (maybe in the early 2000s?) but otherwise, everything was original. In this post, I’ll share our planning process for the renovation and demo!
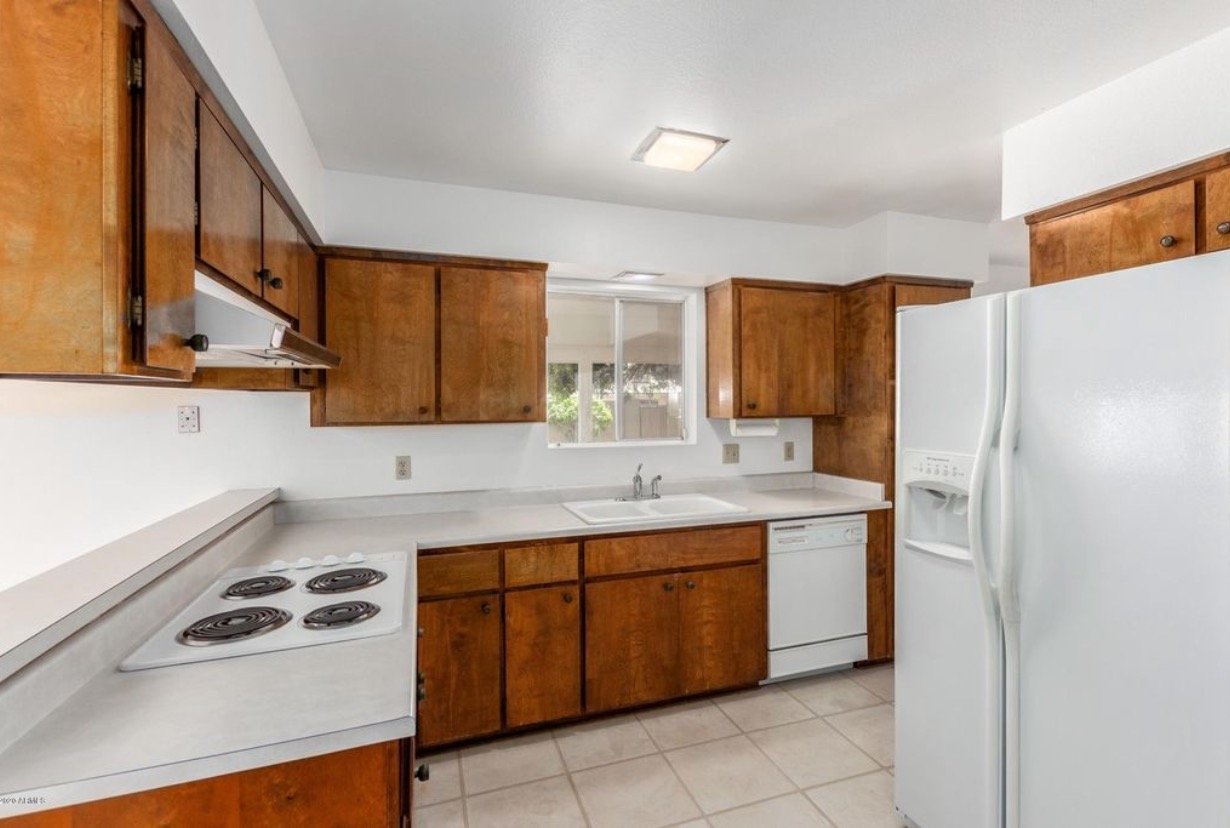

Within a few days of moving in, we removed the upper cabinets and vent hood over the peninsula, and that alone made a huge difference in how open it felt!
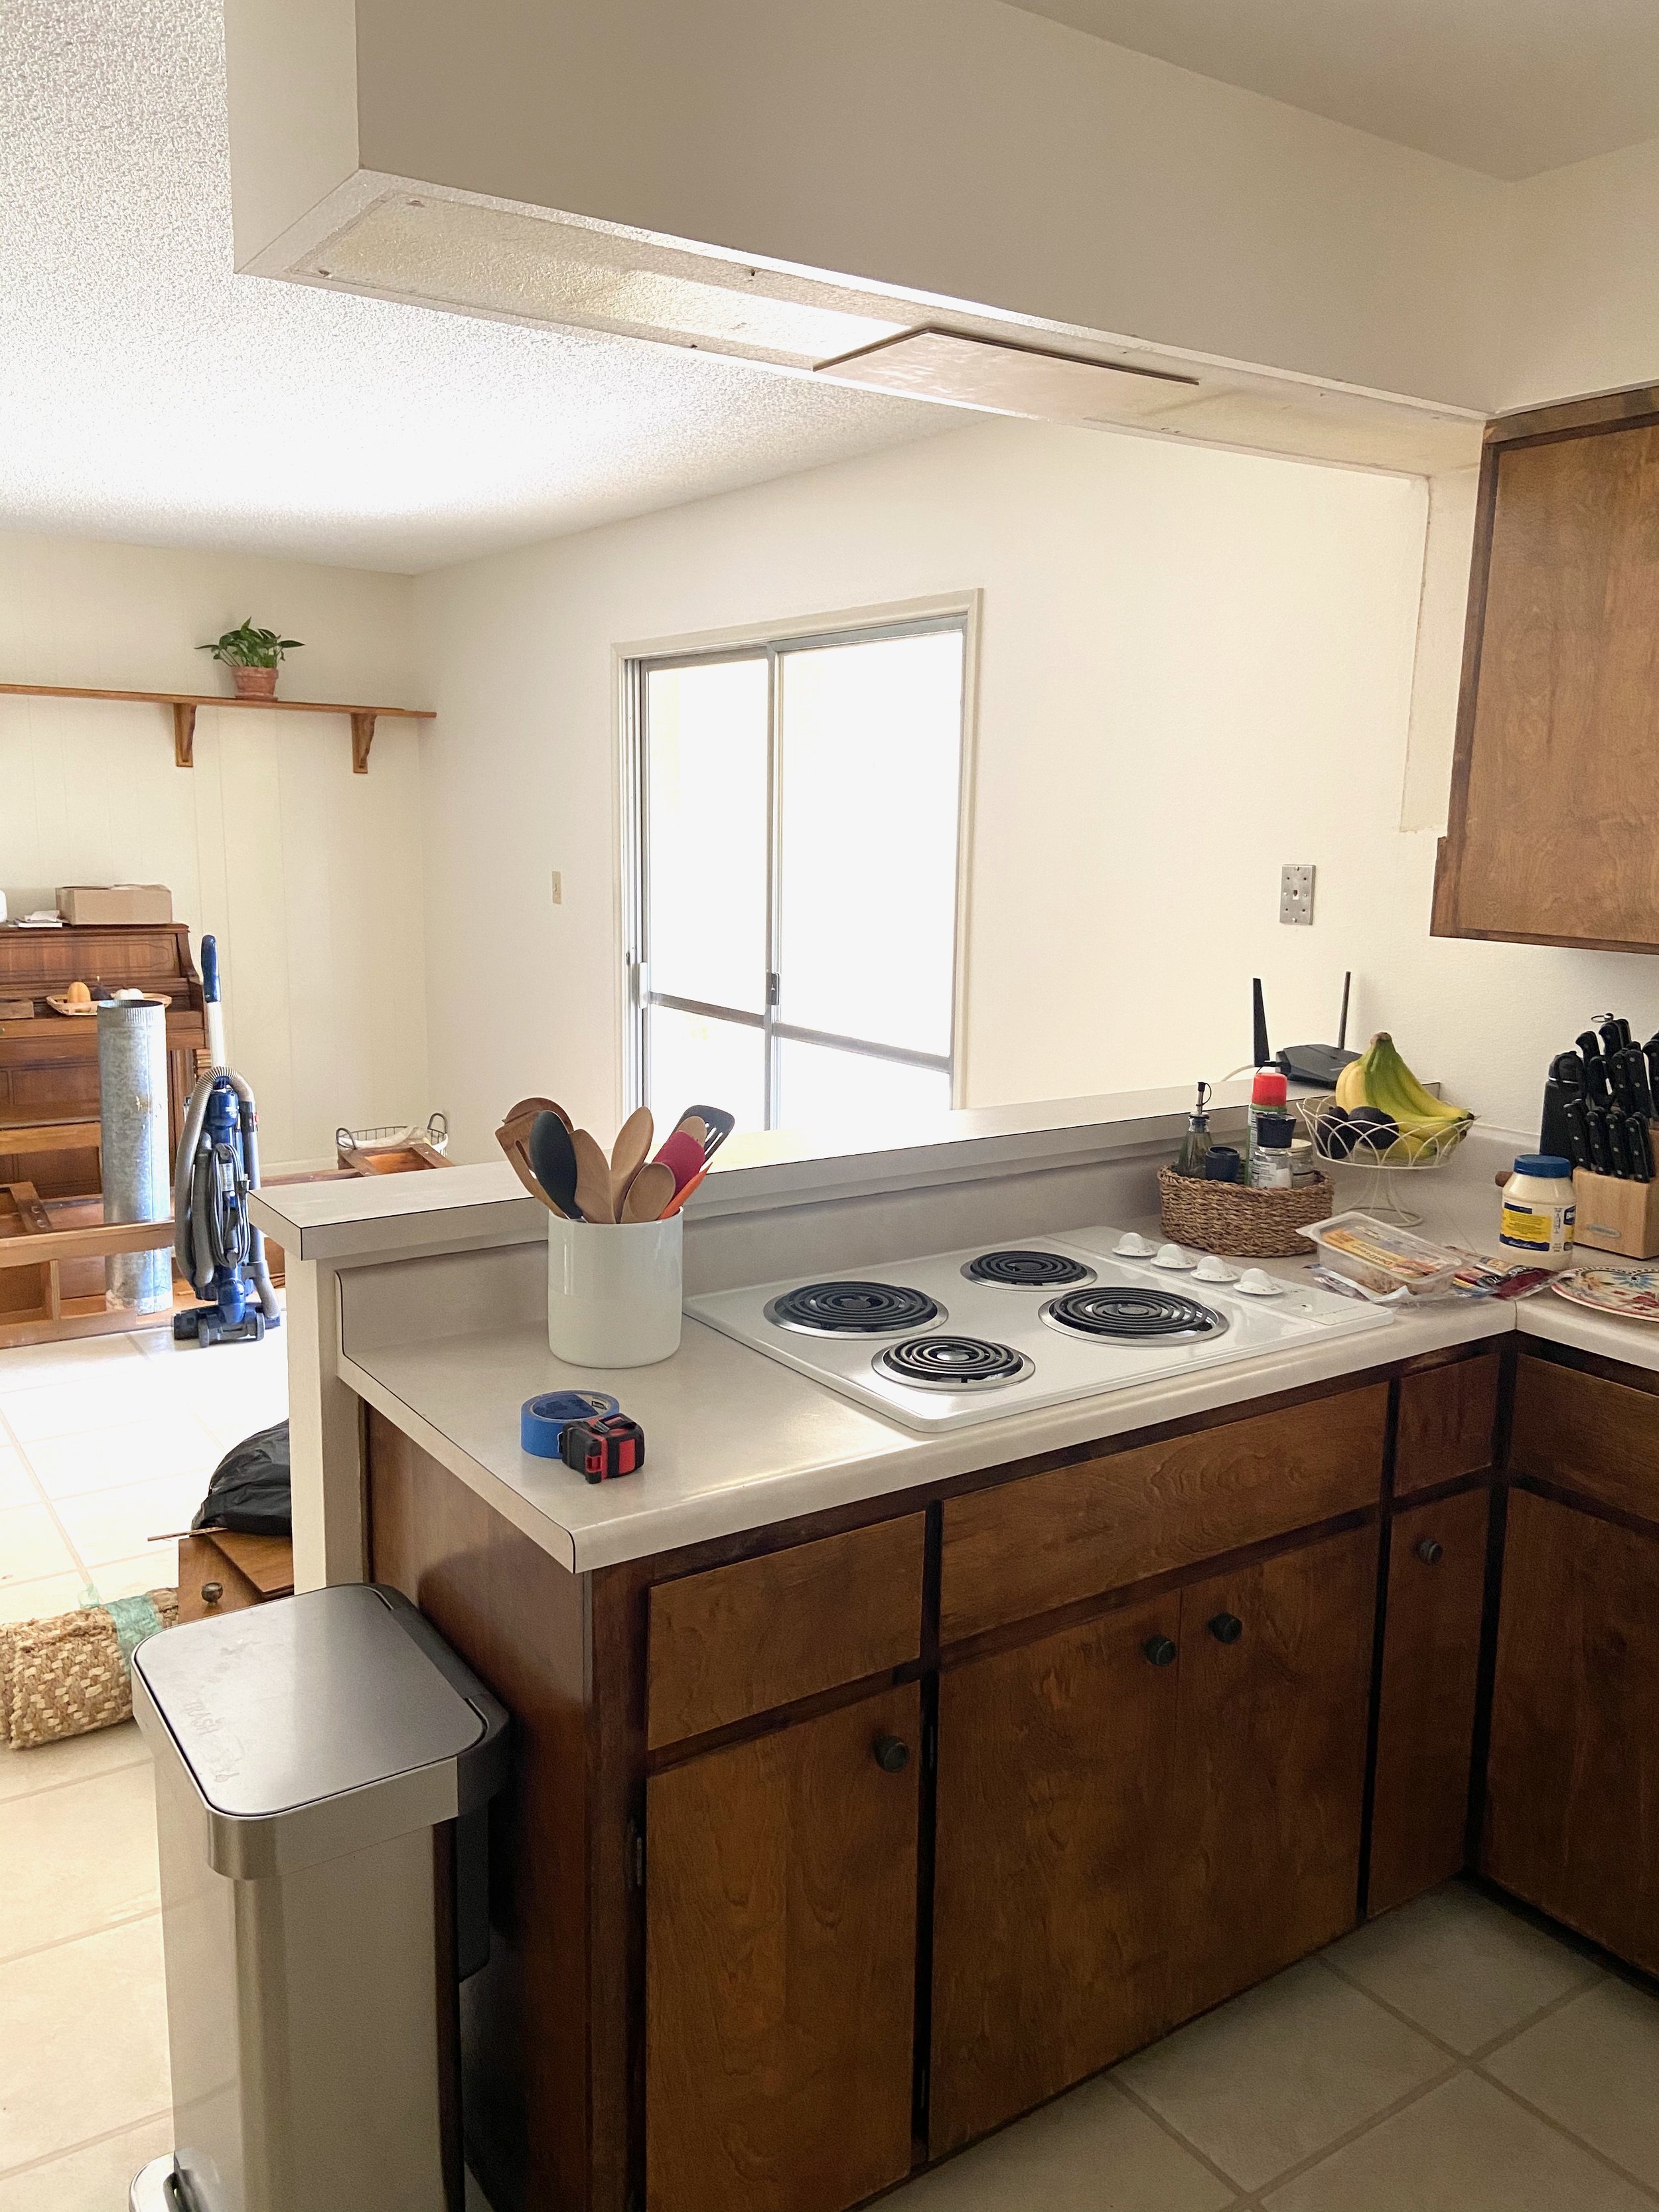
Other than that small change, the kitchen remained completely the same for over a year after we moved in. During that time we had many different conversations of how we could maximize the space. We talked about completely changing the layout, moving or adding walls, whether or not to do an island or a peninsula, or even if we should move the garage door to the laundry room. I’m so glad we took that time to live in the space and slowly formulate our plan as we were able to figure out what we liked about the current footprint and what we could do to make it better. The original layout wasn’t entirely bad, it was just quite tight and the location of a few of the appliances (specifically the stove top being separate from the wall oven) made the already limited counter space even less usable. I also realized that I would much prefer drawers on the base instead of cabinets (no more getting on your hands and knees to dig in the back of a cabinet!)
Ultimately, we decided that we’d keep the peninsula layout but lower the counter/bar height and extend it out into the dining room a bit. We also had some unused space in the laundry room/garage that we could add to the kitchen by pushing the wall behind the refrigerator back about 2 ft, adding about 20 sq. ft. to the space. That amount may not seem like much, but in a small space every single inch adds up!
When we began planning out the new space in the fall of 2021, we looked at a few different cabinet options like in-stock or ready-to-assemble cabinets from Home Depot or Lowe’s. Those options are okay, but we were feeling very limited on size and style options available. Instead, we decided to go with the IKEA Sektion cabinet frames, which offer SO MUCH customization to fit your space. And we used the Axstad white cabinet fronts for a simple and traditional look. Their online planning tool is really user friendly and I was able to maximize every single inch of our space.
There were a few things that I was very intentional about working into our layout:
Add as many drawer bases as possible.
Include a large, enclosed pantry with pull out shelves and space for us to hide our microwave in.
Maximize the corners (next to the refrigerator and on the outside of the peninsula) as much as possible.
Utilize the full height available by going all the way up to the ceiling with the upper cabinets.
I was able to do all of this and more with these cabinets! When we were finalizing our plan, we headed to our local IKEA store and met with one of their (very helpful!) kitchen experts who helped us tweak a few things and make sure we had every single trim piece and hinge that we needed.
The other incredible benefit of using IKEA cabinets is cost. When we looked at ready-to-install cabinets from Home Depot or Lowe’s, the cost estimate was between $9,000-10,000 for builder basic cabinets 😳 (and we wouldn’t get the customization we were wanting). From IKEA, we ended up paying just over $6,000 and were able to plan out the space exactly as we wanted.
We did a ton of research on the quality and longevity of IKEA cabinets and from what we found from multiple sources, we felt totally confident using them. They also offer a 25-year warranty on the Sektion system, which adds some peace of mind.
Here’s what our final plan looked like:

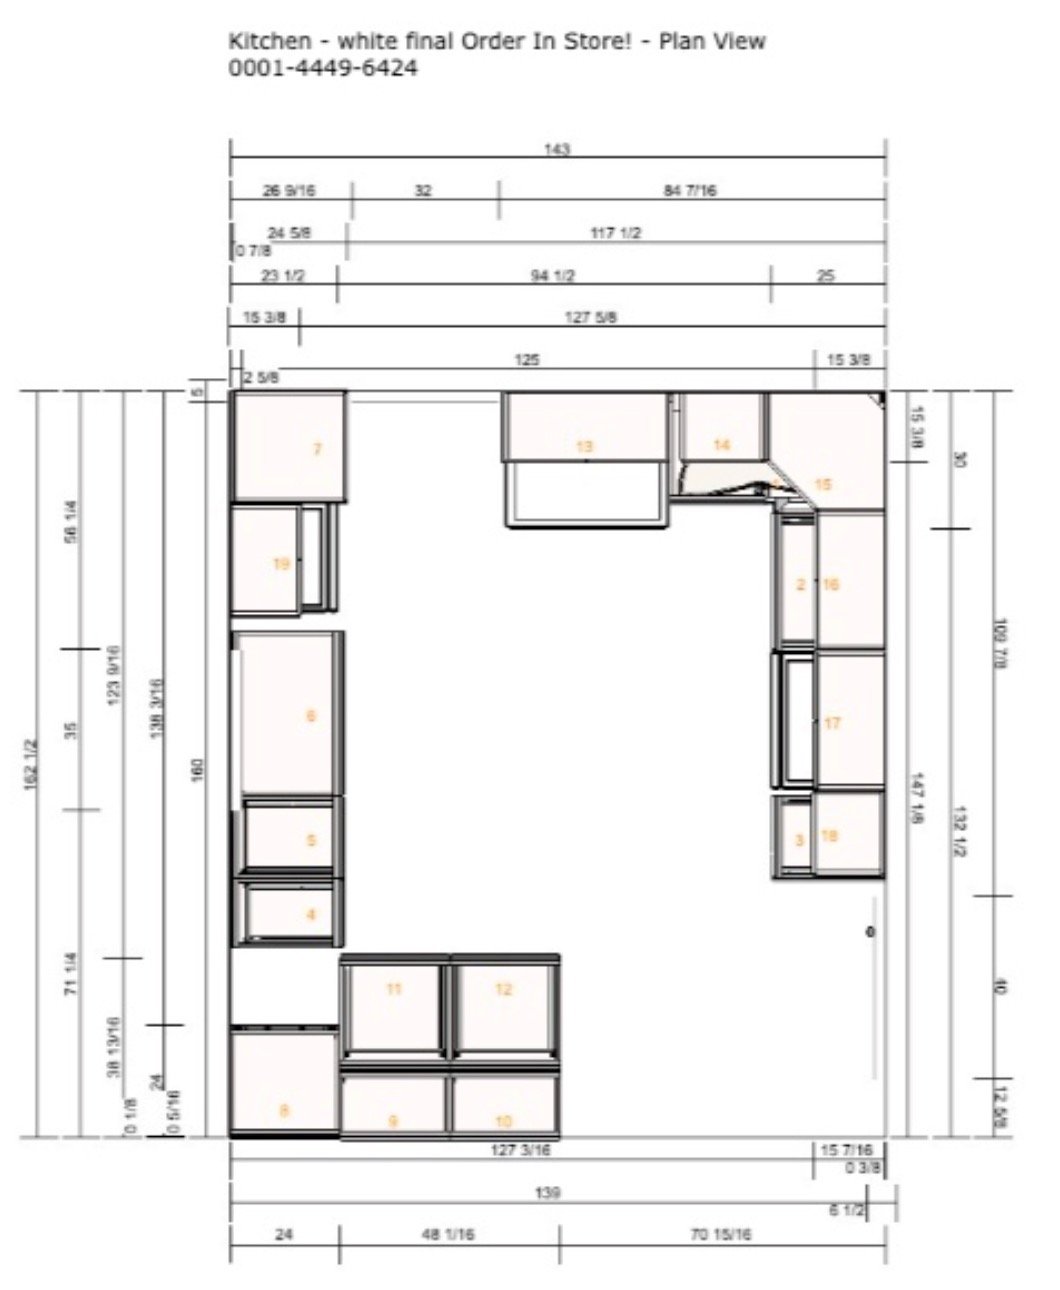
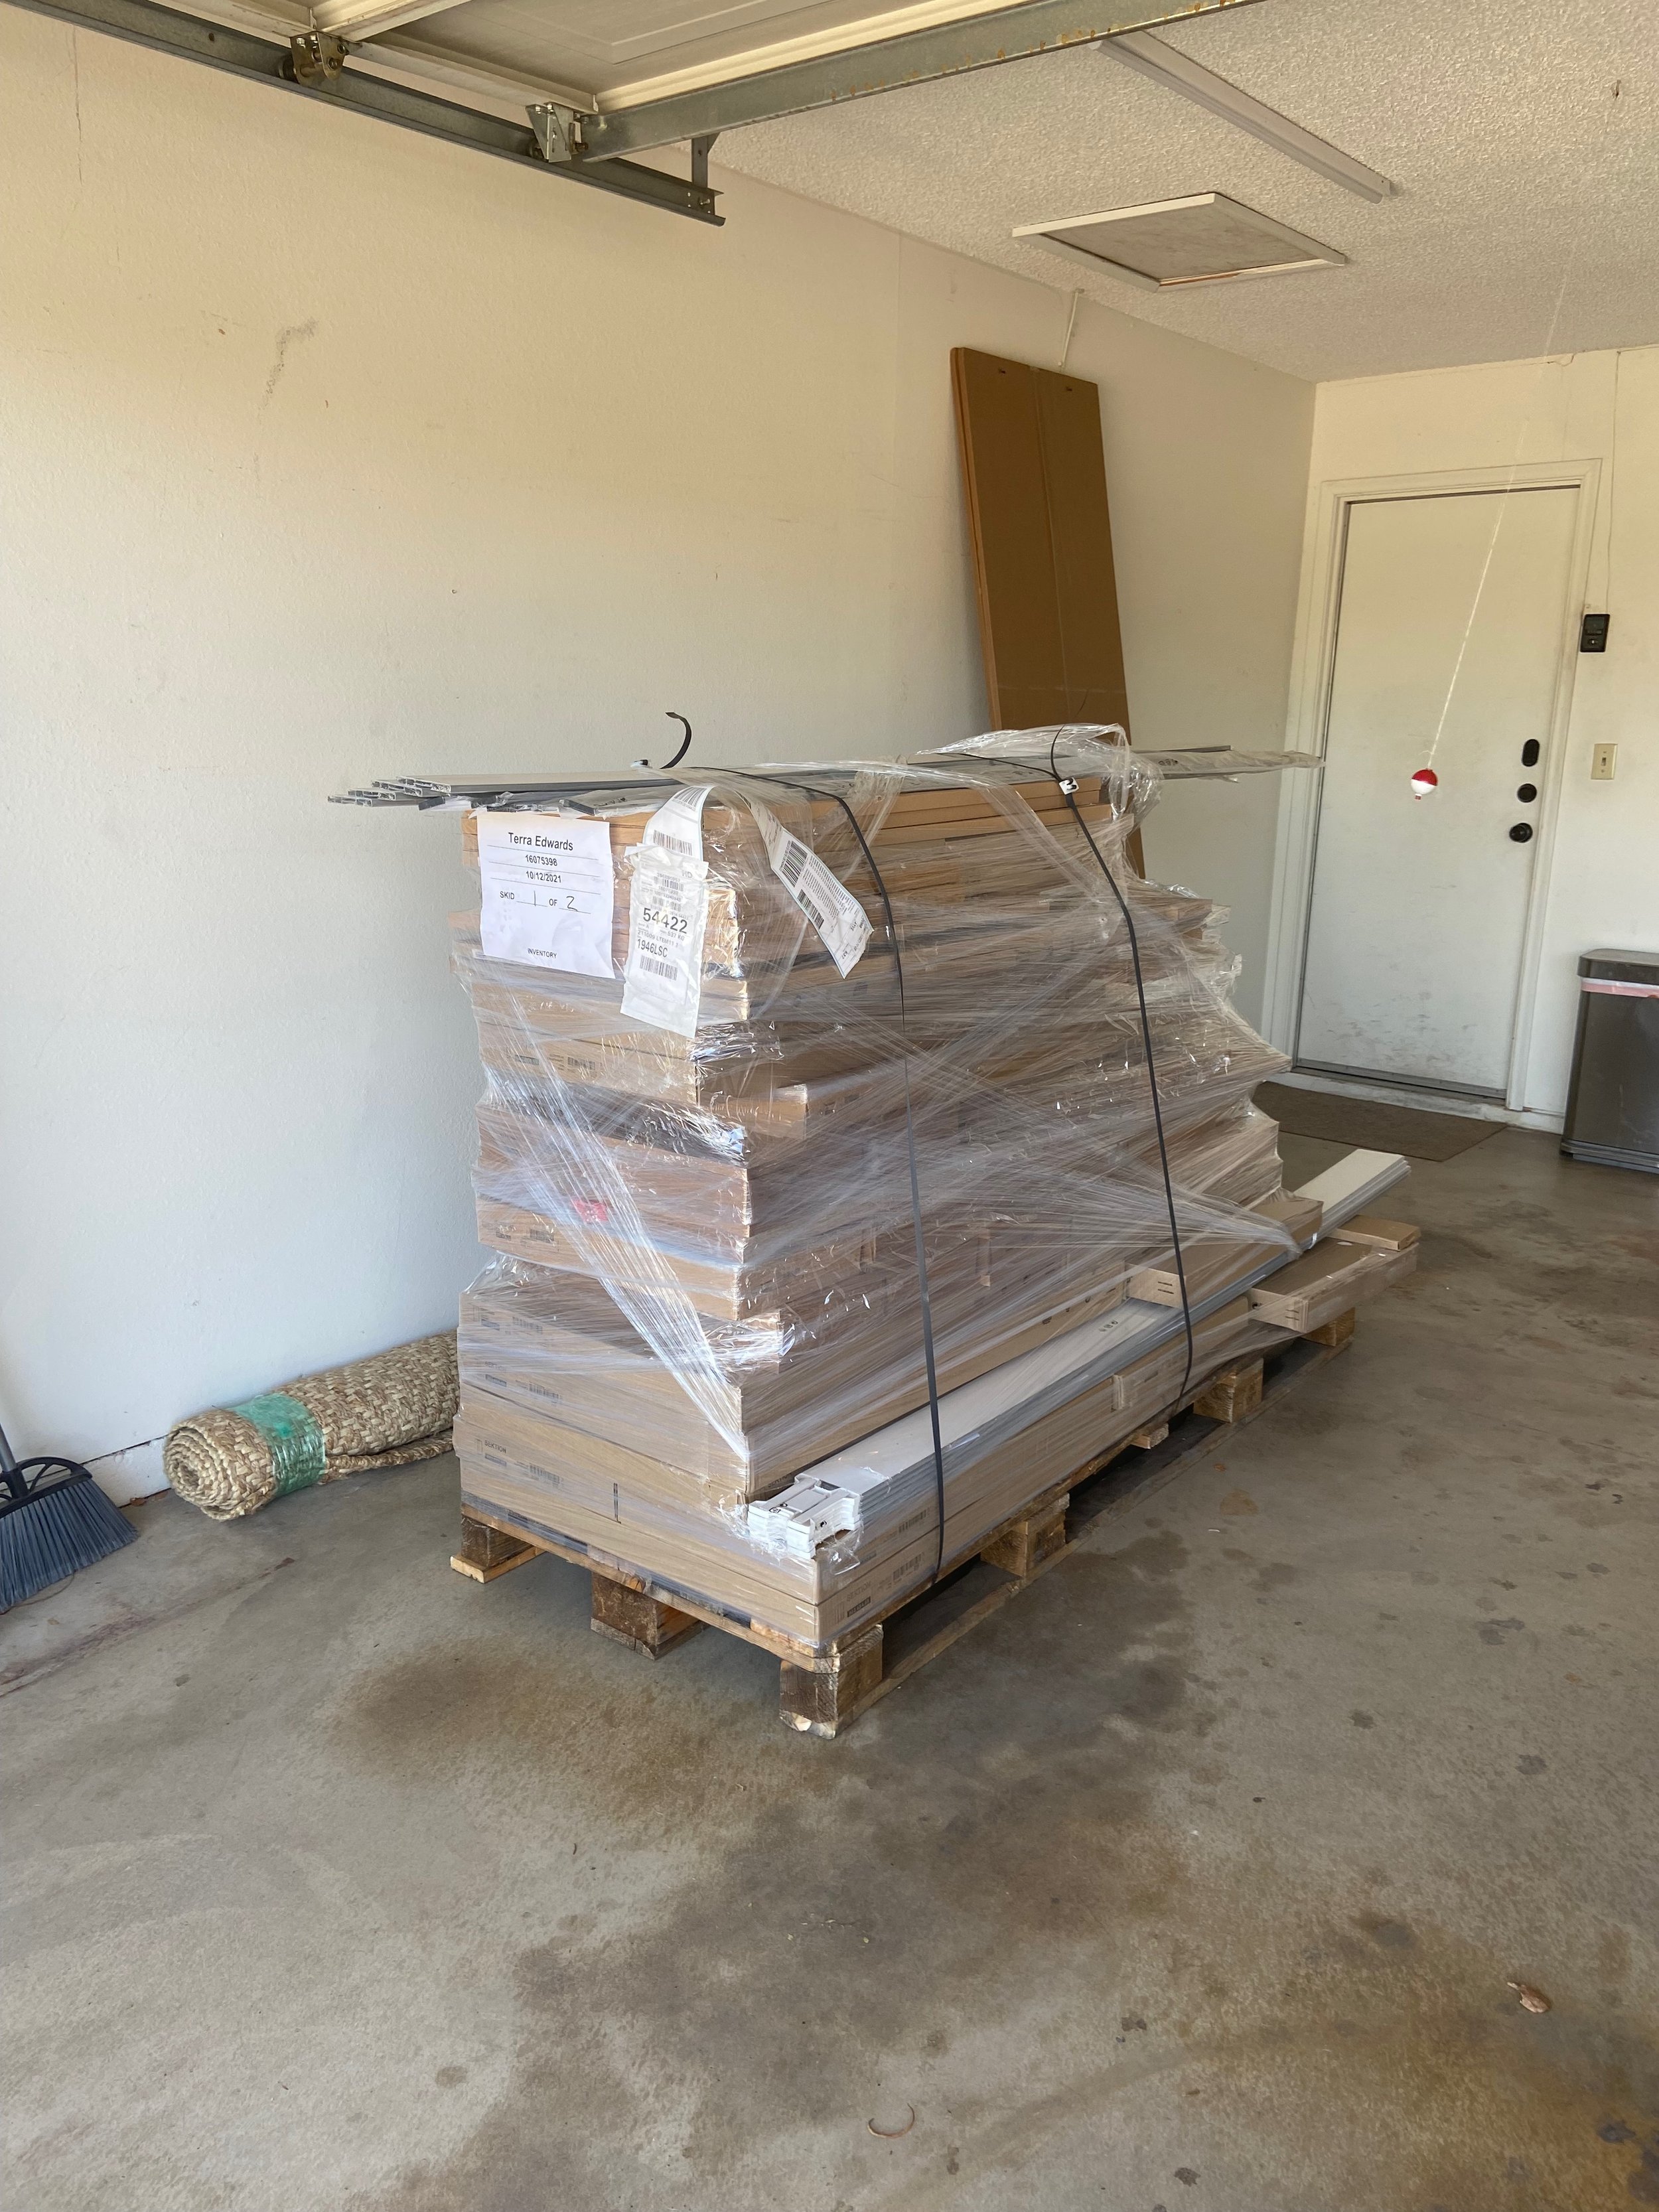
The one disadvantage to using IKEA cabinets is that you have to build them yourself (I guess what you save in cost you pay for in assembly time 🙃 ). When we ordered our kitchen, some pieces were available for us to pick up that day, a few things were out of stock and we’d have to return to the store to get, and the remainder of everything else would be delivered to our house within about 2 weeks. All said and done, we received our kitchen in 159 pieces (lol). The cost savings far outweighed the assembly for us though, so it was all worth it!
Once we had everything on hand, it was time for demo day! Demo always goes pretty quickly, it’s the building it back that takes so much time 😉
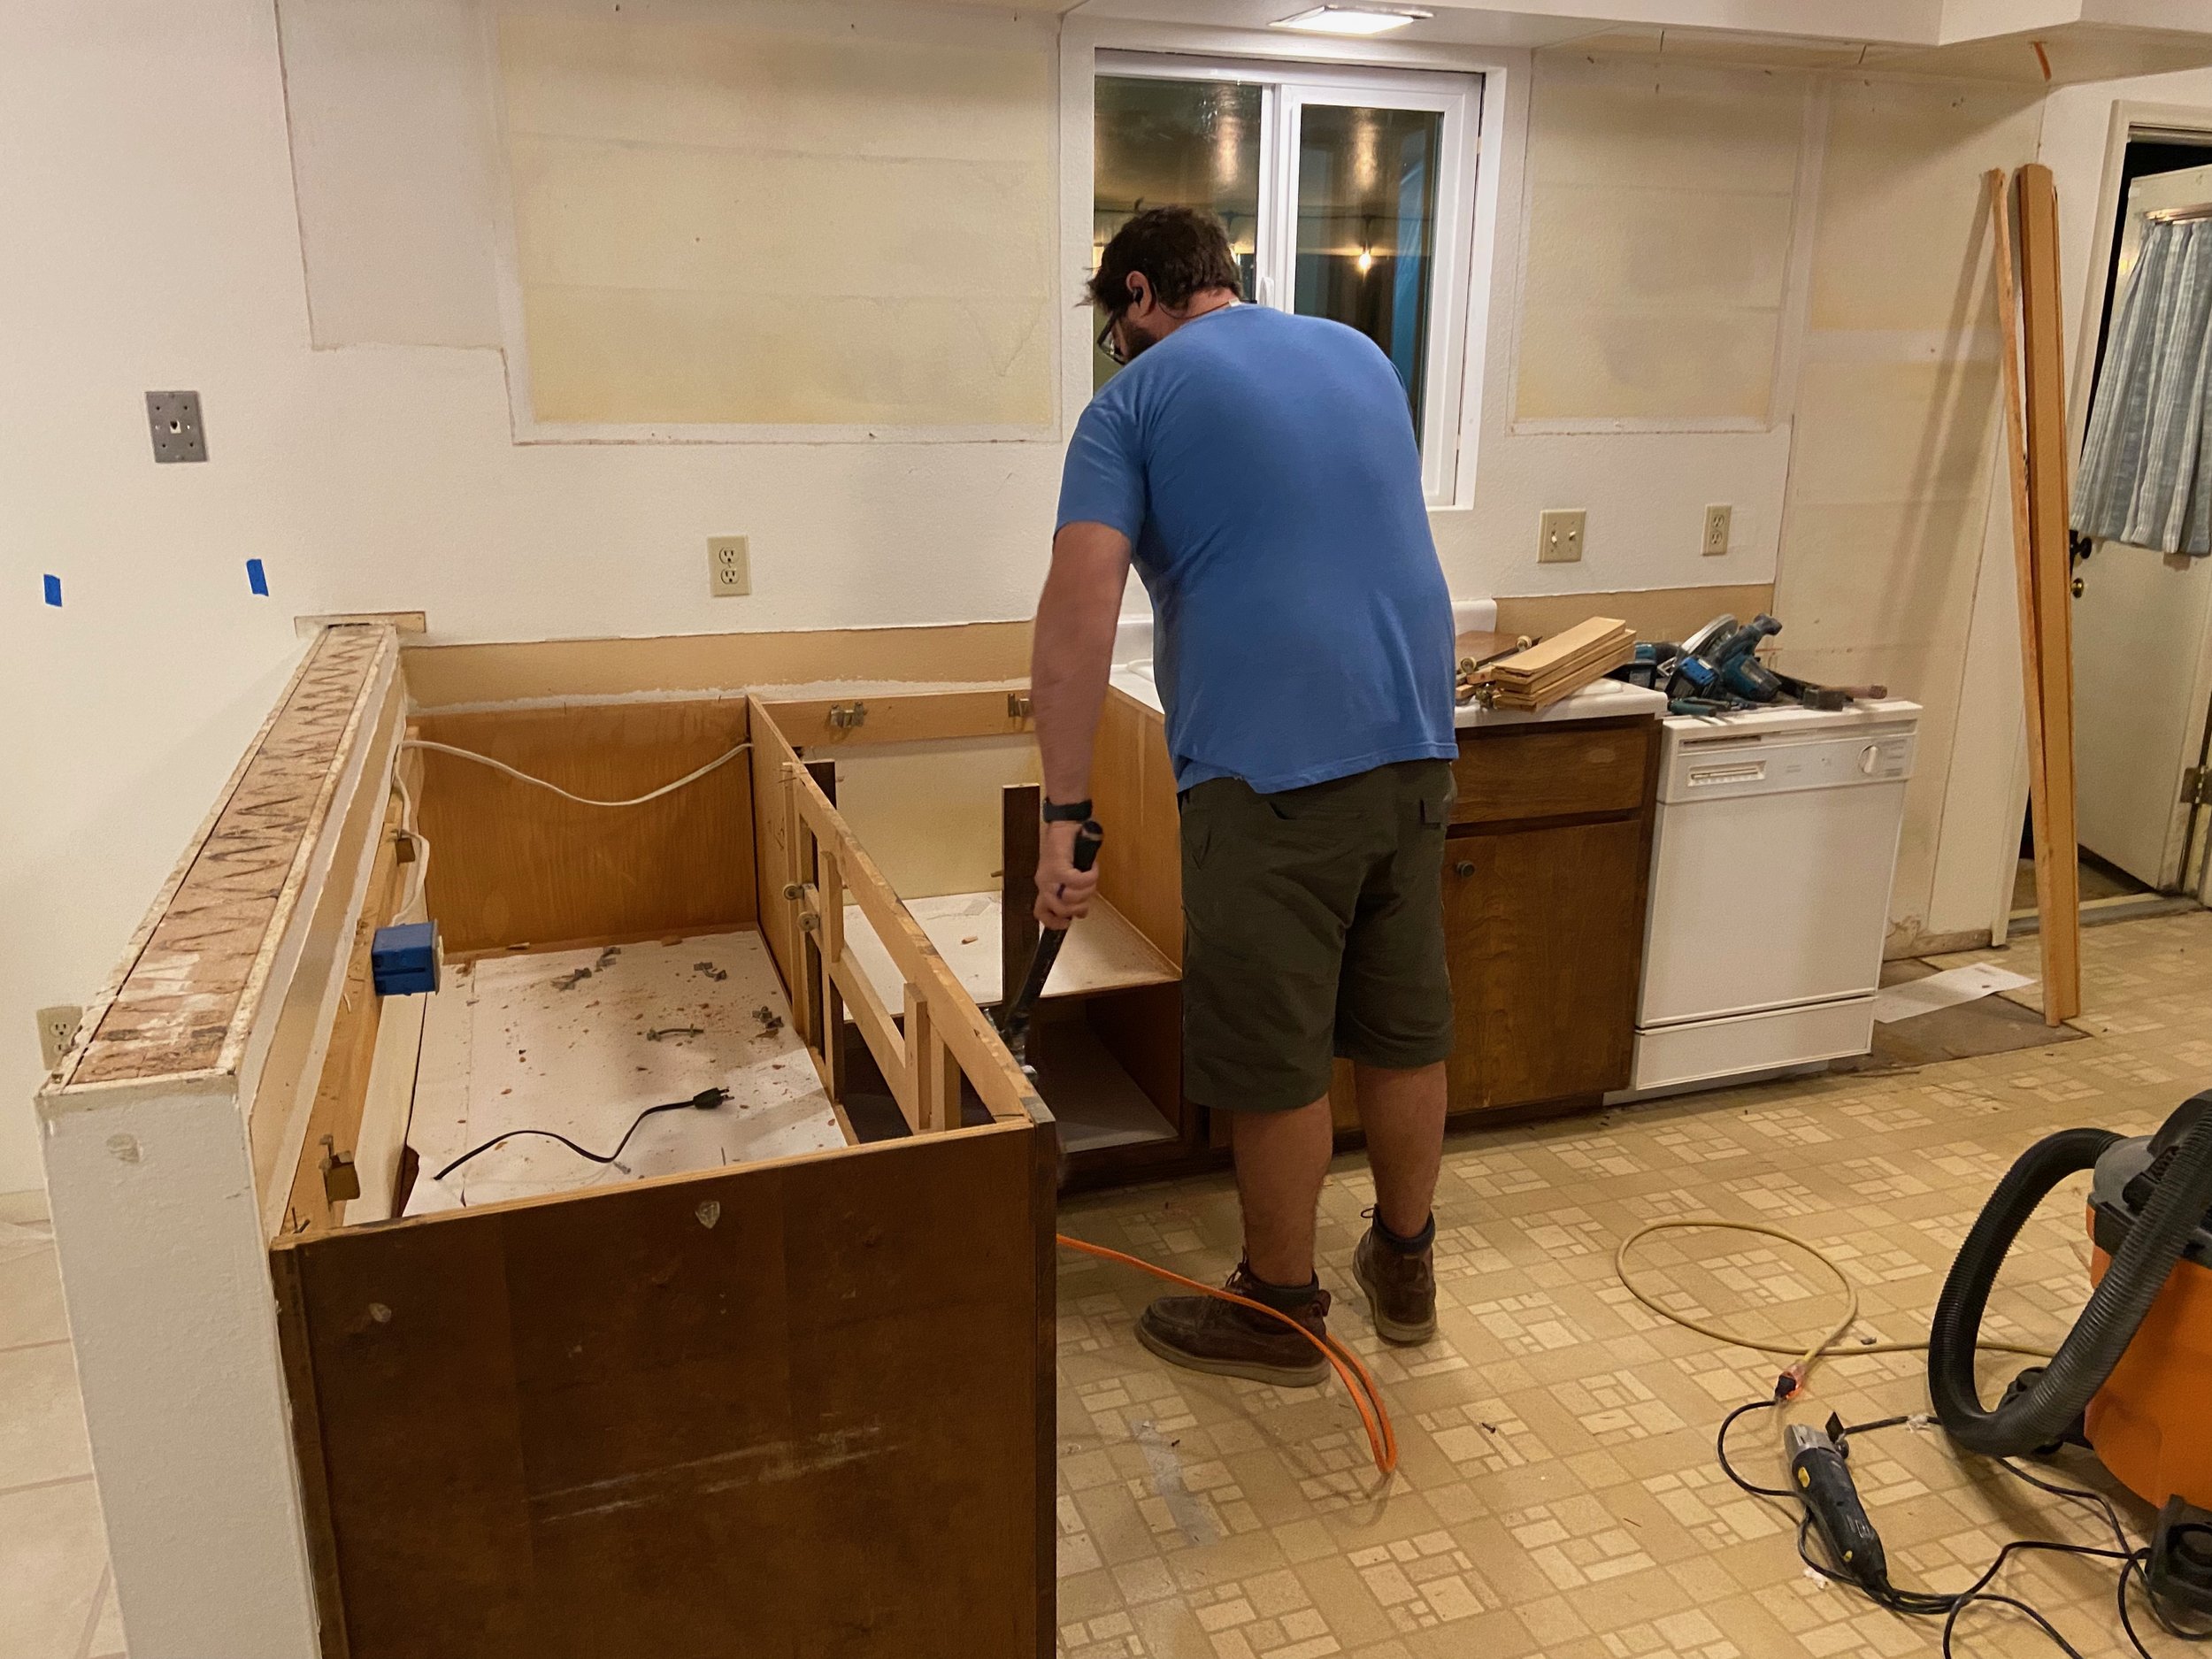
The kitchen originally had an electric stovetop and oven and I much prefer using gas over electric. Our dryer is gas, so we assumed that we would need hire a plumber to run a new gas line from the laundry area over to where the new range would be along the garage wall (Josh didn’t want to mess with running a new gas line himself). We were incredibly surprised when we tore out the wall oven and found a gas line hiding right behind it just waiting to be hooked up! Talk about a good demo surprise (most demo surprises are not good). The builder must have plumbed that in but the previous owners just opted for electric instead. A win for us (and our budget)!

The kitchen had soffits all around the perimeter that needed to go. This was the messiest part of the whole process as they were filled with blown in insulation. We’d need to reroute the HVAC ducting and reposition the light above the kitchen sink as well as patch drywall, but considering the alternative of leaving them, it was very worth it for us to gain the additional space for our new upper cabinets!


Here you can see where were able to gain some extra space by taking over some under used storage in the garage. We opened up the wall that separated the kitchen and the garage and Josh began the work of moving the wall back into that space by about 2 ft.

In the picture below, you can see the newly framed wall towards the back. The two studs you see in the foreground were left there until we could reroute the electrical that was attached. At this point we also pulled up the flooring (large format laminate tile that had seen better days) and found the original gold-flecked linoleum from the 60s. We didn’t want to mess with pulling it up since it likely had asbestos so we left it alone and planned to cover it back up with underlayment and our new flooring.

In order to make living in a construction zone a bit easier, we decided to leave the kitchen sink cabinet in place so that we could avoid doing dishes in the bathtub for as long as we possibly could. In a time of such upheaval in our house, this was such a lifesaver for me!
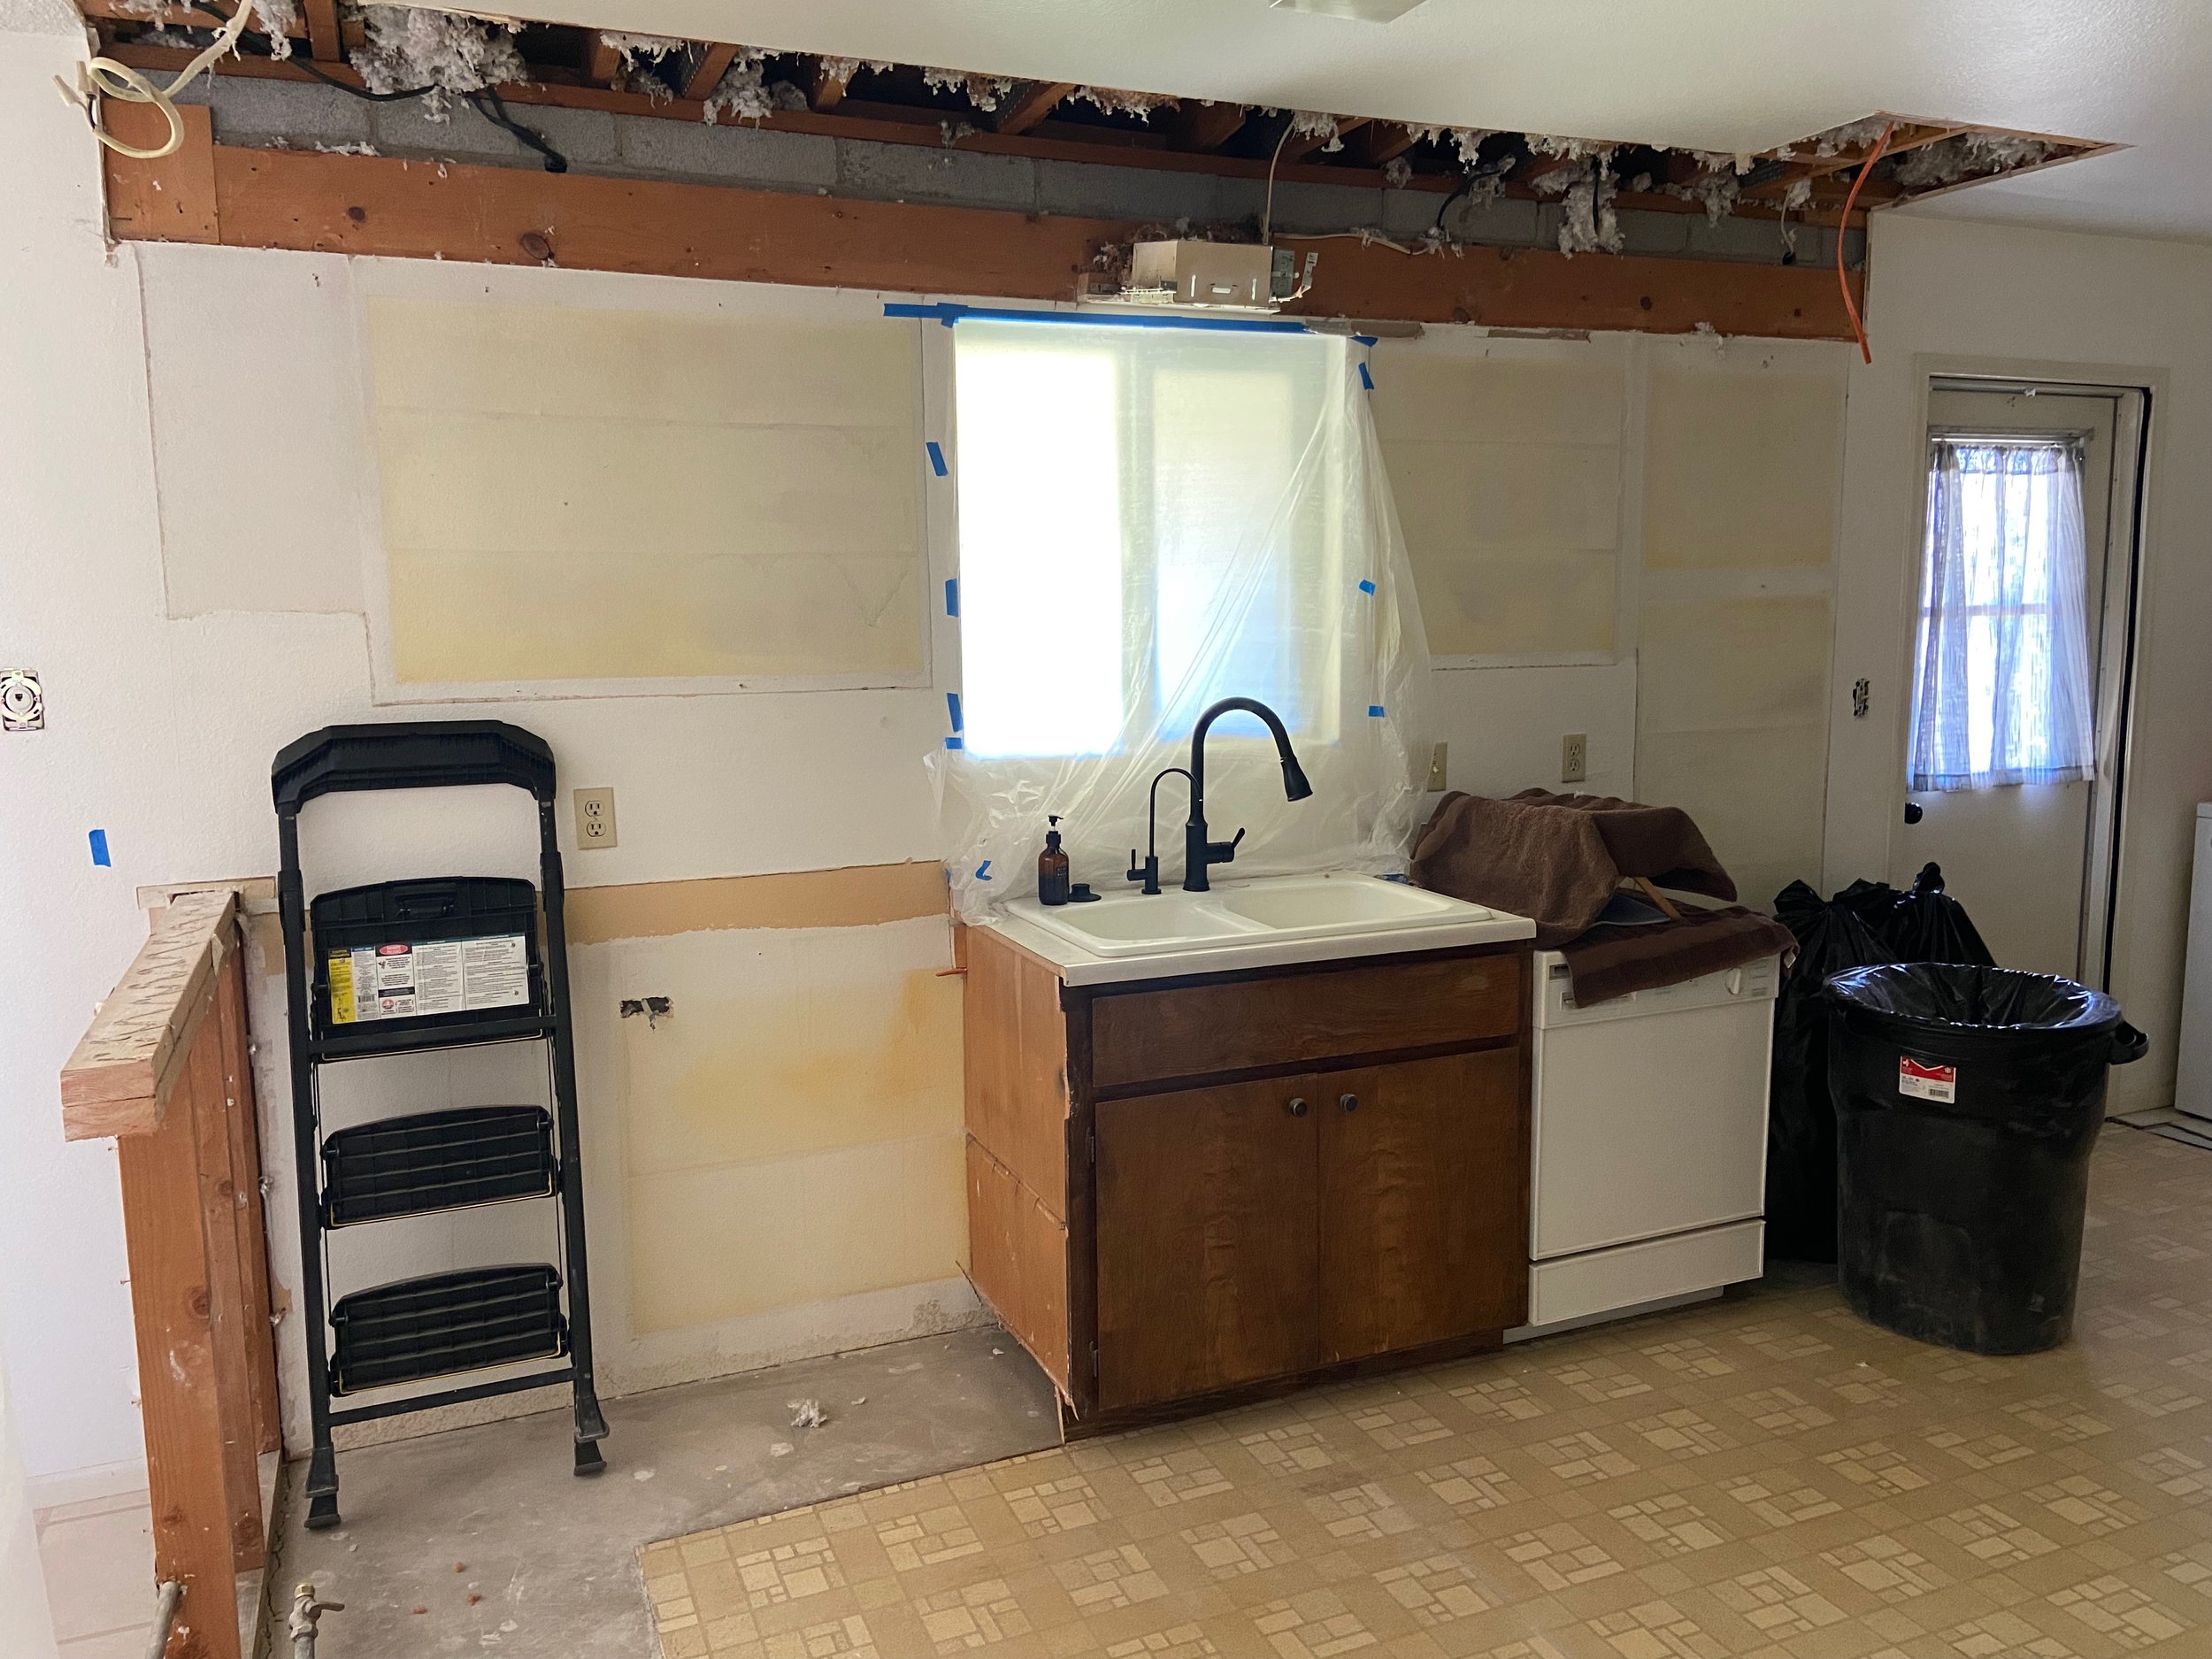

As you can see, things had to get much worse before they could get any better 😅 but look at all that space we had to work with! This demo process took us about 4 days of working a few hours each day after work.
Next up, I’ll tell you about how we rebuilt things and began the fun part of assembling 159 cabinet pieces for installation (which definitely took longer than 4 days, haha)!

Missed previous posts in the Reno Recap series? Check them all out here!